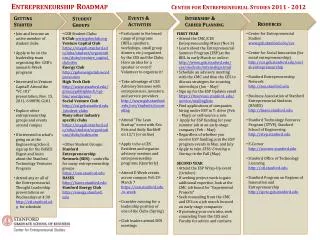
Getting Started
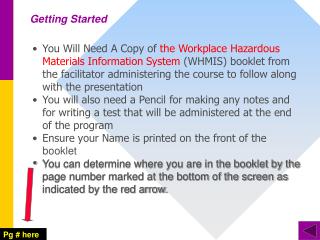
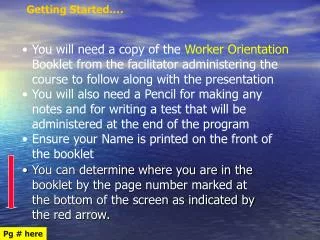
Prepare for SolidWorks class by setting up templates, organizing files, and saving work properly. Follow guidelines to create part templates and start designing. Don't forget to back up your files for easy access.


Getting Started
E N D
Presentation Transcript
Getting Started Week 2 for SolidWorks
Things you need this week • Textbook • flashdrive
What’s going to happen next • We are going to build a bunch of parts • You will save these parts to your flash drive • You don’t need to hand in or show your work for a couple of weeks, but make sure you save all work • Get comfortable with the software
Saving your work • You need a flash drive • Back up all your files to dropbox (www.dropbox.com) or google docs or email them to yourself • Your flash drive will be set to read-only to prevent any virus-transmission – just re-save over your file
SolidWorks has no auto-save • SolidWorks has an auto-nag – you will get a reminder to save your work, but you have to actually hit ‘save’.
Files and Linking in SolidWorks Solidworks uses different file extensions Sldprt – part file Sldasm – assembly file Slddrw – drawing file Templates have a different extension – Sldprtdot Sldasmdot slddrwdot
On your flash drive Create a folder called SolidWorks class Underneath that folder create two folders • One for homework • One for templates- call it [Your Name] Templates Refer to Page 1-7 in textbook All parts, assemblies and drawings should be saved to the homework folder All templates should be stored on the templates folder
Today’s Templates We will be creating two PART templates One template will be used to make parts with inches One template will be used to make parts with millimeters These files need to be saved to the TEMPLATES folder They need to be saved AS templates
The TWO MISTAKES STUDENTS MAKE • They don’t save their template as a template • They don’t save it to the right folder If you do either – you won’t be able to see your template to use it You will be using your templates for the entire course – if you don’t create your templates right you will spend the entire course fighting with your file settings
Steps to creating a Part Template • Open a new Part file • Go to OPTIONS • Set the UNITS to the desired units – MM or Inches • Set the precision 0.1 for MM and .12 for Inches • Set the Drawing Standard to ANSI • Save as PART-IN.PRTDOT or PART-MM.PRTDOT • Save to your templatefolder Refer to Page 1-35 in textbook
Flight Check List Create a flight check list to start every SolidWorks session As soon as you boot up SolidWorks: • Go to Options • Add your templates folder to the list of templates available in the Document Templates list Refer to Page 1-33 in textbook As the class progresses, your flight check list will get longer
If you don’t see your templates… • Did you add the correct folder to the templates search path using OPTIONS? • Did you save your template file as a TEMPLATE? (*.prtdot) • Did you save your template file to the correct folder?
Today’s Tasks for Class • Get flash drive set-up • Create two part templates • Create our first part – The Plate (in the textbook) YOU DO NOT HAVE TO HAND ANYTHING IN FOR A COUPLE OF WEEKS – BUT YOU WILL NEED ALL PARTS WE ARE MAKING TO CREATE DRAWINGS SO SAVE YOUR WORK!