Download
1 / 21
210 likes | 306 Views
Introducing. OESD Collection 12434 Freestanding Lace Bouquet. Inspiration Board When you think of flower, what do you think of?. Weddings. Spring/Easter. Bouquets Flower arrangements Flower girls Party Favors. - Easter Hats Alter arrangements Centerpieces. Accessories.

E N D
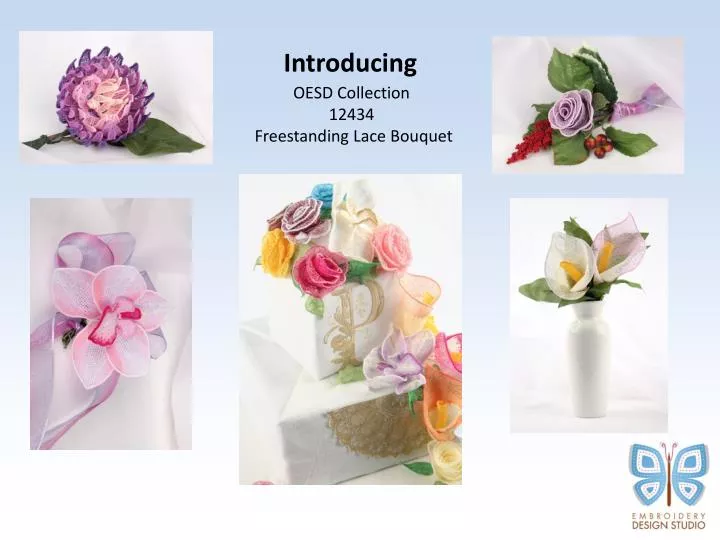
Introducing OESD Collection 12434 Freestanding Lace Bouquet
Inspiration Board When you think of flower, what do you think of? Weddings Spring/Easter • Bouquets • Flower arrangements • Flower girls • Party Favors • - Easter Hats • Alter arrangements • Centerpieces
Accessories Home Decor • Barrettes and Hairbands • Hats • Hand bags • Belts • Shoes • Decorative Pillows • Picture Frames • Lamp Shades • Wreaths
There are 3 terms that you will hear referenced in the instructions: How to put the Freestanding flowers together Eyelet – The eyelet is used like a buttonhole 2) Buttonette– The buttonette buttons into the eyelet 3) Tab – The tab is used to secure flowers or leafs to a steam
Supplies Embroidery Thread Use the same embroidery thread in the bobbin as the needle Needles Use an Organ 80/12 Titanium needle for extended needle life Stabilizer Use water-soluble stabilizer or film water-soluble stabilizer
How to create a Lily • Hoop 2 layers of wash-away stabilizer and embroider all the pieces • to complete your lily • When designs are completed, wash away the stabilizer • - Then lay out to dry to dry • Take the Stamen and wrap it around a pen. Using the • buttonette, secure • through the eyelets
- Once the body of the lily is dry, turn the good side up and gently push the right edge toward the center. Insert the buttonette through the eyelet.
Insert a piece of floral wire inside the stamen and secure with several loops of floral tape around the tab of the stamen. • Attach the stamen to the flower by sliding the wire through the opening and pulling downward until stamen is inside the flower. • Secure the flower tab by wrapping tightly with floral tape.
You have a completed Freestanding Lace Flower! Let your creativity begin!!!
How to create a Rose • Follow the same embroidery and drying instructions as for the lily • After the lace has dried use a chopstick and around the chop stick to begin wrapping the rose spiral. Wrap with the good side of the lace facing outward. • Continue to wrap the rose, keeping • the bottom edge even.
Once you have wrapped the spiral • onto itself entirely, secure the buttonette • toward the inside of the flower by pulling • it through the eyelet. • Place the bloom upside down on the table and insert a length of floral wire halfway into the bloom itself. • Using floral tape, secure the flowers tabs to the floral wire
To add leaves, attach leaves to at the bottom of the bloom by wrap the tabs of the bloom a few times and then add a leaf in the desired position. • Wrap the floral tape a few more • times before adding the second leaf. • Add as many leaves as desired Congratulations, you have now completed your second free standing lace flower! NOTE: Please read each flowers instructions prior to putting them together. Instructions may vary with each flower.
Combine Flowers for Full Effect The Rose The Orchid The Lily
Combine with Silks • For a different look, try mixing your lace flowers with silks
Experiment with Color • Try a different color on in the needle and the bobbin thread (both need to be the same type of thread)
Experiment with Novelty threads Try using different types of thread to get different effects. Before the sun After the sun
Experiment with mixing different threads in the same flower arrangements
Alternative Methods • Instead of attaching the flower to floral wire, you can also attach it to items with hot glue or hand needle and thread.
Tips • Using tweezers will help you pull the buttonette through the eyelet of the flowers • Try “molding” the flowers while they are still slightly wet to sculpt the petals into unique shapes. • Wrap the floral tape tightly. It needs to stretch a little bit in order to really grip the floral wire
Create a Cake To create an embroidery cake we started by using different size Styrofoam blocks and stacking them on top of each other. Embroidered fabric was attached to each layer using a glue gun. First pin the flowers to the cake to make sure that you have your desired look - then attach each one with a glue gun. Leaves are a good way to fill in the not so full areas to complete your look.