Download
1 / 2
20 likes | 37 Views
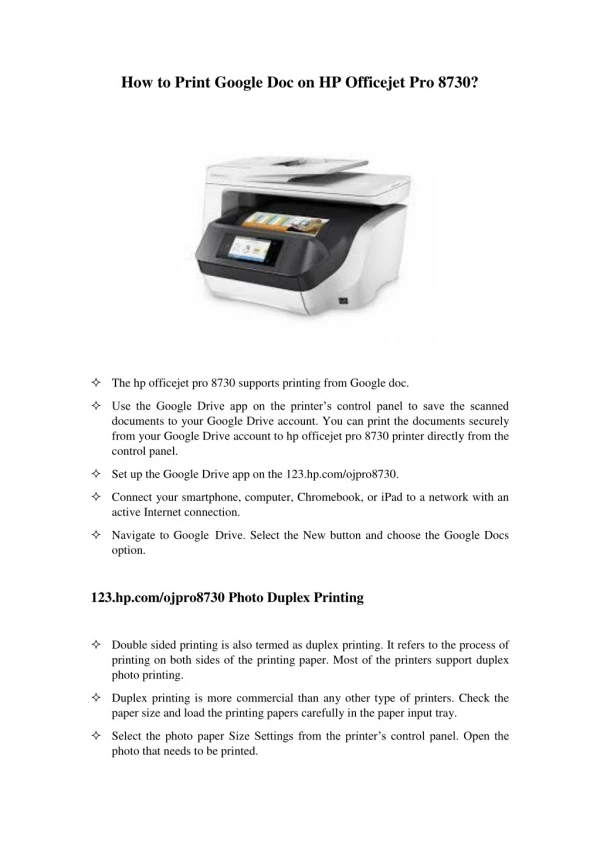
How to setup hp officejet pro 8730 printer - Simple step by step instructions to your 123.hp.com/ojpro8730 printer.

E N D
How to setup HP Officejet Pro 8730 Printer How to setup HP Officejet Pro 8730 Printer Completing the setup process of the HP Officejet pro 8730 printer lets you print, scan, fax and copy effectively. Some important steps involved in the setup process include unboxing, establishing a power connection, turning on the device, installing ink cartridges, and printing an alignment page. Perform the steps below to commence the printer setup process. Steps to Unboxing Setup for HP Officejet Pro 8730 Printer: Steps to Unboxing Setup for HP Officejet Pro 8730 Printer: 1.Remove the 123.hp.com/ojpro8730 printer from the box and keep it on a sturdy table. 2.The packing materials need to be removed. 3.Look for the tapes that surround the printer and peel them off. 4.Open the scanner lid of the printer and discard the Styrofoam sheet present on the glass. 5.Take the power cord, installation CD, and other accessories out from the printer box. 6.Unwind the power cord. 7.Look for the power inlet port at the rear of the printer. 8.Now connect it between your printer and wall outlet. 9.Turn on your printer and wait for the device to become ready.
10.Tap English on the device’s display panel to select the language and choose Confirm. 11.Choose the Country/region and touch Confirm. 12.Now the printer will prompt you to install the cartridges. 13.Tear the packing and remove the cartridge from it. 14.Peel the tape on top of the cartridge. 15.Twist the cap at the bottom of the cartridge to remove it. 16.This exposes the contacts. 17.Place the cartridge such that the contacts face down and press it. 18.A click sound confirms that the cartridge is installed. 19.Tap OK on the display panel, and a test page gets printed.