Download
1 / 23
240 likes | 677 Views
How to use Desktop Publishing Software to Create a Newsletter. One Example of an Artifact for Proficiency Level 1.1. To create a class newsletter using Microsoft Word first: Select the software to use from the Desktop by clicking on the “Start” button.

E N D
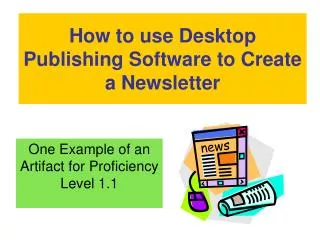
How to use Desktop Publishing Software to Create a Newsletter One Example of an Artifact for Proficiency Level 1.1
To create a class newsletter using Microsoft Word first: Select the software to use from the Desktop by clicking on the “Start” button.
Just a side note: In this tutorial, whenever the instructions say “click” or “choose” it is referring to a LEFT mouse click. You will only use the right mouse button when the instructions specifically say “right-click.”
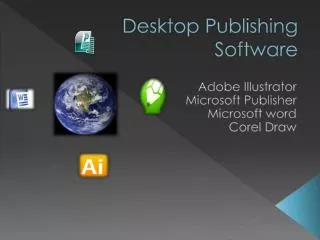
Choose a desktop publishing type software from the “Programs” menu to use like: • Microsoft Publisher • Print Shop • Microsoft Word (We will use Microsoft Word.)
Follow these steps to create a Newsletter: Step 1 Begin typing your headline for your newsletter. Then “highlight”it by clicking and holding down the mouse button and dragging the cursor to the right until you have “highlighted” the whole text. Then take your finger off the mouse button.
Step 2 Looking at the top of the screen, you will see a toolbar of options. Choose the “Font Size” arrow and choose “36.” Then click on the “Bold” button on the toolbar that looks like “B”. You now have your headline.
Step 3 Make sure your cursor is at the end of your headline and press the “Enter Key” twice on your keyboard to go down two lines. To Create Columns: Go to the “Menu Bar” and choose “Format” and then click on “Columns.”
Step 4 The “Columns” window will appear and you will choose “Two” and then go to “Apply to:” at the bottom. Click on the arrow and select “This point forward” and then “OK.”
Step 5 Choose “Font Size” again and change it to “12.” Un-bold the text by clicking the “bold” button on the toolbar. Begin by typing the date and then press the “Enter” key twice.
Step 6 Type what you would like to communicate in your newsletter by making a title and then pressing the “Enter Key” twice and then type. Your text will stay on the right side of the page.* *Before going on, place the cursor at the end of your document.
The next part of this tutorial will be to add a graphic: Step 1 To add a graphic to your newsletter, select “Insert” on your menu bar and choose “Picture” and then “Clip Art.”
Step 2 The “ClipArt” menu appears and you can choose a “Category” to fit your newsletter. For this tutorial, choose “Animals.”
Step 3 Click on the lion and an option menu will appear. Choose the top option called “Insert Clip.” The lion will appear in your newsletter where your cursor was on the page.
Step 4 Close the “ClipArt” window by clicking on the window’s “Close” button that looks like an “X.” Caution!!! Do not close the “X” for your whole document up higher.
You now have a graphic in your newsletter! Now we will go though how to Save and Print your newsletter: Step 1 Continue typing more class and school news until the cursor automatically moves up to the next column.
After the cursor moves up, continue typing your newsletter until you are at the end of the document.
Step 2 Now that you are at the end of the document, you are ready to check the spelling. Click on “Tools” and “Spelling and Grammar” and follow screen instructions until the screen says “spelling and grammar is complete.”* *For a detailed use of “spell check” see “How to Create and Edit a Word Document” tutorial.
Step 3 Proof read your newsletter and then you are ready to save. Click “save as.” If you need more help on saving see tutorial on “File Management.”
Step 4 “Save in:” should read “My Documents” and type a name for your newsletter in the “File name:” Then click “Save.”
Step 5 Now you are ready to print your newsletter. Select“File”on the menu bar and choose“Print.” See the “Printing Tutorial” on more printing details like printing in black and white.
Step 6 Press “OK” at the bottom of the “Print” window and go get your newsletter from the printer.
Other Ideas for Desktop Publishing: • A poster for your classroom rules or computer use rules or any other information you need posted in the room • A parent note • A start for a writing project, using a graphic and lines for students to write on • A flyer to put up around school or send home to announce an event • A place for students to publish their poems, stories or reports with graphics
Congratulations! You made a class newsletter. Summary: In this tutorial, you used Microsoft Word to create a newsletter with a headline, two columns and a graphic. You learned to highlight a text, change the font size and to make the text“Bold.” You used the toolbar to spell check, save and print your newsletter.