Download
1 / 36
360 likes | 408 Views
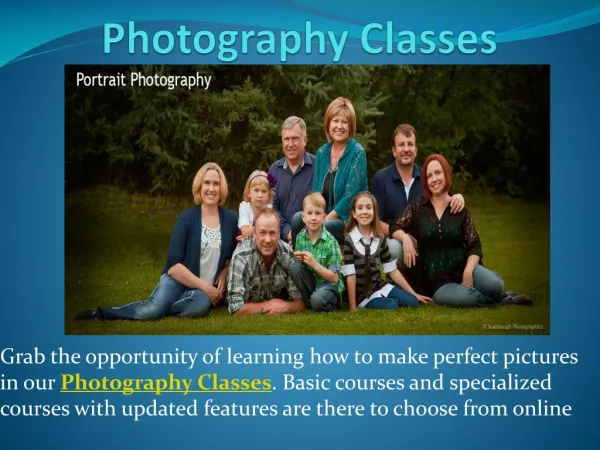
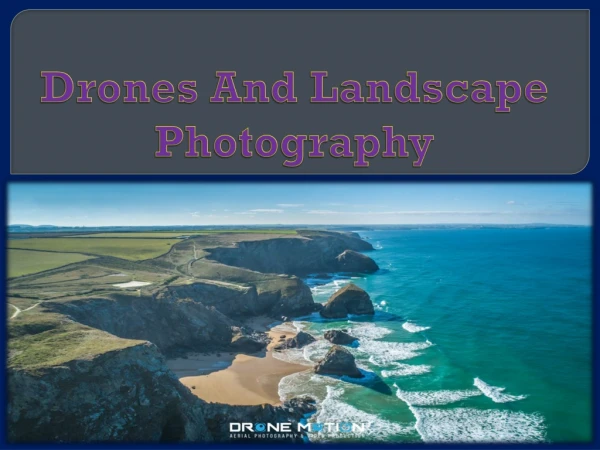
Learn the art of landscape photography to capture stunning images of nature's beauty. Discover key equipment, techniques, and tips for navigating weather changes, lighting challenges, and seasonal variations. From selecting the right gear to mastering composition, this guide will help you elevate your landscape photography skills to the next level.

E N D
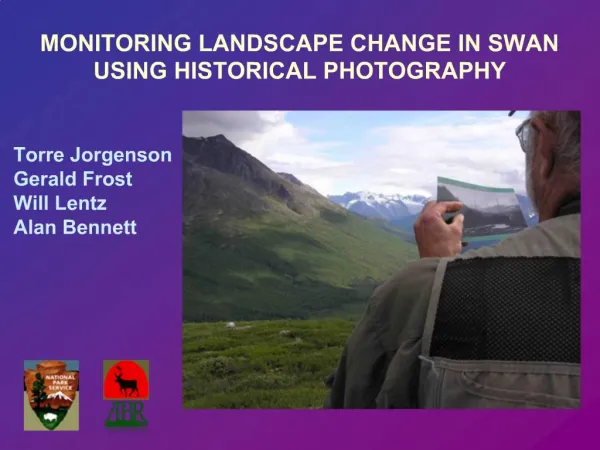
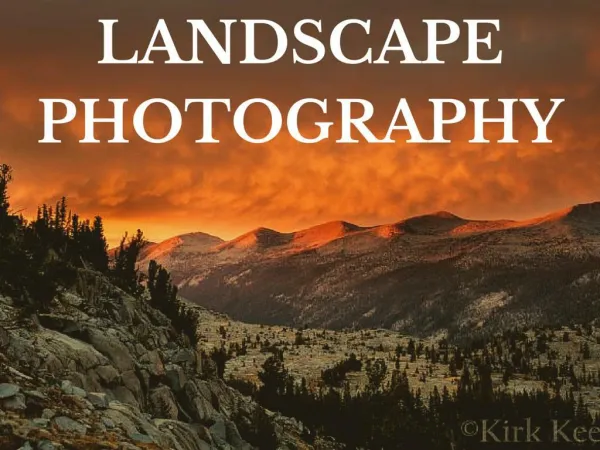
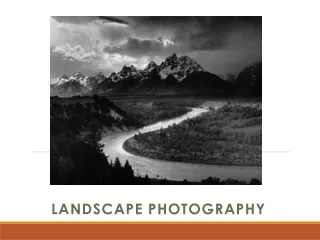
Shooting Landscape • Goal: To make landscape images the way you see or feel them. • Keep things simple – technically, logistically, artistically – this will allow the clearest expression of your artistic goals.
First Things First: Be prepared • You need the right gear to do the job. So what goes in your bag? • High res digital camera or film camera • Wide angle lens • Tripod! • Shutter release • Appropriate clothing for the season and weather for you AND your camera • Extra batteries, memory cards, etc.
Cameras Landscape photography is still ruled by the film camera. It’s traditionally done with color transparency Or with a large format camera – these are still considered the best quality producing methods for best clarity and detail. BUT digital is beginning to take over the market.
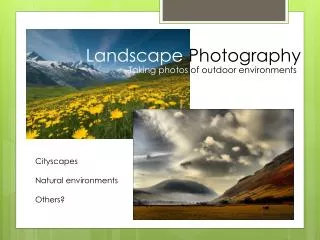
Landscapes are, by their nature, ever changing ~ There are three main factors that contribute to great landscape photography. • Weather • Light • Season
Weather, Light and Season • What you have going on with each of these factors will determine your: • Exposure • Illumination of the scene • Composition • Including perspective and framing
Exposure • The most critical element • Your light meter can’t think. You can. • Your meter wants the world to be neutral gray. It’s not. You will control for the difference. • Bracketing is your friend. With film it’s critical, with digital, it’s a terrific idea.
You will find yourself in difficult exposure situations. -Front lighting, side lit and softly illuminated scenes will be fairly easy. - When you get a strong mix of bright light and deep shadows that’s when it gets tricky
In this image the lighting difference is corrected with a split neutral density filter. • It’s a filter that goes over your lens so you can change the exposure of just part of the scene.
Backlit • Neither film nor digital sensors can record both the highlights and shadows of scenes lit from behind. • You have to decide which you want most.
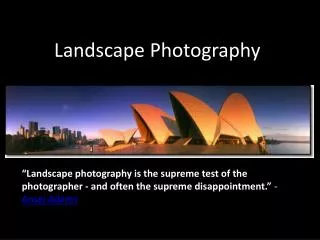
Lighting is the most critical element in landscape photography • Sunset and sunrise are the BEST times of day • The light is the most interesting • The colors are the most saturated • The sky often has the best texture
White and light scenes • Compensate with +1 or +2 stops over the meter reading to get the right exposure. • Scenes lighter than middle gray, such as beach scenes, or bright sand or snow covered landscapes, reflect more than 18% of the light falling on them. The autoexposure system doesn't know the scene should look bright so it calculates an exposure that produces an image that is too dark. To lighten the image so it matches the original scene, you must override the camera's automatic exposure system to add exposure. • The snow scene here is typical of scenes that are lighter than middle gray. Most of the important tones in the scene are at the lighter end of the gray scale. The overall "average" tone would be about one stop brighter than middle gray. For a good picture you have to increase the exposure by one stop (+1) to lighten it. If you didn't do this, the snow in the scene would appear too gray (bottom).
Black and dark scenes • For dark scenes you want to under-expose so you get good detail in your shadows. • Usually +1 stop is good.
Aperture and Shutter Speed • When shooting landscapes setting Depth of Field (DOF) will guide your other camera adjustments. • As a rule, you want a deep DOF – clarity from front to back of your frame. • This will require an f-stop if of f/5.6 – f/22 depending on the scene. • Some cameras have a DOF preview so you can see what it will look like before you shoot.
By setting a small aperture, this means that you will often need a slow shutter speed. • This is where your tripod and shutter release come in handy. You will control for camera shake. • The scene won’t move so it will be ok.
Composition • Most landscape photographs contain many layers. • You need to think about the content of each layer as you are composing your image. • Foreground • Mid-ground • Background • Sky
In Class Assignment (20 pts) • 11 Surefire Landscape Photography Tips • http://digital-photography-school.com/11-surefire-tips-for-improving-your-landscape-photography • Take notes: List all 11 tips and write a brief description of each. • Then search landscape photographers and find a photo example of each “tip” – you may not use the photos from the article!!! • Copy and paste each photo next to your notes on the ‘tip’ it represents.
Assignment: • Your goal in this assignment is to explore landscape photography using the three main factors that contribute to great landscapes. • Weather (hot, cloudy, rainy, etc.) • Light (dusk or dawn is best) • Season (Fall colors; warm colors… maybe contrasting against a cool blue sky or water) • Take 15 pictures in 4 different locations. • For each location: • For each picture you are to have an over exposed, underexposed, and that exposure is left at the auto exposureso for each picture you will have 3 pictures. For each location you will have a total of 45 pictures. • You will use photoshop tools to merge them together to create a final image for each location. • Print out final pictures and describe the following: • What exposures where used • Location of photograph • What editing techniques did you use?
Folders: • Lastname.classperiod.landscape • Original • Location 1(45 pictures) • Location 2(45 pictures) • Location 3(45 pictures) • Location 4(45 pictures) • Edited pictures(5 total photo merged pictures for each location, 20 pictures total) • Final 4 Pictures