Download
1 / 32
320 likes | 333 Views
Learn the essentials of making clothing, including pattern layouts and fabric selection, while exploring career opportunities in the textile industry.

E N D
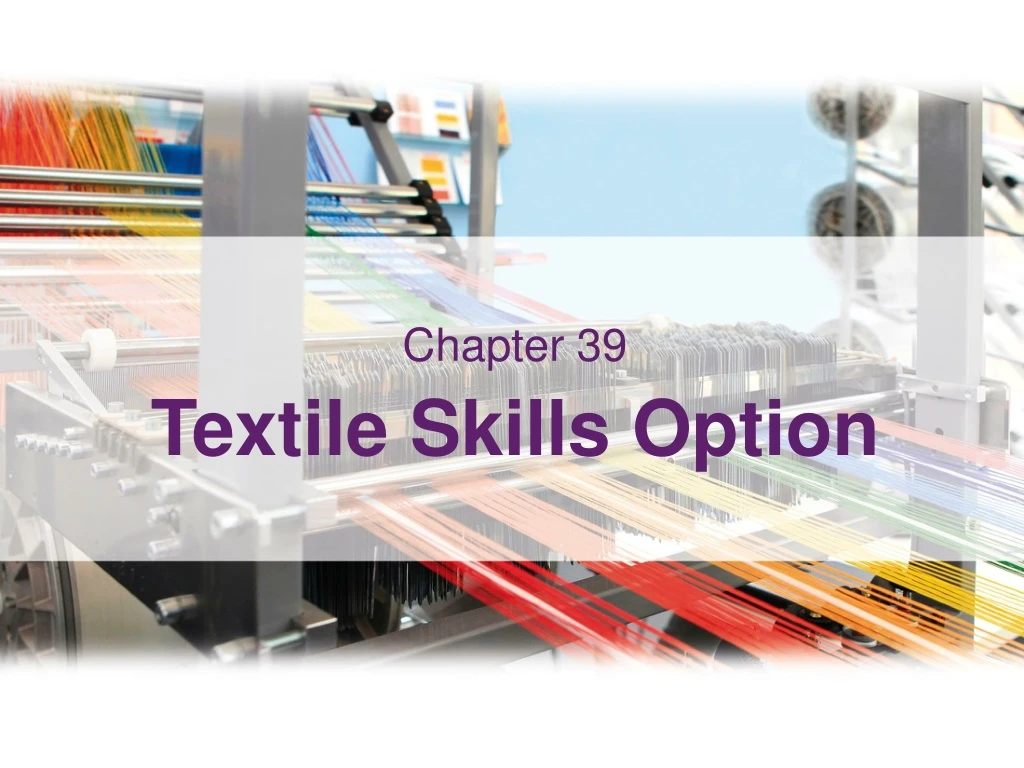
Chapter 39 Textile Skills Option
By the end of this section you will have had the opportunity to make an item of clothing and to learn about career opportunities in the textile industry. 2 Essentials for Living, 3rd Edition
This option gives you the opportunity to make an item of clothing and to learn about career opportunities in the textile industry, for example as a clothing designer. • Using patterns and basic garment construction • Pay particular attention to the following: • Using a pattern envelope • Choosing fabric for sewing • Pattern layouts • Transferring pattern markings • Cutting out pattern pieces 3 Essentials for Living, 3rd Edition
Taking body measurements • Before you buy a pattern or fabric, you will need to know your correct body measurements. • General guidelines • Use a tape measure that has not been stretched and do not pull it too tight, as it will not give the correct reading. • Remove outer garments, such as jumpers, so that you are not measuring over too much bulk. • Ask a friend to help, as it is very difficult to take your own measurements correctly. • Check all measurements twice, as it is easy to make mistakes. 4 Essentials for Living, 3rd Edition
For most garments, you need to measure your: Chest (male) or bust (female) Waist Hips For all of these, measure around the fullest (widest) part. To find your natural waistline, tie a piece of string around your waist: where it rests comfortably is your natural waistline. 5 Essentials for Living, 3rd Edition
You may need additional measurements for some garments. Back length: From the bone at the bottom of your neck to your natural waistline. Sleeve length: From your shoulder to your wrist, keeping your elbow bent. Outside leg: From your waist down to where the bottom of the hem will be. Inside leg: From your crotch to where the bottom of the hem will be. Neck width: Measure around the neck and add 1.2cm to the result (so that collars will not be too tight). 6 Essentials for Living, 3rd Edition
Making clothes • Choosing a pattern • Several different companies, such as Simplicity and Burda, manufacture commercial patterns. • These companies display their patterns in pattern catalogues, which you can look at in textile shops or you can view and buy from their range online. • Most of these companies manufacture patterns that are suitable for beginners. These are often found in a special section of their catalogues or websites. Most patterns include more than one style (view) and a range of sizes 7 Essentials for Living, 3rd Edition
The pattern envelope • The pattern envelope front and back gives you information on: • What the garment(s) should look like when it is finished • How much fabric you need for each view and size of garment • Which fabrics are suitable for the garment(s) • Any extras, or notions, you need to make the garment(s) • View of the back of the garment(s) 8 Essentials for Living, 3rd Edition
Inside the pattern envelope • Inside the pattern envelope, you will find two things: • The actual pattern pieces • A set of instructions 9 Essentials for Living, 3rd Edition
Pattern pieces • Inside the pattern envelope, you will find the pattern pieces for all the views pictured on the pattern envelope. • Pattern pieces will be printed out on a number of very large pieces of tissue paper. • You will have to study the pattern instructions to find out which pieces are needed for the particular garment you are making. 10
Pattern pieces (continued) • Pattern pieces will have the following information printed on them: • The number of the pattern piece • The name of the pattern piece, e.g. skirt back • The following important markings 11
Pattern markings Notches These show where the garment pieces should be joined. Cut notches outwards. Straight grain This arrow should be running along the selvedge (warp) of the fabric. Fold line This line should be placed along the fold of the fabric. 12
Pattern markings (continued) Cutting line Most patterns have a cutting line that is 1.5cm outside the stitching line. This is where you cut out the fabric. Note: Some patterns do not have a cutting line, so you must allow the 1.5cm seam allowance yourself. 13
Pattern markings (continued) Balance marks These show important points on the garment, such as the centre of the garment and the armhole. Construction marks These show the position of darts, pockets, pleats, etc. 14 Essentials for Living, 3rd Edition
Pattern markings (continued) Stitching line Machine along this line. Alteration lines Pattern pieces can be made longer or shorter at these lines. 15 Essentials for Living, 3rd Edition
Pattern markings (continued) Button positioning marks These should be marked with a tailor tack to show where buttons are to be placed. Buttonhole positioning marks These show where buttonholes should be sewn. Notches, balance marks, button and buttonhole positioning marks should all be transferred from the tissue pattern to your fabric using tailor tacks (see Chapter 35). Stitching lines and construction marks may be transferred to fabric using a tracing wheel and paper. 16 Essentials for Living, 3rd Edition
Instruction sheets • These usually contain the following information: • A sketch of the back of the garment(s) • A labelled sketch of all the pattern pieces included • A list of the pieces needed for each view • Instructions for altering the pattern, e.g. making it longer • A sketch showing how pattern pieces can best be laid out on fabrics of different widths • Cutting instructions • Step-by-step instructions on how to make the garment 17 Essentials for Living, 3rd Edition
Altering patterns While small adjustments can be made on the garment itself, e.g. letting out a seam slightly, larger adjustments must be made on the pattern pieces before placing them on the fabric. To lengthen pattern pieces Example: You want to add 3cm to the length of a pair of trousers. • 1. Cut the pattern piece between the alteration lines. On another piece of paper, draw two parallel lines 3cm apart. Lay one pattern piece on each of the parallel lines. Stick in place using masking tape. Redraw the cutting line. Trim excess paper. 18 Essentials for Living, 3rd Edition
Altering patterns (continued) To reduce the length or width of a pattern Fold the pattern piece on the alteration lines. The fold should measure half the width that you need to reduce. Tape into place and redraw the cutting line. 19 Essentials for Living, 3rd Edition
Altering patterns (continued) To increase the width of a pattern Draw two parallel lines on a piece of paper the correct distance apart. For example, if you want to increase the width by 3cm, the lines should be 3cm apart. Tape the cut pattern piece along the two parallel lines. Redraw the fitting lines, etc. Increasing width Remember: If you increase the width of one part of the garment, the pieces it is attached to must also be increased to allow the pieces to join together. 20 Essentials for Living, 3rd Edition
Laying out pattern pieces • Your pattern instructions will include diagrams showing how your pattern pieces should best be laid out. Layouts will be different for different fabric widths. • Generally: • Press fabric on the wrong side before beginning pattern layout. • Fold the fabric right sides and selvedge edges together. • Pattern pieces are generally placed on the fold or laid on the fabric using the straight-of-grain lines. 21 Essentials for Living, 3rd Edition
Using straight-of-grain lines • Lay the pattern pieces on the fabric so that the straight-of-grain arrow looks parallel with the selvedge edge. • Pin one end of the arrow to the fabric. • Measure from each end of the straight-of-grain arrow to the selvedge edge. When both ends are exactly the same distance from the selvedge, pin the other arrowhead in place. • Then pin the rest of the pattern piece down. Laying out pattern pieces using straight-of-grain lines 22 Essentials for Living, 3rd Edition
Cutting out Arrange pattern pieces on the fabric. Straight-of-grain arrows should run parallel with selvedge edges. Place fold arrows on the fold. (Pattern instructions will suggest a layout.) • Pin in position. • Using a sharp scissors, cut around each pattern piece. Leave a 1.5cm seam allowance if not already allowed. (Most patterns include this allowance, in which case cut fabric to the exact size of the pattern pieces.) • Keep fabric flat on the table with one hand. Do not lift the fabric up to cut it. Cut notches outwards. 23 Essentials for Living, 3rd Edition
Transfer of pattern markings • It is vital to transfer important pattern markings from the tissue pattern pieces to the fabric. There are three main ways of doing this. • Tailor tacks should always be used to show the location of important points on the pattern, e.g. end-of-bust darts, position of button and buttonholes. • Waxed paper and a tracing wheel are generally used to mark the sewing line. Two sheets of waxed paper are used, one against each piece of fabric • on the wrong side. The wheel is rolled along the sewing line and the line comes out on the fabric and can be used as a guide to keep tacking and sewing straight. • Tailor’s chalk is sometimes used for marking the sewing line when pattern pieces have no seam allowance included. 24 Essentials for Living, 3rd Edition
Fitting • It is important that the garment you are making fits well before you sew it up. A garment that fits well will: • Be neither too loose nor too tight • Hang well • Be comfortable and look well 25 Essentials for Living, 3rd Edition
Guidelines • Tack the large pieces, i.e. front and back pieces, of the garment together. • Tack any darts in place. • Try the garment on: sit, bend and raise your arms to make sure the garment is not too tight. You will be able to loosen or tighten the garment by letting out or taking in some of your seam allowances. • Check that shoulder seams lie on the shoulder and that the armhole is not too tight or too loose. • Check that the waist of the garment is on the natural waistline. • Mark alterations with chalk or pins. Remove the garment and tack alterations. Try the garment on again before sewing. 26 Essentials for Living, 3rd Edition
Pressing • Pressing is important to give your garment a finished, crisp look. Pressing is different from ironing: with pressing, you lift the iron and press down on the fabric, lift and press, etc. • Guidelines • Press after each stage of construction, e.g. after sewing the side seams. Do not wait until the end to press everything, as you will not get as good a result. • Usually press on the wrong side. If you must press on the right side, use a pressing cloth to protect the fabric. • Use a steam iron set at the correct temperature for the fabric. • Give the garment a final overall press when it is fully complete. A sleeve board is used to press small areas of garments such as collars and sleeves 27 Essentials for Living, 3rd Edition
Textile skills project • While there will be questions on Textile Studies (Unit 5) on the final examination paper, the textiles skills option, like the other two options, is assessed through project work alone and is worth 15% of your overall final mark for Home Economics. • For this option you must complete an item of clothing (worth 80 marks) and present a written support folder (worth 20 marks), the details of which are outlined below. 28 Essentials for Living, 3rd Edition
Textile skills project (continued) • Brief • Make an item of clothing that includes a minimum of two processes, such as application of a collar, sleeves, zip, buttonholes, etc. • Support folder • You should include the following information in your support folder: • Give details of what factors influenced you when choosing what garment to make. • Give the details of the pattern you used and any changes you made to it. • Give the details of the fabric you used. Draw a wash care label for your garment. 29 Essentials for Living, 3rd Edition
Support folder (continued) • You could complete a fabric burning test to identify your fabric. • Give details of the notions you had to buy to complete the garment, and list and price them. • What sewing equipment did you use? You could draw diagrams of some of the more unusual equipment. • Evaluate your item of clothing under the following headings: • How well is it finished? • How well does it fit? • What would you change next time round? 30 Essentials for Living, 3rd Edition
The textiles industry • The main textile industries in Ireland are: • Fibre production and research • Yarn production, e.g. making knitting wool • Fabric production, e.g. tweed, linen production • Textile product production, e.g. Aran sweaters, wool and tweed suits, linen table wear, carpets • Fashion design: Successful Irish designers include Paul Costello, Louise Kennedy, Quinn & Donnelly, John Rocha, Philip Treacy and Lulu Guinness • Retail, e.g. shop assistants 31 Essentials for Living, 3rd Edition
Fashion design For those interested in fashion design or in the textile industry generally (weaving, printing, etc.), a number of colleges around the country offer courses ranging from certificate to degree level. Ask your career guidance teacher for details. 32 Essentials for Living, 3rd Edition