Download

1 / 2
20 likes | 21 Views
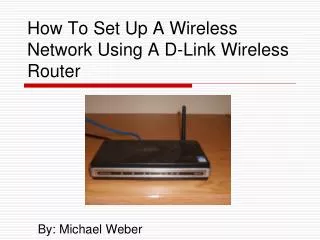
Here we are discussing the step-by-step procedure of making changes in the Name of a Routeru2019s Wireless Network without facing any error

E N D
How to Change the Name of a Router’s Wireless Network? Believe it or not, the unique name of your router can make a lot of difference when it comes to finding it while you are online. This thing matters more when you are living in a location with multiple Wi-Fi hotspots. This is the reason why it is recommended to change the name of your wireless network. You can start with using the correct IP address like 192.168.0.1 in the address bar of your browser. The name of the Wi-Fi network is also known by the term called SSID or service set identifier. Here we are discussing the step-by-step procedure of making changes in the Name of a Router’s Wireless Network without facing any error. Step 1 The very first thing is to find the internal IP address like 192.168.0.1. You will find it in the instruction manual of the router. Step 2
Once you get the required IP, you need to fill it in the address bar of your browser. Once you are done with that, press ENTER. Step 3 You will get to the login admin. Here you need to enter the username and the password as prompted. Use the default credentials only which you will find in the user manual that comes along with the router. Probably, the username can be filled in as ADMIN and you can leave the space of the password blank. Step 4 Access the "Wireless" link on the page. Step 5 Now you need to enter the new wireless network name. This field is also commonly labeled as "SSID." Step 6 At last, you can select the new network name that you want to connect to your router. This can be done by opening the network settings for each Wi-Fi device.