Download
1 / 15
160 likes | 191 Views
We have already created an application using AvFoundation library. Similar to this we will be using the same library to create our own custom through which we can play and record an audio file. In this tutorial, I am going to walk you through the basics of this framework and show you how to manage audio playing as well as recording.<br><br>https://www.loginworks.com/blogs/record-play-audio-avfoundation-framework-ios/

E N D
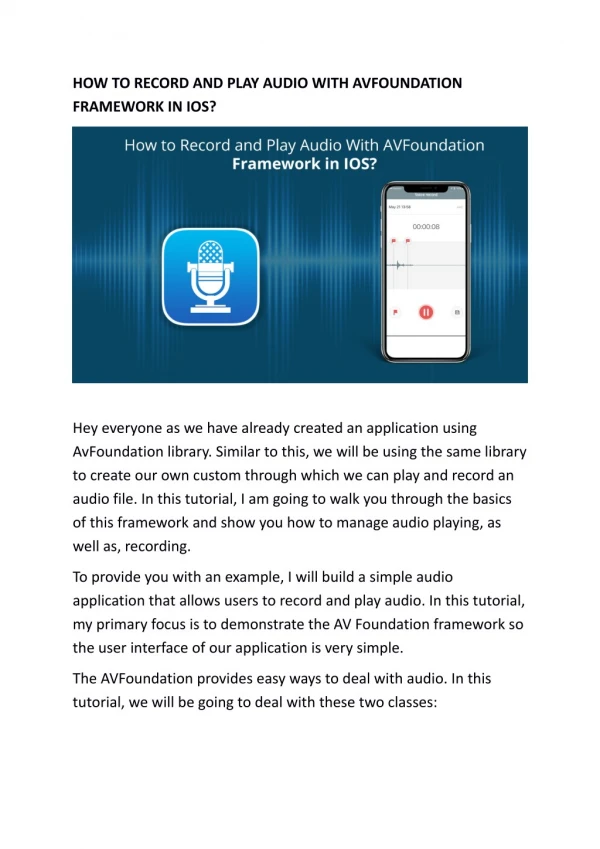
HOW TO RECORD AND PLAY AUDIO WITH AVFOUNDATION FRAMEWORK IN IOS? Hey everyone as we have already created an application using AvFoundation library. Similar to this, we will be using the same library to create our own custom through which we can play and record an audio file. In this tutorial, I am going to walk you through the basics of this framework and show you how to manage audio playing, as well as, recording. To provide you with an example, I will build a simple audio application that allows users to record and play audio. In this tutorial, my primary focus is to demonstrate the AV Foundation framework so the user interface of our application is very simple. The AVFoundation provides easy ways to deal with audio. In this tutorial, we will be going to deal with these two classes:
1. AVAudioPlayer – An audio player for playing audio files. By using the player, the user can play sounds of any duration and in any audio format like- mp3 etc available in iOS. 2. AVAudioRecorder – An audio recorder for recording audio within the application. INITIAL SETUP First of all, we will be going to run the XCode and then we need to click on the create new application button. Later on, we need to select the single view application as shown below. Now after this step, we will be going to give a name to our application. For my application, I will name it as “AudioRecordingSample”
ADDING AVFOUNDATION FRAMEWORK By default, the AVFoundation framework is not included in any Xcode project. So, we need to add it manually. In the Project Navigator of the application, select the “AudioRecordingSample” project. In the Content Area, select “AudioRecordingSample” under Targets and click “Build Phases”. Expand “Link Binary with Libraries” and click on the “+” button to add the “AVFoundation.framework” to your project.
To use the AVAudioPlayer and AVAudioRecorder class and its features, we need to import it in ViewController.h. INTERFACE DESIGNING Here, we will be going to design a simple yet attractive interface for our application. This will consist of three things here: A button through which we will be going to play the audio from the application through AV Library and will name it as the Record button. Now set the constraints to it as Top layout, center horizontal, equal width and equal height. A second button just below the first button through which we will be going to stop the recording after we finish. Here set the constraints to Top to button 1 and center horizontally, equal width and equal height to button 1. The third button below the second stop button, through which we will be going to record the audio in the application. In this area, set the constraints as top to button second, center horizontally and equal width, equal height with the second button. After performing all the steps in designing your view will looks similar to this as shown below.
CONNECTIONS WITH OUTLETS Now we need to create a connection between the outlets and objects with the view controller so that we can use them to perform some functionality later in our app. First, we need to connect all the three buttons simultaneously and then later will going to create their actions in the application as well. Head to the view controller.h file of the application and add the given line of code to it: #import <UIKit/UIKit.h> @interface ViewController : UIViewController @property (strong, nonatomic) IBOutlet UIButton *Play; - (IBAction)playAction:(UIButton *)sender; @property (strong, nonatomic) IBOutlet UIButton *stop;
- (IBAction)stopAction:(UIButton *)sender; @property (strong, nonatomic) IBOutlet UIButton *record; - (IBAction)recordAction:(UIButton *)sender; @end INITIALIZING RECORDING USING AVAUDIORECORDER First, let’s take a look how we can use AVAudioRecorder to record audio. Add the AVAudioRecorderDelegate protocol and AVAudioPlayerDelegate in the ViewController.m file. I will be going to explain both delegates as we move forward in the application development. #import “ViewController.h” #import <AVFoundation/AVFoundation.h> @interface ViewController ()<AVAudioRecorderDelegate, AVAudioPlayerDelegate> @end Next, declare the two variables to handle and enable to recording objects which are AVAudioRecorder and AVAudioPlayer in ViewController.m: @implementation ViewController{ AVAudioRecorder *recorder; AVAudioPlayer *player; }
The AVAudioRecorder class provides us the functionality and an easy way to record sound in iOS devices. To use the recorder, you first need to prepare a few things: Specify the sound file URL in the application. Set up the audio session in the app. Configure the audio recorder’s initial state so that we can launch the recording feature. Here we can do the coding in the “viewDidLoad” method of ViewController.m. Simply add the following code as mentioned below: - (void)viewDidLoad { [super viewDidLoad]; // Hide the Stop and Play button when application launches [self.stop setHidden:YES]; [self.Play setHidden:YES]; // Set the audio file NSArray *pathComponents = [NSArray arrayWithObjects: [NSSearchPathForDirectoriesInDomains(NSDocumentDirectory, NSUserDomainMask, YES) lastObject], @"MyAudioMemo.m4a", nil]; NSURL *outputFileURL = [NSURL fileURLWithPathComponents:pathComponents]; // Setup audio session
AVAudioSession *session = [AVAudioSession sharedInstance]; [session setCategory:AVAudioSessionCategoryPlayAndRecord error:nil]; // Define the recorder setting NSMutableDictionary *recordSetting = [[NSMutableDictionary alloc] init]; [recordSetting setValue:[NSNumber numberWithInt:kAudioFormatMPEG4AAC] forKey:AVFormatIDKey]; [recordSetting setValue:[NSNumber numberWithFloat:44100.0] forKey:AVSampleRateKey]; [recordSetting setValue:[NSNumber numberWithInt: 2] forKey:AVNumberOfChannelsKey]; // Initiate and prepare the recorder recorder = [[AVAudioRecorder alloc] initWithURL:outputFileURL settings:recordSetting error:NULL]; recorder.delegate = self; recorder.meteringEnabled = YES; [recorder prepareToRecord]; } In the above code, we first define the sound file URL for saving the recording and then configure the audio session later on. iOS itself will be going to handle the audio behavior of an app by using audio sessions. Also, we are hiding the two buttons which are play and stop button at initial launch so the user will not get confused with the buttons. When the app will launch, it automatically gets an audio session. You can grab the particular session by calling [AVAudioSession sharedInstance] and configure it according to requirement. Here, we tell iOS that the app uses “AVAudioSessionCategoryPlayAndRecord”
category which will be going to enables both audio input and output. We start and enable the audio recorder by calling “prepareToRecord:” method in the view did load part of the viewcontroller. IMPLEMENTING RECORD BUTTON Now we have completed the audio preparation. Let’s now move on to implement the action method of the Record button. Before we get into the code, let me tell you how the “Record” button works. When the user taps the “Record” button, the app will start recording and the button text will be changed to “Pause”. If the user taps the “Pause” button, the recording will pause until the “Record” button is tapped again. The audio recording will only be stopped when the user taps the “Stop” button. Edit the “recordAction:” method with the following code: - (IBAction)recordAction:(UIButton *)sender { if (player.playing) { [player stop]; } if (!recorder.recording) { AVAudioSession *session = [AVAudioSession sharedInstance]; [session setActive:YES error:nil]; // Start recording [recorder record]; [self.record setTitle:@"Pause" forState:UIControlStateNormal]; } else {
// Pause recording [recorder pause]; [self.record setTitle:@"Record" forState:UIControlStateNormal]; } [self.stop setHidden:NO]; [self.Play setHidden:NO]; } In the above code, we will check whether the audio player is playing or not. If audio player is playing the audio, we simply stop it by using the “stopAction:” method. The above code tells the user if the app is in the recording mode or not. If it’s not in a recording mode, the app will be going to activates the audio sessions and starts the recording. To make the recording to work (or sound to play), the audio session of the application must be active. In short, you can use the following methods of AVAudioRecorder to control the recording of the app: record – start and resume a recording pause –can pause a recording stop – can stop a recording STOPPING THE RECORDING For the Stop button, we will be using the “stop:” method of the recorder, through which we can deactivate the audio session. Edit the “stopAction:” method by using the following code:
- (IBAction)stopAction:(UIButton *)sender { [recorder stop]; AVAudioSession *audioSession = [AVAudioSession sharedInstance]; [audioSession setActive:NO error:nil]; } TIME TO CALL AVAUDIORECORDERDELEGATE PROTOCOL Now we will be going to use the AVAudioRecorderDelegate protocol to handle the interruptions occured within the audio (for example, a phone call during audio recording) and the completion of recording. In this example, the ViewController is the delegate. The methods defined in AVAudioRecorderDelegate protocol are optional and is dependent on us. Here, we will only implement the “audioRecorderDidFinishRecording:” method to handle the completion of recording. Add the following code to ViewController.m: After finishing the recording, we can simply change the “Pause” button back to “Record” button. - (void) audioRecorderDidFinishRecording:(AVAudioRecorder *)avrecorder successfully:(BOOL)flag{ [self.record setTitle:@"Record" forState:UIControlStateNormal]; [self.stop setHidden:NO]; [self.Play setHidden:NO]; } PLAYING SOUND USING AVAUDIOPLAYER
Finally, we are at the point where we can implement the “Play” button for audio playback using AVAudioPlayer. In the ViewController.m, edit the “playAction:” button method using the following code: - (IBAction)playAction:(UIButton *)sender { if (!recorder.recording){ player = [[AVAudioPlayer alloc] initWithContentsOfURL:recorder.url error:nil]; [player setDelegate:self]; [player play]; } } The above code is very simple. Normally, there are few points needs to be configured an audio player: Initialize the audio play and add or assign a sound file to it. Here it is the audio file of the recording. Give a path of an audio player delegate object, which can handles error during the recording as well as the playback-completed event. This will be going to use the playAudio: method to play the sound file. IMPLEMENTING THE AVAUDIOPLAYERDELEGATE PROTOCOL This delegate of an AVAudioPlayer object which is AVAudioPlayerDelegate protocol. This delegate allows us to handle interruptions, audio decoding errors and will be going to updates the user interface when an audio has finished playing. All methods in AVAudioplayerDelegate protocol are optional.
Let see how it works, We are going to implement the “audioPlayerDidFinishPlaying:” method to display an alert message after the audio recording has stopped playing. Add the following code in ViewController.m: - (void) audioPlayerDidFinishPlaying:(AVAudioPlayer *)player successfully: (BOOL)flag{ UIAlertController *alertPrompt = [UIAlertController alertControllerWithTitle:@"Completed" message:@"The Recording has been Finished" preferredStyle:UIAlertControllerStyleAlert]; UIAlertAction *action = [UIAlertAction actionWithTitle:@"Okay" style:UIAlertActionStyleCancel handler:nil]; [alertPrompt addAction:action]; [self presentViewController:alertPrompt animated:YES completion:nil]; } RUN THE BUILD AND SEE THE ACTION We will now be going to run and test whether the audio is working fine or not on a physical device or software simulator. If you are using an actual device like iPhone, the audio being recorded comes from the device connected to the built-in microphone or headset of the device. If you are testing the application with Simulator, the audio will come from the system’s default audio input device as set in the System Preference. So let’s compile and run the app. In the First launch, you will see the record button only as we have to hide the other buttons at initial launch so don’t panic wait for some time.
Now Tap “Recording Button” to start recording. Say something, tap the “Stop” button and then select the “Play” button to listen to the playback. Now after you will tap on recording button then it will display other two buttons which are “stop” and “play” button as you can see below.
SUMMING UP I hope this blog will serve you what you have expected according to its title. Remember, this library is quite useful in the form of multimedia and audio, video features and is able to provide you a vast variety of features in iOS. If you like this tutorial and want more tutorial similar to this then let me know below in the comments. Until next time.!! Keep learning and keep coding.!!! Connect with source url:- https://www.loginworks.com/blogs/record-play-audio- avfoundation-framework-ios/