Download
1 / 7
70 likes | 84 Views
Learn how to stain and analyze DNA gels for DNA fingerprinting experiments. Follow step-by-step instructions to make DNA bands visible and interpret the results.

E N D
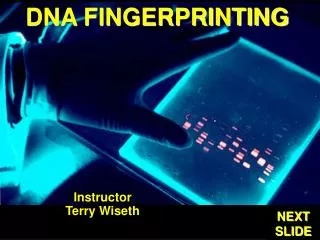
DNA FingerprintingGel Staining and AnalysisStudent Instructions
Gel Staining and AnalysisStep 1 • When electrophoresis is completed, turn off the power supply. • Remove the lid from the box. • Lift the lid to remove it from the box. DNA Fingerprinting Student Instructions
Gel Staining and AnalysisStep 2 • To stain the gel to make the DNA band visible, remove the gel tray from the electrophoresis unit and place the tray into a plastic container. • Slide the gel off the tray by pushing on one end of it. DNA Fingerprinting Student Instructions
Gel Staining and AnalysisStep 3 • Add the Carolina Blu DNA Stain, making sure the gel is completely immersed. Do not pour the stain directly on the gel. • Stain the gel for 15 minutes. Agitate gently, if possible. DNA Fingerprinting Student Instructions
Gel Staining and AnalysisStep 4 • Pour the stain back into the bottle. • Cover the gel with distilled water to destain. • Agitate gently, if possible, for 30 to 40 minutes, changing the water every 10 minutes. DNA Fingerprinting Student Instructions
Gel Staining and AnalysisStep 5 • The gel can be displayed to the class by sliding it onto a piece of plexiglass and placing it on a white sheet of paper or on a white-light viewing box. DNA Fingerprinting Student Instructions
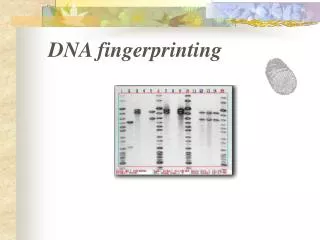
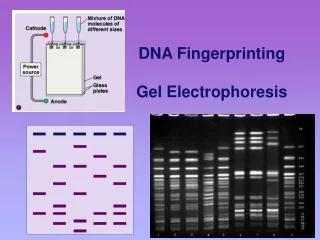
Gel Staining and AnalysisStep 6 • Ideal gel • Stained with ethidium bromide and viewed under UV light source DNA Fingerprinting Student Instructions