Download
1 / 10
100 likes | 116 Views
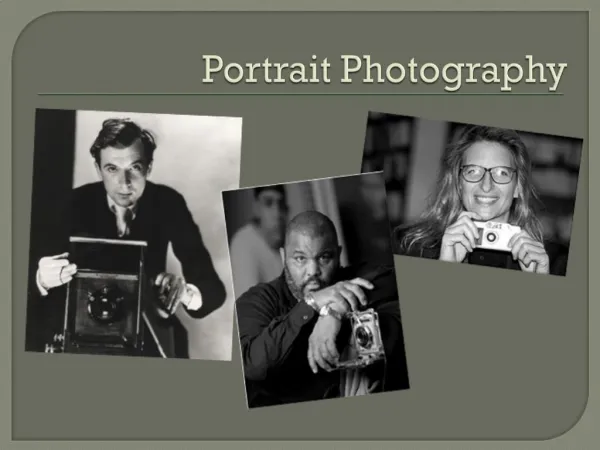
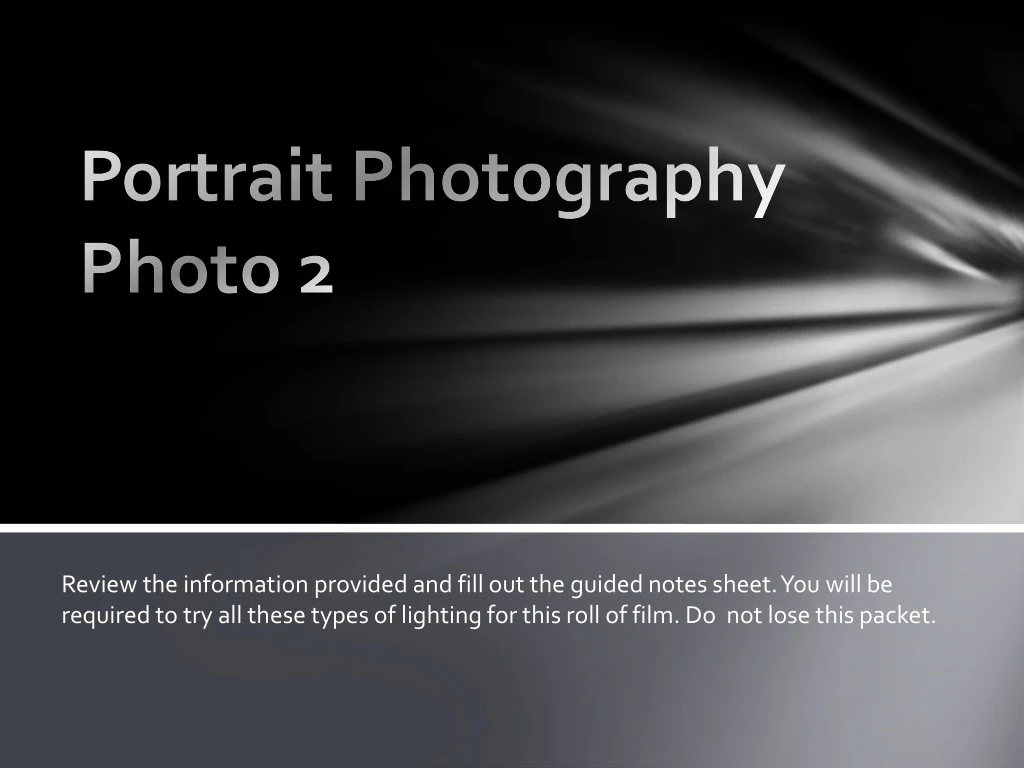
Portrait Photography Photo 2. Review the information provided and fill out the guided notes sheet. You will be required to try all these types of lighting for this roll of film. Do not lose this packet. Types of Portraiture.

E N D
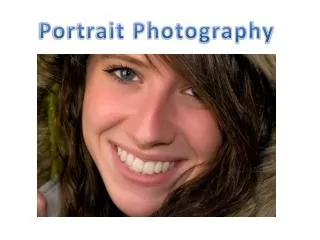
Portrait PhotographyPhoto 2 Review the information provided and fill out the guided notes sheet. You will be required to try all these types of lighting for this roll of film. Do not lose this packet.
Types of Portraiture • Snapshot-a totally unplanned, spur of the moment event is captured spontaneously – that lucky time when the lighting is just right on the subject, when they are positioned in an interesting place or angle, and when their action or mood is worth documenting • Informal / Environmental -informal poses that are planned to include the available background and possible props to give context to a situation as it occurs- because these candid shots are somewhat planned, you can take the time to gauge camera light meter settings, check the framing in the viewfinder and tell your subject to stand still or smile. • Formal Portraiture -subject position, background, possible props, and lighting are all carefully planned to present the most flattering shadows and arrangement-the photographer often takes a series of shots in order to allow the subject to choose the best or most tasteful poses
Lighting for Portraiture Darlene Hildebrandthttp://digital-photography-school.com/6-portrait-lighting-patterns-every-photographer-should-know • Short • Rembrandt • Board • Split • Butterfly • Loop
Catch Light – A Must in Portraiture • See how the bright spot is actually hexagon with a dark center? This is what is known as the “catch light”. Without the eye of the subject catching this light, the eyes will appear dark and lifeless. You need to ensure that at least one eye has a catch light to give the subject life. Notice it also lightens the iris and brightens the eye overall. This also adds to the feeling of life and gives them a sparkle. The positioning of the main light is usually about 45 degrees from the camera-subject axis and should be slightly higher than the subject. A good method to determine proper placement of the main light is to look at the catchlights in the subject’s eyes. The catchlights should be at either the one o’clock or eleven o’clock position. Depending on your subject, the height of the light may need to raised or lowered to get the catchlights in the eyes.
Split Lighting Split lighting is exactly as the name implies – it splits the face exactly into equal halves with one side being in the light, and the other in shadow. It is often used to create dramatic images for things such as a portrait of a musician or an artist. Split lighting tends to be a more masculine pattern and as such is usually more appropriate or applicable on men than it is for women.
Loop Lighting Loop lighting is made by creating a small shadow of the subjects noses on their cheeks. To create loop lighting, the light source must be slightly higher than eye level and about 30-45 degrees from the camera (depends on the person, you have to learn how to read people’s faces).
Rembrandt Lighting Rembrandt the painter often used this pattern of light in his paintings, as you can see in his self portrait here. Rembrandt lighting is identified by the triangle of light on the cheek. Unlike loop lighting where the shadow of the nose and cheek do not touch, in Rembrandt lighting they do meet which, creates that trapped little triangle of light in the middle. To create proper Rembrandt lighting make sure the eye on the shadow side of the face has light in it and has a catch light, otherwise the eye will be “dead” and not have a nice sparkle. Rembrandt lighting is more dramatic, so like split lighting it creates more mood and a darker feel to your image. The main light is positioned high and on the side of the face that is away from the camera.
Butterfly Lighting Butterfly lighting is created by having the light source directly behind the camera and slightly above eye or head level of the subject (depends on the person). It is sometimes supplemented by placing a reflector directly under their chin, with the subject themselves even holding it! This pattern flatters subjects with defined or prominent cheek bones and a slim face. Someone with a round, wide face would look better with loop or even split to slim their face. This pattern is tougher to create using window light or a reflector alone. This style is best suited for subjects with a normal oval face and is considered to be a glamour style of lighting best suited for women. It is not recommended for use with men because it has a tendency to highlight the ears – creating an undesirable effect.
To create broad lighting the face is turned away from the light source. Notice how the side of the face that is towards the camera has the most light on it and the shadows are falling on the far side of the face, furthest from the camera. Simply put broad lighting illuminates the largest part of the face showing. Broad Lighting This produces a larger area of light on the face, and a shadow side which appears smaller. Broad lighting is sometimes used for “high key” portraits. This type of lighting makes a person’s face look broader or wider (hence the name) and can be used on someone with a very slim face to widen it.
Short Lighting Short lighting is the opposite of broad lighting. As you can see by the example here, short lighting puts the side turned towards the camera (that which appears larger) in more shadow. It is often used for low key, or darker portraits. It puts more of the face in shadow, is more sculpting, add 3D qualities, and is slimming and flattering for most people.