Download
1 / 11
110 likes | 340 Views
Floral Design The ‘L’ Line Arrangement. Created by Ms. Holli Bowman & Mr. David Lynn Hall County Board of Education Spring, 2003 Modified by Georgia Agriculture Education Curriculum Office September 2005. Step 1 – Select Materials. A low container 2 gladioli 9 carnations

E N D
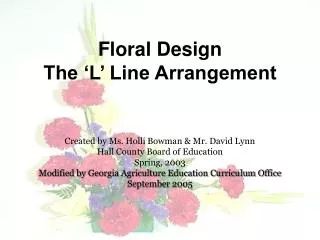
Floral DesignThe ‘L’ Line Arrangement Created by Ms. Holli Bowman & Mr. David Lynn Hall County Board of Education Spring, 2003 Modified by Georgia Agriculture Education Curriculum Office September 2005
Step 1 – Select Materials • A low container • 2 gladioli • 9 carnations • 1 stem of statice • Leather leaf • Floral foam • Anchor tape
Step 2 – Prepare the Container Select a low or container for this design. Soak the floral foam in warm preservative solution and place it in the container so the foam protrudes at least one inch above the container. Secure with anchor tape.
Step 3 – Establish Height & Width Establish the height of the arrangement with a gladiolus that has the bottom floret removed. (Save this for future use.) Insert the stalk in the back left corner of the foam. 1
Step 3 -- Continued Establish the width of the arrangement by removing the bottom two florets – as one stem – from a second gladiolus. (Save these for later use.) Position the second gladiolus parallel to the table so that the vertical and horizontal lines meet at a 90-degree angle. 2
Step 4 – Insert Remaining Glads Add the gladiolus florets that you saved from step 3 to the arrangement as shown in the picture. Flower #3 should be the stem with 2 florets. Angle this stem forward and to the left to give depth to the arrangement. 3
Step 4 – Insert Remaining Glads Flower #4 should be placed at a 45-degree angle between the two main lines. It should never be more than ¼ the length of the vertical line. 4
Step 5 – Insert Carnations Insert the carnations in a rhythmic fashion along the lines of the arrangement as shown in the photo.
Step 6 – Green the Arrangement Green the arrangement by placing sprigs of foliage in front of the flower stems, but below the flower heads. Also green the back of the arrangement.
Step 7 – Add filler flowers Add small sprigs of statice in the spaces between the carnations.