When your Suzuki's headlamp gets foggy, dim, or stops working altogether, it’s not just a cosmetic issue—it’s a safety concern. Whether you're driving a Swift through the city or taking your Mehran on rural roads, clear visibility is key. Suzuki head lamp unit replacement on a Suzuki isn't as complicated as it sounds. With a few tools, some patience, and a little guidance, you can do it yourself and save money on labor costs. This guide will walk you through the process step-by-step, covering popular models like the Suzuki Swift, Mehran, Cultus, Alto, and Wagon R.
Understanding the Suzuki Headlamp Unit
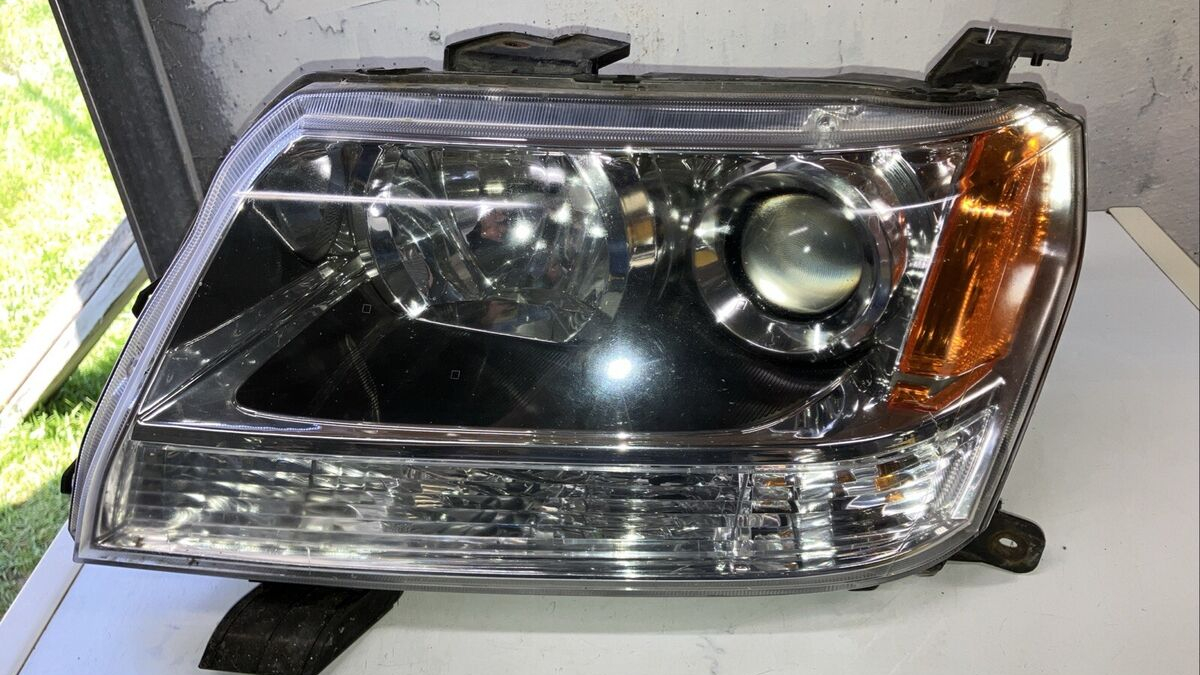
The headlamp unit is more than just a bulb—it includes the reflector housing, lens cover, and sometimes the motor for leveling the beam. Suzuki models use halogen or LED headlamps, depending on the model and variant. Over time, these units can fade due to UV exposure, moisture ingress, or impact damage. Replacing the full headlamp unit ensures better lighting, improved aesthetics, and compliance with safety regulations. Before starting, it’s essential to understand the structure and fitment of your specific model’s headlamp, as each may have slight variations.
Tools and Preparations You’ll Need
Before diving in, gather the right tools: a flathead and Phillips screwdriver, socket wrench set (usually 10mm), a plastic trim removal tool, and gloves. You’ll also need a new OEM or high-quality aftermarket headlamp unit for your specific Suzuki model. Make sure your car is parked on a level surface with the engine turned off and the keys removed. Disconnect the battery to avoid any electrical mishaps while handling the wiring. If you're working at night or in a dark garage, use a headlamp or work light to keep things visible.
Removing the Old Headlamp Unit
Begin by opening the hood of your car. Most Suzuki models like the Swift and Cultus have a few plastic clips and bolts securing the front bumper. You’ll need to remove these carefully using the plastic trim remover and socket wrench. Start from the wheel well and under the bumper to release the clips, then move to the top bolts near the grille. Once the bumper is slightly loose, you’ll have enough access to the headlamp unit. Locate the screws or bolts fixing the headlamp in place—typically three to four. Unscrew them while supporting the unit to prevent it from falling forward.Now, gently pull the headlamp unit forward. Disconnect the wiring harnesses connected to the bulbs or LED drivers by pressing the tabs and sliding them off.
Installing the New Headlamp Unit
Before installation, compare the new unit with the old one to confirm the shape, mount points, and wiring sockets match. Begin by reconnecting all wiring harnesses to the new unit. Ensure each plug clicks into place snugly. Slide the new headlamp unit into its slot and align it with the mounting points. Use the previously removed screws or bolts to fasten the unit, starting with the top bolts for stability. Avoid overtightening as it can crack the plastic housing. Once the headlamp is secure, reconnect the leveling motor if applicable.After securing the headlamp, reattach the front bumper. Start by aligning the edges near the fender, then gently press the bumper into place. Reinsert all plastic clips and bolts in reverse order.
Testing and Adjusting the Headlamp
Reconnect the car battery and start the ignition. Turn on the headlights and check for proper function—both low and high beams should work without flickering. If the beam appears misaligned, use the adjustment screw on the back or side of the unit to fine-tune the aim. Park the car about 10-15 feet from a wall and use masking tape to mark the beam level. The light should be level and not pointing too high or too low. Some Suzuki models allow for vertical and horizontal adjustment—consult your owner's manual for guidance.
Model-Specific Tips and Common Issues
For Suzuki Swift, be cautious when removing the bumper as the fog lamp wiring is delicate. In Suzuki Mehran, the headlamp unit is smaller and easier to replace, with fewer clips to handle. The Cultus may require additional removal of grille components, while the Wagon R often has tight space near the battery, so extra care is needed when maneuvering tools. Suzuki Alto (new shape) has LED headlamps in upper variants, which may require a bit more precision during wiring.Common issues during replacement include stripped screws, broken bumper clips, or headlamp condensation post-installation. To avoid condensation, ensure all rubber seals are intact and that the unit is properly sealed against moisture.
How to Choose the Right Replacement Headlamp Unit
Picking the right headlamp unit for your Suzuki is essential for a successful replacement. First, check your car’s make, model, and year—this information ensures you buy the correct fit. OEM (Original Equipment Manufacturer) headlamp units are usually the safest bet, as they guarantee compatibility and quality. However, many aftermarket units also provide excellent performance, often with enhanced aesthetics like smoked lenses or DRL (Daytime Running Light) features. Always verify the part number and compare images before purchasing, especially if buying online. Also, consider whether your model uses halogen, HID, or LED lighting, as the internal wiring and sockets may vary.
Estimated Cost of Headlamp Replacement for Suzuki Models
Costs can vary depending on your Suzuki model and the type of unit you choose. For example, a standard Suzuki Mehran halogen headlamp unit might cost around PKR 2,000 to 3,500, while a more modern Suzuki Alto AGS LED unit can reach PKR 10,000 or more. Aftermarket units are usually cheaper but may lack long-term durability or weather sealing. If you opt for a professional mechanic, expect to pay an additional PKR 1,000 to 2,500 in labor charges. Doing it yourself can significantly cut costs while offering a rewarding hands-on experience.
Safety Tips While Working on Electrical Components
Always disconnect your car battery before starting any headlamp replacement job. This prevents accidental short circuits and protects your vehicle’s electronic systems. Wear gloves to avoid contaminating the bulbs with oil from your skin, especially if you’re handling halogen lamps. Use insulated tools and avoid rushing—tight spaces can lead to scraped knuckles or damaged clips. A little caution goes a long way in ensuring a smooth, injury-free DIY experience.
Conclusion
Changing the headlamp unit on your Suzuki isn’t as intimidating as it might seem. With the right tools, a little patience, and careful handling, it’s a task that most DIYers can complete in under an hour per unit. Not only does it restore visibility and enhance your car’s look, but it also boosts your confidence as a hands-on car owner. Whether it’s a Swift, Cultus, Mehran, or Alto, your Suzuki will thank you with bright, clear beams lighting the way ahead.
FAQs
Can I replace a Suzuki headlamp unit without removing the bumper?
For most models, partial or full removal of the bumper is necessary to access all mounting bolts securely.
How do I know if I need to replace the entire headlamp unit or just the bulb?
If your headlamp lens is foggy, cracked, or the reflector is damaged, you’ll need the full unit. If only the light is out, a bulb swap might be enough.
Is it safe to install an aftermarket headlamp unit?
Yes, as long as it’s certified, fits your model, and matches OEM specs. Poor-quality units can compromise beam focus or allow moisture in.
How can I prevent headlamp fogging after replacement?
Ensure seals are in place and tight. You can also add a small silica gel pack inside the housing if moisture persists.
Do I need to re-align the headlights after replacing the unit?
Yes, realignment is recommended to ensure optimal beam direction and road visibility, especially if you install a new housing or bulb.