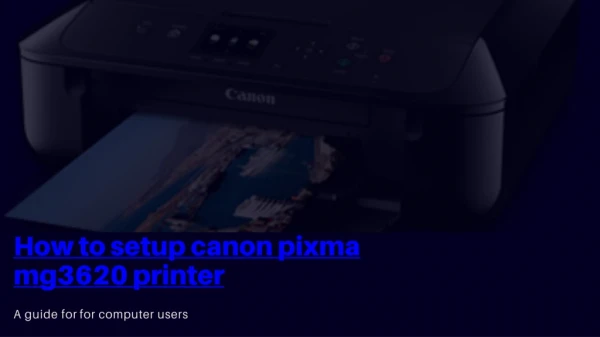
Download
1 / 8
80 likes | 81 Views
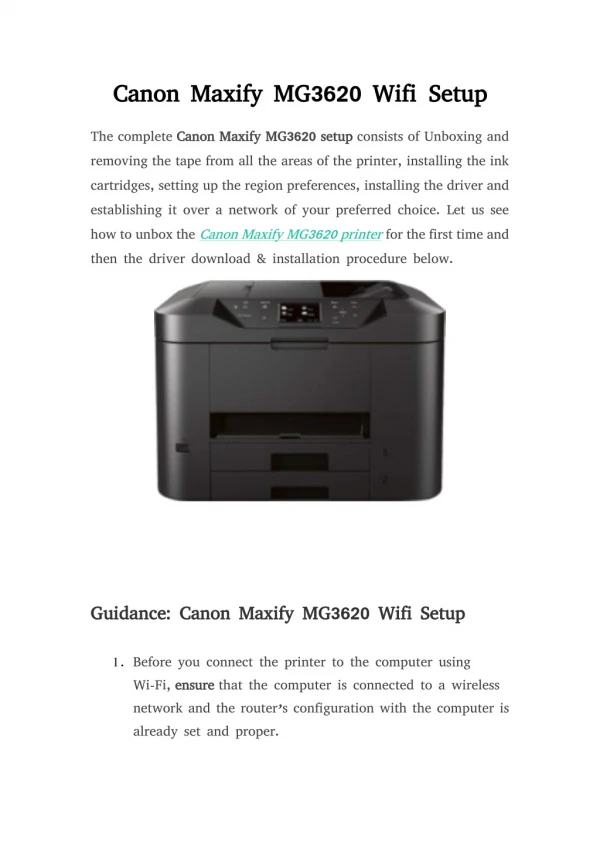
Straightforward steps below and follow them to complete the Canon Pixma Tr4520 Fax Setup. Check to see sure your Canon Pixma TR4520 printer and system are on the same network before starting the Fax setup. Ensure that the Canon Pixma TR4520 printer driver is installed on your computer.<br>

E N D
INDEX (1) Connect Telephone Line. (2) Set Telephone Line Type. (3) Set receive mode. net net (4) Set sender information.
Canon Pixma Tr4520 Fax Setup: To Perform Canon Pixma Tr4520 Fax Setup, read the quick, simple steps given below, and proceed with the same. Before you begin the Fax setup, check if your Canon Pixma TR4520 printer and the system are connected to the same network. Make sure that you have installed the Canon Pixma TR4520 printer driver on your system.
Connect Telephone Line net Switch off your Canon Pixma TR4520 printer if it is turned ON. Connect your Canon PixmaTR4520 printer to the telephone wall jack using a telephone line cable. You want know more steps click here : Connect Telephone Line
Setting Telephone Line Type Press the Power button on your Canon Pixma TR4520 printer’s control panel to turn it ON. Launch the Setup screen by pressing the Setup button. Now, select Fax settings FAX user settings Telephone line type. You want know more steps click here : Set Telephone Line Type
Setting the Receive Mode On your Canon Pixma TR4520 printer’s control panel, press the FAX button. Select Menu/ Wireless connect Receive mode set. You want know more steps click here : Set Recive Mode .Net.Net
Setting the Sender Information Make sure that your Canon Pixma TR4520 printer is turned ON. Navigate to the Setup screen. Choose Fax Settings FAX user settings. Check if the Unit TEL no.registr option is selected. You want know more steps click here : Set Sender Information
Thank You For More Information Visit: https://canon-pixma-tr4520.com/canon-pixma-tr4520-fax-setup