Download
1 / 3
30 likes | 49 Views
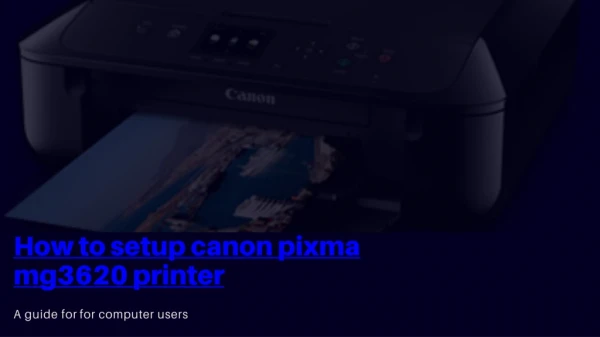
Canon Pixma mg3620 Setup - Quick & easy steps for MG3620 Printer Unboxing Setting Up. Contact Us for Canon Pixma mg3620 printer Instant Solution

E N D
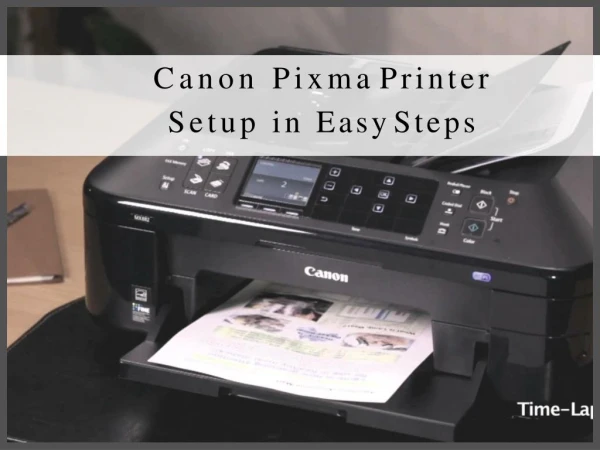
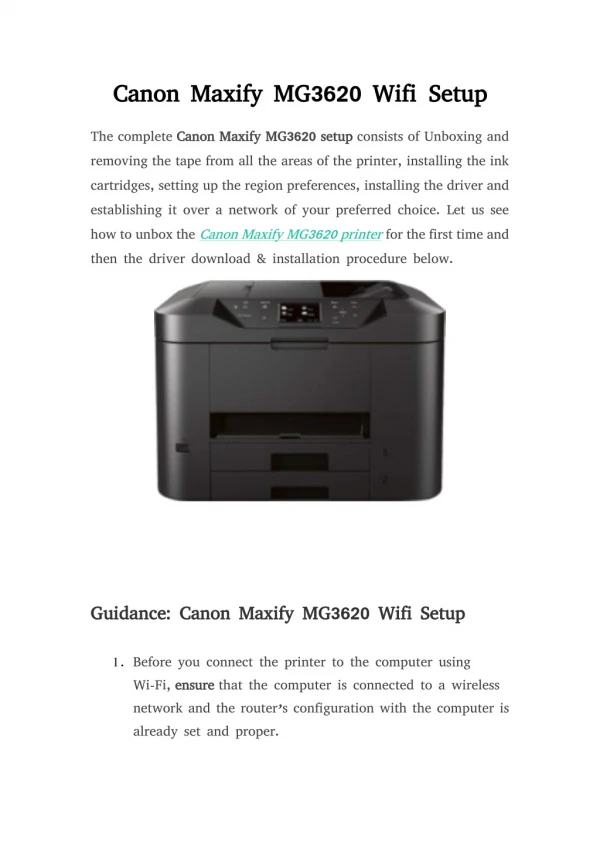
Canon Canon Maxify Maxify M MG3620 G3620 Wifi Wifi Setup Setup The complete Canon Canon Maxify Maxify M MG3620 G3620 setup setup consists of Unboxing and removing the tape from all the areas of the printer, installing the ink cartridges, setting up the region preferences, installing the driver and establishing it over a network of your preferred choice. Let us see how to unbox the Canon Maxify MG3620 printer for the first time and then the driver download & installation procedure below. Guidance: Guidance: Canon Canon Maxify Maxify M MG3620 G3620 Wifi Wifi Setup Setup 1. Before you connect the printer to the computer using Wi-Fi, ensure ensure that the computer is connected to a wireless network and the router’s configuration with the computer is already set and proper.
2. “ “Press Setup menu. Press” ” the Setup button on your printer and it takes to the 3. Choose and then press OK. Choose Wireless LAN setup using the left and right arrow keys 4. The Wi-Fi activated. Wi-Fi light appears blue when the Wireless connection is 5. Select 6. When the printer prompts to connect to an access point, press OK OK. Select Other Setup OK WPS OK Push button method OK. 7. If the access point is ready, again press 8. “ “Press the OK button on the printer within two minutes of releasing press the OK button. Press” ” the WPS WPS button button on the router for about 5 seconds and the WPS button. 9. The Wi-Fi light flashes when the printer searches for the access point. 10.Now, when you see the message that the printer is connected to the access point, then press press OK OK. 11.After menu. After the connection is set, it returns to the Setup screen 12.Now, the final 13.Install downloaded from our website. final setup setup is to install the printer software. Install the full feature software or driver that you have 14.Keep you can provide it if prompted. Keep the user id and password of the access point ready so that 15.Open the downloaded “.exe installation, if the installer prompts to choose the connection .exe” ” file file and at the time of
method, select it as Wireless connection and continue with the prompts that apply for the driver installation. 16.Now MB2320 setup printer. READ Now, this completes the Wi-Fi setup of your Canon Maxify READ MORE MORE… …