Download

1 / 57
570 likes | 593 Views
Unleash your creativity by following step-by-step directions to draw a self-portrait with chalk. Learn shading techniques and facial features. Enhance your skills and create a stunning artwork.

E N D
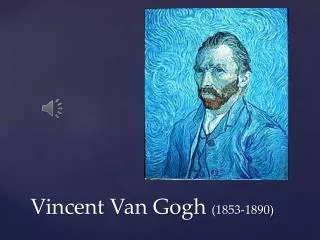
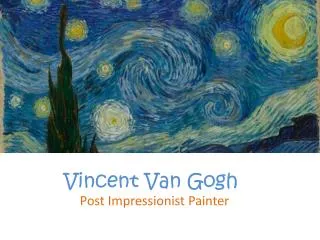
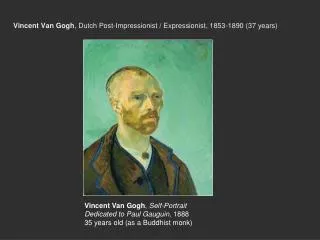
Vincent Van Gogh’sSelf Portraits Express Yourself!
Now you will draw a self portrait following your teacher’s directions.
Use the side of a piece of chalk to form an oval in the middle of your paper. Color it in.
Use a darker color to add shading in middle of the head where eyes will go and to color the neck.
Add white chalk across forehead, nose and cheeks to lighten raised areas of face. Blend it in.
With dark beige or brown chalk draw a line straight down from the inner edge of each eyebrow for nose.
Draw a “c” shape on the left and a backwards “c” on the right, and a curved line to connect both sides of the nose.
Draw small rainbow shaped lines to form nostrils on each side of the nose
Halfway between the nose and chin draw a straight line for mouth.
On top of line draw 2 rainbow shapes for upper lip. Draw a curved line on the bottom to form lower lip.
Create lip color by drawing vertical lines with pink or red chalk.
Draw a small circle in the middle of each eye to create the color of your iris.
Draw ears on each side of the head the same length as from the eyebrows to the lips.
Add hair by drawing with the chalk in the same direction as the hair grows.
Vincent Van Gogh’s Pere Tanguy
Notice the background in the Portrait of Pere Tanguy. Van Gogh painted his favorite paintings of Japanese prints.