Download
1 / 28
280 likes | 301 Views
Engage in activities exploring observational drawing skills, from sketching to shading. Practice various methods like contour drawing and negative space to develop your artistic abilities. Utilize mind mapping to understand what artists observe and how it informs their art. Delve into different techniques such as simplifying shapes, measuring, and value scales to further enhance your observational skills. Each task is designed to help you see and interpret the world around you through an artist's lens while honing your drawing techniques effectively.

E N D
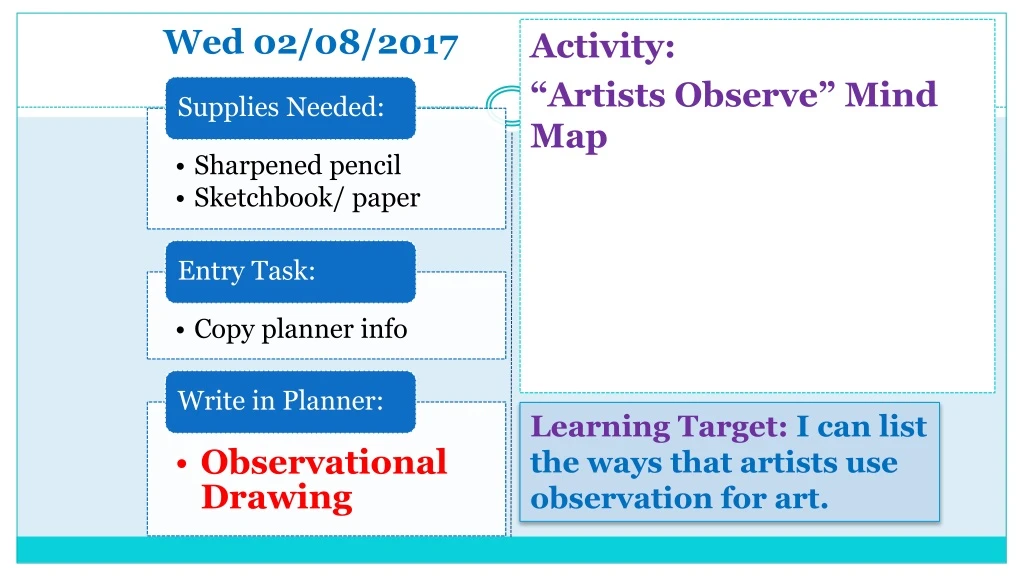
Wed 02/08/2017 Learning Target: I can list the ways that artists use observation for art. Activity: “Artists Observe” Mind Map
Artists Observe In this unit, students will: Explore observation and how it relates to art making. What do artists observe? Why do artists observe? Develop observational drawing skills. Sketching, contour drawing, scribble drawing, negative space, simplifying shapes, shading
EXPLORE: MindMap #1 • Get in a group of 2-3 people. • Make a mind map in your sketchbook. • What are different things artists observe? • What do you like to observe? • You should have at least 10 parts to your mind map. ? ? Artists Observe ? ?
Thurs 02/09/2017 Learning Target: I can practice different methods of observational drawing. Activity: • Grab your drawing object as you enter • Learning different ways to “Sketch” • Non-dominate hand • Continuous line Contour draw • 1 min quick sketches
Sketching Sketches are not “finished” pieces of artwork. The artist draws quickly. Sketches can take as little as a a few seconds. What is the purpose of a sketch? To record something the artist sees To develop an idea for later use To visually communicate an idea
#2 DEVELOP SKILLS: Sketching Choose a fairly complex 3 dimensional object (not a photo or anything on a screen) to draw. Complete all drawings based on the directions given on each slide. Object Suggestions Toy car or animal Wooden mannequin Plant or flower Tape dispenser Old camera Too simple: Glue bottle, book, laptop, cell phone
Drawing Exercises Instructions Use the SAME object for each drawing exercise. Complete the slides in order. Each exercise builds on the last. Follow the directions on each slide. Explore. Try. Fail. You are learning and growing - don’t expect everything to look perfect (or even good). Your mindset (attitude) is more important than what your drawings look like. This is an example of what your finished drawings should look like.
#1~Non-Dominant Hand Drawing Use one page in your sketchbook and a pencil or marker for this drawing. Set up your object Set a timer for 3 minutes Start your timer and draw your object with your non-dominant hand Label each drawing
#2~ Continuous Line Contour Drawing The “contour” is the outside edge of an object If you have never done a contour drawing, watch the video tutorial Create a continuous line contour drawing of your object. Remember to go slow and add inside details like in the video. Label each drawing https://youtu.be/q9_yTkfNdiw
#3~ 1-Minute Sketches x 5 Complete a series of quick sketches of your object. Draw it at least 5 times, spending one minute on each drawing. TIPS: ● Sketching means working quickly and loosely and rarely lifting your drawing tool. ● Use Ghost lines! ● Don’t erase! Label each drawing
#4~ Negative Space Drawing Use an entire page in your sketchbook Use a chunk of charcoal or the side of your pencil. Draw ONLY the negative space and color it in with a solid color like the example. https://youtu.be/y9YREoQ_j18 Label each drawing
Mon 02/13/2017 Learning Target: I can practice different methods of observational drawing. Activity: • Grab your drawing object as you enter • Learning different ways to “Sketch” • Simplify shapes • Measuring/ sighting • Value scale
#5~ Simplify the Shapes Break down your object into it’s simplest shapes. Video Tutorial: https://www.youtube.com/watch?v=TntR8sb-UMc Label each drawing
#6~ Measuring/ Sighting Using your pencil and one eye closed, measure parts of your object to better draw in proper proportion. https://youtu.be/IBXpaxBVlDs Label each drawing
#7~ Value Scale Label each drawing activity Using a drawing pencil create a 5 (or more) level VALUE scale. https://youtu.be/lkHWlXTZFB0
TUE 02/14/2017 Learning Target: I can practice different methods of observational drawing. Activity: • Grab your drawing object as you enter • Learning different ways to “Sketch” • Value Sphere • Long-draw with value
Adding Dimension by Adding Value Many students have a goal of drawing realistically. The biggest step to achieving this goal is learning how to make a two dimensional drawing look three dimensional by adding value through shading. Read the directions
Looking at this image, where is the: Light Source Highlight Shadows
Highlights are the places the light first hits. Don’t get highlights confused with light colors.
Shadows are areas that are blocked from the light source. Don’t get shadows confused with dark colors.
#8 Shade a Sphere After the video on how to shade a sphere, make a shaded sphere in your sketchbook. Personal sphere https://youtu.be/maejnk9tF5Y https://youtu.be/GXeIf-fpawo
Wed 02/15/2017 Learning Target: I can practice different methods of observational drawing. Activity: Grab your drawing object as you enter Full period to work on Final Draft Drawing
#9~ Detailed Drawing Spend at least 60 minutes (about 2 class periods) drawing your objects as accurately and as detailed as you can. Use your favorite sketching technique and “ghost lines” to START the drawing. Use a pencil and NEW page in your sketchbook. FILL the page! Add texture, value and details! TIPS: ● Start with the sketching or basic shape method and then add details after ● Draw LIGHTLY Label each drawing