Download
1 / 9
90 likes | 106 Views
Learn how to connect and capture digital video using a FireWire or video card. Attach cameras, decks, monitors, and more. Capture high-quality video with ease.

E N D
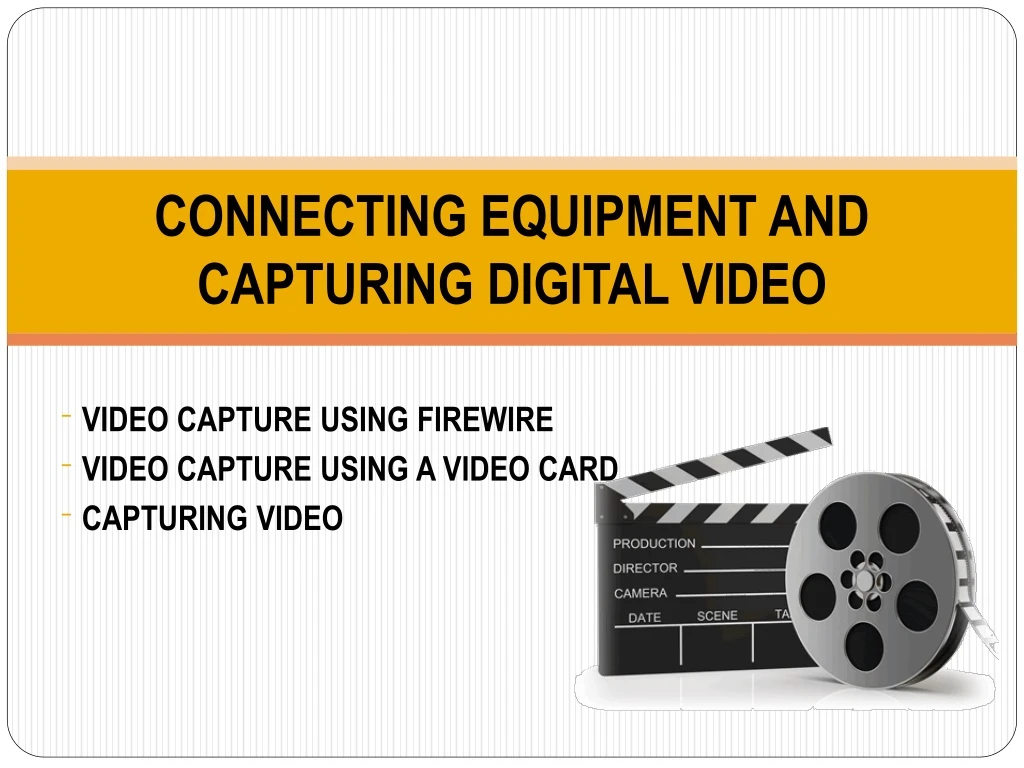
CONNECTING EQUIPMENT AND CAPTURING DIGITAL VIDEO VIDEO CAPTURE USING FIREWIRE VIDEO CAPTURE USING A VIDEO CARD CAPTURING VIDEO
VIDEO CAPTURE USING FIREWIRE • Need a computer with either built-in FireWire or a FireWire PCI card and a digital video camera. • Will also need • Four-to-six-pin FireWire cable • Four –pin = Connector attaches to the digital video camera • Six – pin = Used to attach devices like FireWire hard drives to the computer. Attaching a Digital Video Camera • Get video into a computer is to attach a digital video camera directly to the FireWire port. ( Refer text book page 58)
VIDEO CAPTURE USING FIREWIRE • Tips to attach a digital video camera to the FireWire port of computer:- • Identify the FireWire port on the back of computer. • Identify the FireWire port on digital video camera. • Connect the four-to-six-pin FireWire cable from the digital video camera ( Four-pin) to the FireWire port of the computer (six-pin) • Turn your devices on • Launch your video editing software program and any third-party device control software. • Make sure the computer recognizes the video camera and the tape’s timecode before continuing.
VIDEO CAPTURE USING FIREWIRE Attaching a Video Deck • Connect the FireWire cable from digital video deck ( four-pin ) to the FireWire port on computer ( six-pin ) Attaching a Video Monitor • The video monitor has more accurate color representation that the computer monitor. • Select on computer screen when edit are not going to be the same as the color you see on the television. • Usually have an overscan and underscan feature, which allows to view the action and title safe areas. • Adjustments for precision color correction. • Switchable aspect rations, allowing the user to select either standard 4:3 or 16:9 widescreen mode
VIDEO CAPTURE USING A VIDEO CARD • Video capture cards like Matrox RTMac was capture card was to convert an analog video signal into a digital one. • Couldn’t capture full- screen (640 x 480 pixels) or full-motion (30 fps) video. • Capture card have support for a second computer monitor, in addition to a video monitor. • Low-end cards support composite video, prosumer card support S-video and high-end card support component video and SDI. • Pinnacle’s CineWave card even support HDTV. • (Refer text book: Page 162)
VIDEO CAPTURE USING A VIDEO CARD Using the Breakout Box • Breakout box is a separate unit that uses a cable to plug into the video card. • Can connect video camera, decks, and monitors directly to the inputs and outputs provided on the box. • The use the breakout box do the following • * The computer power turned off, attach the cable from • the breakout box to the video card in the back of • computer. • * Using a video source like a video camera or deck, • connect the source’s analog video out to the breakout • box analog video in. • * Connect the breakout box analog video out to a video • recording device analog video in. • * Connect your recording device analog video out to a • video monitor analog video in
VIDEO CAPTURE USING A VIDEO CARD Attaching a Second Computer Monitor • The main computer should be plugged into the computer built in monitor support. • A second monitor plug into the video card’s monitor support. ( Refer text book : Page 163 )
CAPTURING VIDEO Project Setting • Launch Adobe Premiere to begin a new project. • Choices for audio are either 12 bit / 16 bits and 32 KHz / 48 KHz Selecting A Scratch Disk • Should design hard drive to become a scratch disk. • Created scratch disk because hard drive speed and size are both significant factor in digital video. • Faster drive will minimize the risk of dropping frames when capture digital video. • Can capture your video file directly to whichever hard disk.
CAPTURING VIDEO Using Device Contol • Is software that allows the video source, such as camera or deck to communicate with your computer. • Computer can fast forward, rewind, play, pause, stop and record your frame accurately with click of the mouse. Video Capture • After you have selected your project setting, designed your scratch disk, and selected your device control, you finally ready to being capturing video. • Video Capture Setting • Audio Capture Setting • Adjusting color • Setting In and Out Points • Adjust Audio Levels.