
Forms: Getting Started
E N D
Presentation Transcript
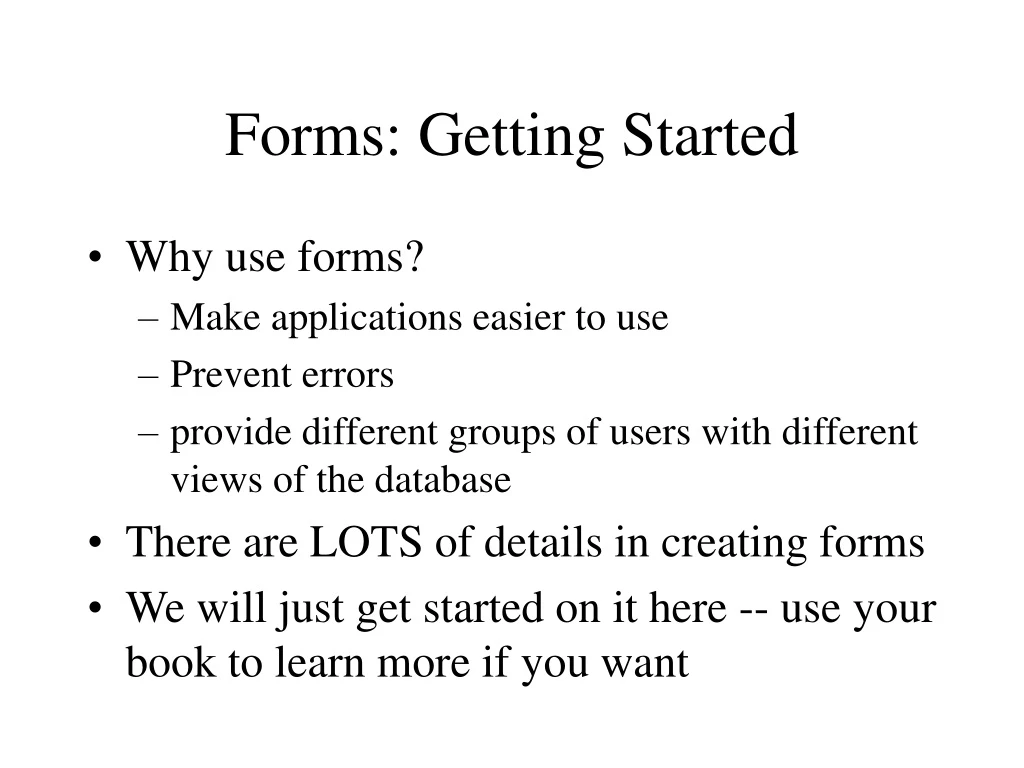
Forms: Getting Started • Why use forms? • Make applications easier to use • Prevent errors • provide different groups of users with different views of the database • There are LOTS of details in creating forms • We will just get started on it here -- use your book to learn more if you want
Two strategies for forms • Make an autoform and adjust it • Move the controls around • Remove controls you don’t want • change colors and other properties • Design the form from scratch • Put the controls you want, where you want • Set the properties as you want
Controls and Properties • On forms, everything is called a control • Boxes, buttons, etc… • Controls have properties that govern their appearance, behavior and their connection to the underlying data • Properties are CRUCIAL • the more you know, the more you can do
Making a new form is easy Experiment with autoforms & the form wizard Forms work with both tables & queries
Right-button for colors, alignment, tab order and other properties
To kill that annoying cloud picture, change the form’s “picture” property
Forms can have validation rules for each control (data field)
Moving controls can be frustrating -- stay calm! Click & drag here to move the LABEL Click & drag here to move the DATA
How to display “one-to-many” data in a way that can be easily edited? Parent form displays unique data from “one” side Subform displays repeating data from the “many” side Examples: Each resume has many prior jobs Each resume has many educations credentials In the ActRep database, each person has many activities Need a form for people and a sub-form for their activities Forms and subforms
Draw the forms and subforms on paper Create the main form first, then the subform Edit the main form to include the subform Link them together Use the properties of the subform control Use the “subform field linker” Adjust everything until you like it Strategy for subforms
Make the main form based on the “people” table This time, try working without the wizard...
A blank form, a list of field, and a toolbox for all the controls
Lots of controls to choose from Hold the mouse over the icon to see what kind of control it is. EXPERIMENT! Buttons, boxes ... … pictures... Tabs (HR/Vantage uses this a lot) Subforms (to include related tables)
Add the controls you want to the parent form 1. First click on the kind of control 2. Next click on the name of the field 3. Drag the field onto the form & move it where you want it
Edit the form as necessary • Remove, re-label, and move controls • Note the exact width (e.g., 5-1/2 inches)
Make it the right size and set its properties Right-button on the subform area to get at the properties
Data properties are critical • Source object is the name of the subform
Use the Subform Field Linker • This determines which fields are linked Read this description of the result if you’re not sure