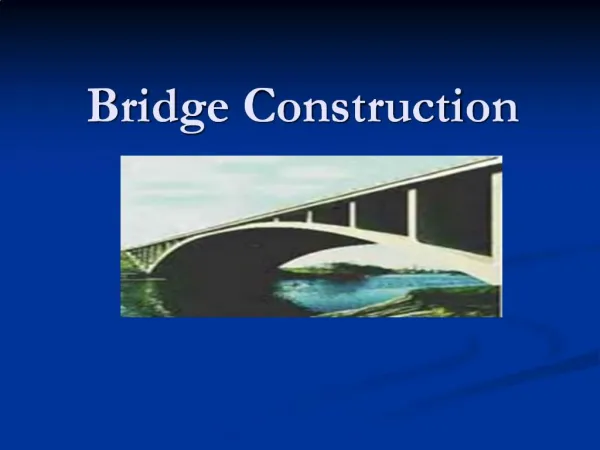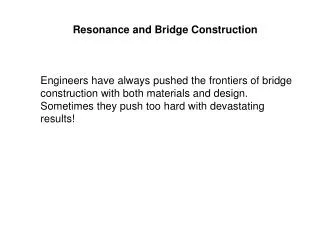
Bridge Construction
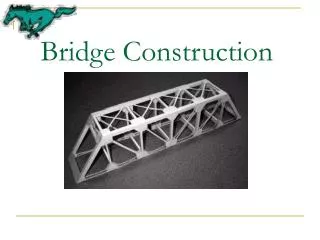
Bridge Construction. Once you have designed your bridge on Bridge Builder, you can make a VRML file to see it in 3-D. Go above and below the deck to see how the trusses are joined. VRML 3-D Image of a student’s bridge. You have now completed the design of

Bridge Construction
E N D
Presentation Transcript
Once you have designed your bridge on Bridge Builder, you can make a VRML file to see it in 3-D. Go above and below the deck to see how the trusses are joined VRML 3-D Image of a student’s bridge
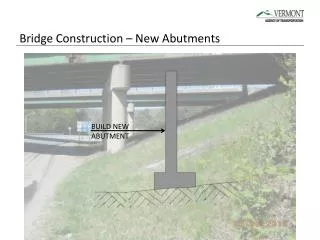
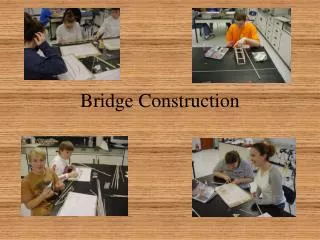
You have now completed the design of your bridge. The most difficult part now begins and that is the construction of your bridge. To build a bridge you must join many separate pieces. The stronger the joint, the stronger the bridge. We are going to view several methods of joining your bridge together.
Butted Joint A Butt joint is the weakest type of joint. Two pieces of wood joined at the ends, do not support each other. All that holds them together is the glue.
Scarf Joint Scarf joints do provide more support. If a force were applied downward on this joint, one piece of wood, would press against another adding strength.
Lap Joint The more two pieces of wood overlap, the more they can help each other. The dotted line represents a pin. A pin prevents the two pieces of wood from pulling apart.
Half-Lap Joint This is one of the strongest types of joints.
Lamination Lamination adds weight, but can provide huge amounts of support.
Notched Joint Notching locks pieces together and adds strength.
Beveled Joint Tight fitting beveled joints prevent gaps and spaces that weaken the bridge. Beveled pieces can be pinned also.
View the next few slides for construction techniques used on a real bridge. Can you determine the construction technique they used?
This is a half-lap joint Photo By: Doug Porter
This joint combines a notch and a bevel Photo By: Doug Porter
This joint show an excellent example of lamination. Pins and bolts were used to hold the boards together PhotoBy: Doug Porter
Here is an example of lap joints Photo By: Doug Porter
These joints show a butted joint and a notched joint side by side Photo By: Doug Porter
Putting it all Together Joining the trusses and adding the deck Photo By: Doug Porter
Putting it all Together Photo By: Doug Porter Beveled and Notched Joints
Putting it all Together Photo By: Doug Porter Lap, Bevel and Notch Joints
Putting it all Together Photo By: Doug Porter