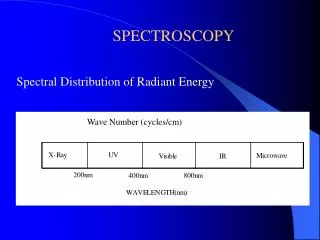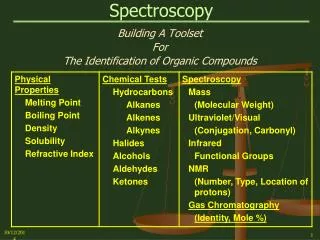
SPECTROSCOPY
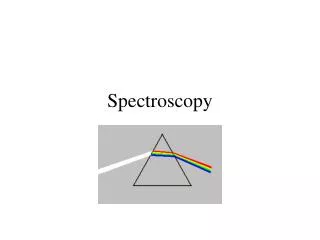
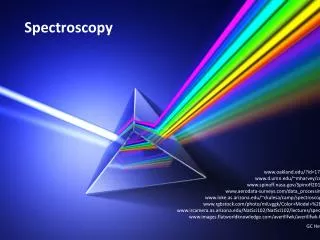
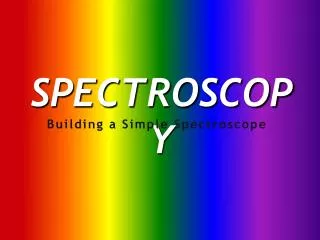
SPECTROSCOPY. Building a Simple Spectroscope. Spectroscopes are used, like prisms, to spread light out into its component colors. By analyzing these colors, we are able to determine the composition of everything from stars to streetlights.

SPECTROSCOPY
E N D
Presentation Transcript
SPECTROSCOPY Building a Simple Spectroscope
Spectroscopes are used, like prisms, to spread light out into its component colors. By analyzing these colors, we are able to determine the composition of everything from stars to streetlights.
Each element makes a different spectral image. This can be considered like an element’s fingerprint! Here’s just a few examples. For example, Iron (Fe) would look like: Carbon (C) would appear as: Magnesium (Mg) would look like:
Now, let’s make our own spectroscope so that we can analyze the various light sources around us. And remember … NEVER look directly at the sun with your spectroscope!
Constructing a simple spectroscope Materials needed: • Cardboard tube (a toilet paper or paper towel roll will do) • A piece of black construction paper (or cardboard) • An Exact-o Knife (or straight-edge razor blade) • Colored-pencil (white works best) • Scissors • Tape • Glue • Old CD, which we will use as a diffraction grating
From the black construction paper, cut two squares. Each should be 8cm by 8cm. Find the center of the first square by drawing an X from opposite corners. Then, draw a rectangle as shown in the image that is no more than 0.2 cm wide and about 1.5 cm long. Use the exact-o knife (or razor blade) to cut out the rectangle. *** Be very careful … the blade is extremely sharp!
In the center of the second square of black construction paper, cut a 1 cm square hole. You may find it helpful to draw an X again to ensure your square is centered.
To prepare the diffraction grating you will need a piece of CD. It can be obtained by peeling off the silvery film in the upper part of a CD. Be careful not to scratch it as it is very delicate…
Carefully cut a 2 cm by 2 cm square of diffraction grating, and tape the grating over the 1cm2 opening of the construction paper. Then, glue both squares to either end of the tube. It is very important that both pieces are sealed well as not to let light in.. Light should only be able to pass through the slit to the diffraction grating.
Point the slit toward a source of light, with the diffraction grating close to your eye… What can you see?
If you point the spectroscope to a filament lamp… you will see a continuum spectrum!
If you point the spectroscope to a gas lamp you will see a spectrum with lines.
Using different types of light sources, you will see different lines in the spectrum…
Other cool things to look at with your Spectroscope: • Sodium street lights • Compare daylight to a light bulb. • Different light bulbs look different (that’s why energy saving bulbs light up the room in a different way). • Neon signs. • TV and computer screens. • LEDs from computers or remote controls (these give very pure spectra, often only one color). Hands on Science Jan. 03, 2011