Download
1 / 16
160 likes | 400 Views
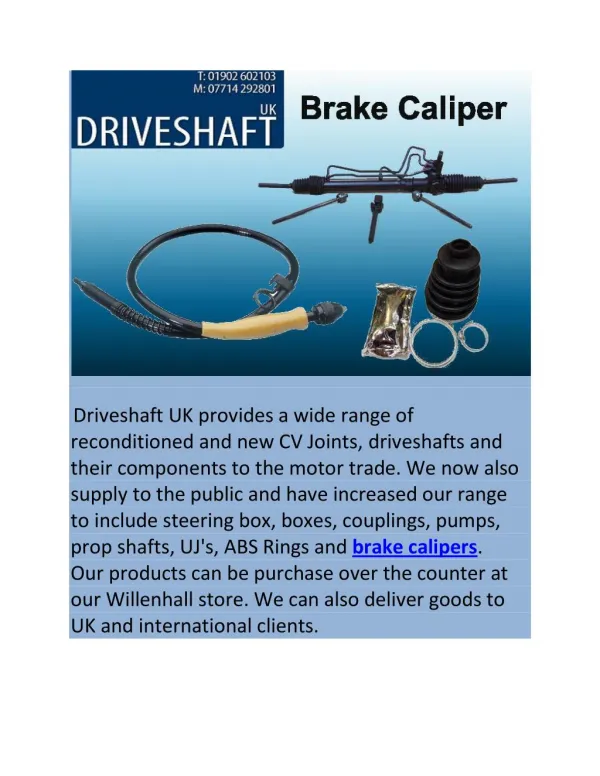
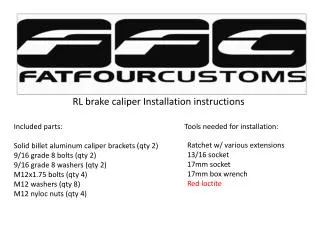
RL brake caliper Installation instructions . Included parts: Solid billet aluminum caliper brackets (qty 2) 9/16 grade 8 bolts (qty 2) 9/16 grade 8 washers (qty 2) M12x1.75 bolts (qty 4) M12 washers (qty 8) M12 nyloc nuts (qty 4). Tools needed for installation:.

E N D
RL brake caliper Installation instructions Included parts: Solid billet aluminum caliper brackets (qty 2) 9/16 grade 8 bolts (qty 2) 9/16 grade 8 washers (qty 2) M12x1.75 bolts (qty 4) M12 washers (qty 8) M12 nyloc nuts (qty 4) Tools needed for installation: Ratchet w/ various extensions 13/16 socket 17mm socket 17mm box wrench Red loctite
Disclaimer of these installation instructions These instructions will show you how to install our brake caliper bracket, it will not show you have to remove your current brake set up. Brakes are an important part and need to be handled with care. If you aren’t comfortable removing your brakes please take your car to a professional to have our caliper brackets installed. Our brakes are designed for off road use only.
Step 1 - Lay out the FFC bracket and hardware that will be used for the installation. The brackets are universal and can be used on either side of the vehicle.
Step 2 – Thread the M12x1.75 bolts through the knuckle and into the FFC brake bracket.
Step 3 – Install the M12 washer and nyloc nut on the bolts that you just installed and torqued down in Step 2. The nyloc nut needs to be torqued to 40 ft-lbs.
Step 4 – Slide the rotor onto the wheel studs. Below is a picture of a 350Z Brembo edition rotor that was redrilled to 4x114. This same steps applies whether you are 4 or 5 lug.
Step 5 – Now slide the supplied 9/16 bolts and washer through your caliper. Make sure that you install the RED LOCTITE on the exposed threads at this time, then go ahead and hand tighten into the FFC brake caliper bracket. Do not torque down until both bolts are fully installed. Torque bolts to 60 ft-lbs.
Step 6 – Here you can see the 9/16 bolts installed and torqued to spec. Next is to ensure the pistons are pushed all the way back. This will allow you to install the brake pads.
Step 7 – After you have installed both pads, install (1) one of the guide pins through the caliper and pads.
Step 8 – Install the retaining spring under the guide pin that was installed in step 7. Be sure that you install it correctly.
Step 9 – Now install the lower guide pin the same way as the top one
Step 10 – Install the retaining spring into both the top and bottom guide pins and secure it in the caliper
Step 11 – Re-install the brake line (use new crush washers) and torque to spec. Be sure to check for binding or pinching of the brake line. If you have no binding of the brake line, go ahead and bleed your brakes now.
Step 12 – Congratulations you have completed your installation. Be sure to check for leaks. Reinstall the wheels and bead the brake pads in per the manufactures procedure.
FFC RL caliper bracket tq settings FFC bracket to knuckle bolt should be tq’d to 70 ft lbs, nut on the back should be tq’d to 40 ft lbs. Install the washer and bolt through the knuckle and thread into the bracket and tq it to specs. Then install the washer and nylock nut on the back and tq that to spec. Caliper mounting bolts 60 ft lbs, make sure to apply only red loctiteon the threads. Hand tighten the bolts into the bracket, then tq to spec. Disclaimer – For off-road use only
A huge THANKS to Daniel from WerdWerx for the pictures. If you guys are located in Southern California and need any work done on your car, please let Daniel know that FFC referred you.