Download
1 / 3
30 likes | 33 Views
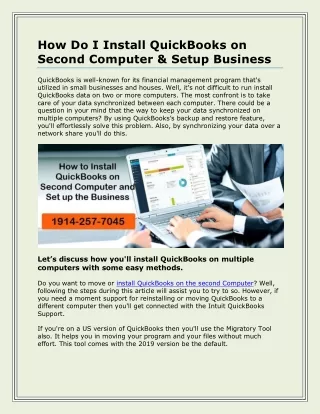
If you want to share your QuickBooks Desktop data with multiple team members. Multi-user networks make it easier to access company files from other systems as well.<br>In order to complete this setup, you need to know how to use Quickbooks on multiple computers at the same time and required some changes must be made to QuickBooks Desktop, Windows, and the server.<br>Step 1: Installing QuickBooks Desktop<br>Step 2: Change the permissions of the folder<br>Step 3: Setup Database Server Manager<br>Step 4: Give admin rights to the account<br>Step 5: Using the Database Server Manager<br>Step 6: Enable hosting

E N D
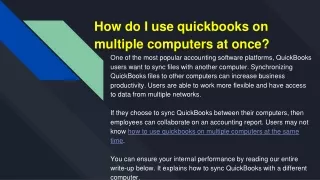
How do I use quickbooks on multiple computers at once? One of the most popular accounting software platforms, QuickBooks users want to sync files with another computer. Synchronizing QuickBooks files to other computers can increase business productivity. Users are able to work more flexible and have access to data from multiple networks. If they choose to sync QuickBooks between their computers, then employees can collaborate on an accounting report. Users may not know how to use quickbooks on multiple computers at the same time. You can ensure your internal performance by reading our entire write-up below. It explains how to sync QuickBooks with a different computer.
QuickBooks synchronization: Preparation Two ways can you sync QuickBooks: • First, make sure you check that both computers have the right installation options. If they don't, then check and connect them to the same network. • Another way is to uninstall QuickBooks on both computers and then reinstall it following the correct installation process.
Step 8 - Choose an open destination company Step 9 - Allow access to personal data even if QuickBooks isn't running Step 10 - Close the tab. Step 11 - Select the data type you want to import Step 12 - Import data to the destination file Step 1 - Install and Download the Data Transfer Utility Step 2 - Paste the company file Step 3 - Open the company file from the secondary computer Step 4 - Select "Open source company" Step 5 - Allow access to your personal information Step 6 - Search for "Close" to close the company Step 7 - Choose "Restore company"