Download
1 / 5
50 likes | 63 Views
You will need to log into your QuickBooks Online account in order to export data from convert QuickBooks online to desktop. To export data, click the Gear icon. You can download the company data from here. After that, you may need to follow the on-screen instructions.

E N D
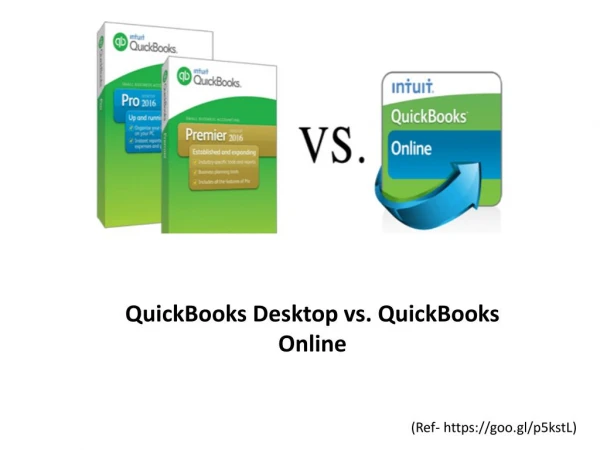
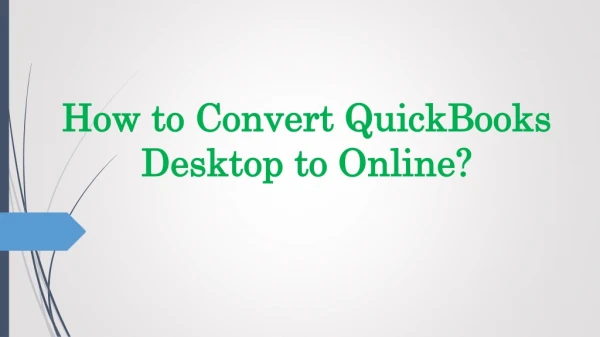
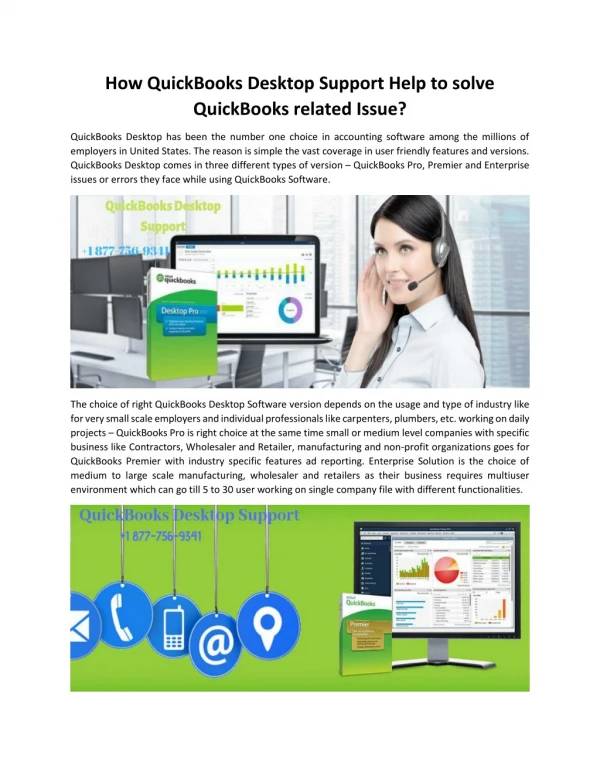
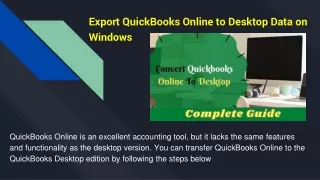
Export QuickBooks Online to Desktop Data on Windows QuickBooks Online is an excellent accounting tool, but it lacks the same features and functionality as the desktop version. You can transfer QuickBooks Online to the QuickBooks Desktop edition by following the steps below
How do I export or transfer QuickBooks Online data to QuickBooks Desktop? Step 1: Configure Internet Explorer's Security Settings Before you can start the conversion convert quickbooks online to desktop you will need to set up Internet Explorer's security settings. These are the steps: • Right-click the icon of the internet explorer and go to it. • Click on Run as Administrator. • Click Tools and choose Internet Options. • Security. • Select Trusted Sites. • Click on the Sites. • The following URLs can be added to the list: *.intuit.com • .qbo.intuit.com. • * Deactivate the Enable Protected Mode option • Click on Apply, and then hit OK.
Step 2: Configure QuickBooks Desktop for Export After you have configured Internet Explorer, you are ready to configure QuickBooks desktop for the import of all accounting data. These are the steps to do the same. • Right-click the QuickBooks Desktop Icon. • Click on Run as Administrator. • Click on File from the main menu. • Select Close Company • Reduce the window for QuickBooks Desktop.
Step 3: Setup QuickBooks Online to Export the Data To export data from QuickBooks Online, follow the steps below. • Register for a QuickBooks Online Account • Go to Settings, and click on Gear Icon. • Click Export Data. • Enter the reason you wish to export data. • Click on the Learn More link in the Move to QuickBooks Desktop section. • Click on the Learn More link in the Download company information section. • Review your data now from the export overview screen. Click on Get Started. • Click on "Install ActiveX Control Now." • Click Continue • You can select all data that you wish to export. • Take a look at your preferences. • Complete your contact information and click on the button to continue.
Step 4: Export data from QuickBooks Online Log in to QuickBooks Online. • Go to Settings. • Click Export Data. • Click Continue to Download • Click on the Download button • When the download is complete, click on Convert Now. • Save the file to any folder other than Desktop. • Click on Finish.