Download
1 / 31
310 likes | 435 Views
What makes us special?. Simple System Line Posts Cable Hook Bolts Turnbuckles End treatment. Installation Procedure. Layout Run per Plans. Note grade, obstacles, slope Slope maximum 6:1 Not within 1’ to 8’ center of median. 51’ – 3”. 5 SPACES @ 6’ - 6” = 32’ - 6”.

E N D
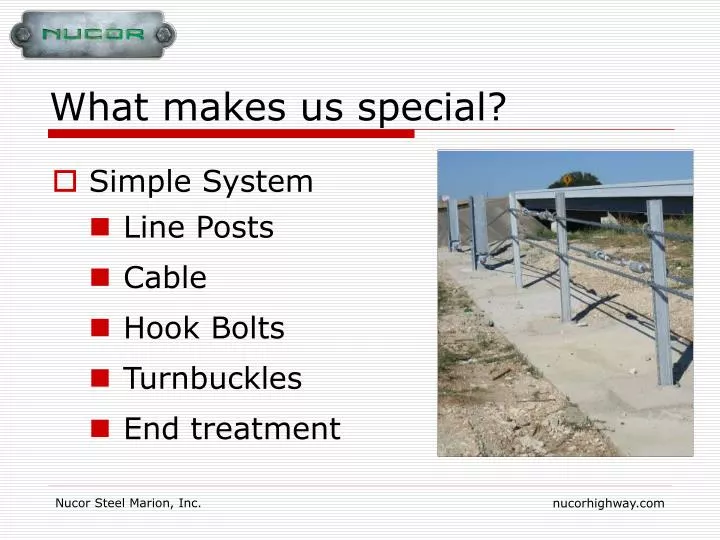
What makes us special? • Simple System • Line Posts • Cable • Hook Bolts • Turnbuckles • End treatment
Layout Run per Plans • Note grade, obstacles, slope • Slope maximum 6:1 • Not within 1’ to 8’ center of median
51’ – 3” 5 SPACES @ 6’ - 6” = 32’ - 6” 3 SPACES @ 6’ - 3” = 18’ - 9” Mark posts locations • 3 CRP posts @ 6’-3” • 6 End Terminal Posts @ 6’-6” • Line posts (refer to plans)
2 - #4 dowels 1 - #3 ring
Insert Socket • Use insertion tool • Set depth to string line • Note uneven terrain
Turnbuckles • Standard Cable = 1 x 750’ (229m)
Cable-ends and Turnbuckles • Slide casting onto cable • Separate tendons and insert wedge • Insert square nut into slot and screw in threaded rod
Turnbuckles • When turnbuckle interferes with post, leave off bolt • Best practice is NOT to install all three turnbuckles in same space NOT like this! Like This!
Laying Cable • Have cable reels and posts on trailer • Install cable ends at CRP and strip out cable • Drop posts off while moving • Tractor/Trailer makes one pass
Hanging Cable • Mark holes & hang hook bolt “open” • Lift cable, close hook bolts, nuts only require hand-tighten • Note – top, middle, bottom
Tensioning Cable • Ratchet Come-Along • Hydraulic Cylinder • Front End Loader • Any other method • Fine tune at turnbuckles
Tensioning Cable • For very long runs, pull cable taut and clamp to post. • Place turnbuckles near upstream post. NOT like this!
Tensioning Cable • Use cable pull and truck to apply initial tension • Plan to pull approx 1’ per 1000’ from taut to 6000 pounds tension.
Tensioning Cable • Check temp of cable • Use Temp Chart • Standard cable, add 15% to initial tension.
Delineation • Every 100’ or 6th post (16’-8”) • 3M High Intensity Prismatic #3931 Reflective Sheeting • 3M #94 Primer
WARNING! • String line, consistent heights • Offset, mirror CRP • CRP concrete in center • L-bracket positioning • Cable order to CRPs • Grease turnbuckles and end connectors • Turnbuckles every 750’ or 1000’ • 25 degrees rebar angle • Wedge insertion • Cable height and tolerances • All hook bolts installed • Check cable temperature • Recheck tensioning
Product Support • Engineering & Design Support • Material Summaries for Runs • Field Supervision • Field Train of Installation Crews • Installation Manual • Specification Sheets • Product Literature
U.S. High-Tension Cable System Additional information, photos, videos, and manuals available at Nucorhighway.com
U.S. High-Tension Cable System Questions ?