Visual testing ,Liquid penetrant testing.
Nest Institute of NDT provides Visual Testing training methodologies to detect the following discontinuities Surface deposits, Scaling, Corrosion, Discoloration, Oxidation bulging, Missing parts, Mechanical damage, Dimensional conformance, like Distortion of components during fabrication & in services and general corrosion on the surface of a component If you have any queries regarding training methodologies, feel free to contact @ 9962003355 Email: info@nestndt.com.Web: www.nestndt.com/n

Visual testing ,Liquid penetrant testing.
E N D
Presentation Transcript
ABOUT US Nest (National Employment Service and Training) is a leading training institute for ASNT level II. We are the only training centre giving 100% placement assistance to the candidates till candidates get placed. Our trainers are having more than ten years of field experience in industries like petroleum refineries and power plant (nuclear, thermal). The candidates will get both theoretical and practical during the training session. We are moulding our candidates with advance training medium like visual and audio to enrich their knowledge. Our candidates will get a globally authentication certificates from ASNT America Society for Non Destructive Testing level II as per SNT-TC-1A standard on successful completion of training and practical exams. Our candidates will get onsite training in the particular industries like refineries and power plant to get a real time experience. Nest takes whole responsibilities of our candidates developing in their career. Other than NDT training, we are providing Motivation class, personality development session to get through in their interviews with fear.
Vision: Nest Institute of NDT posse’s high quality international standard training for NDT in accordance with quality management system and pursuing placement for candidates to improve their career. Our Mission: To give quality training and education along with placement for the youngsters to enrich their career (or) to make their life delightful.
Visual Testing The earliest and most useful method of NDT is visual examination. Important details can be collected during VT which would be useful for future analysis and also to decide on the types of NDT to be used for as further analysis. Also, VT should be carried out as a complementary method to all other NDT methods. VT should proceed and succeed all other examinations. Inaccessible areas can be inspected by means of boroscope and fiber-optic techniques. Depending upon the severity of the surface defect and the component in use, decision will be taken for salvaging the component or not. If the product is found unacceptable during visual examination itself, further NDT need not be carried out, thus saving time and cost of inspection
VT is selected for detecting the following discontinuities: • Surface deposits • Scaling • Corrosion • Discoloration • Oxidation bulging • Missing parts • Mechanical damage • Dimensional conformance • Gross effects visible on the surface • Distortion of components during fabrication and in services • General corrosion on the surface of a component
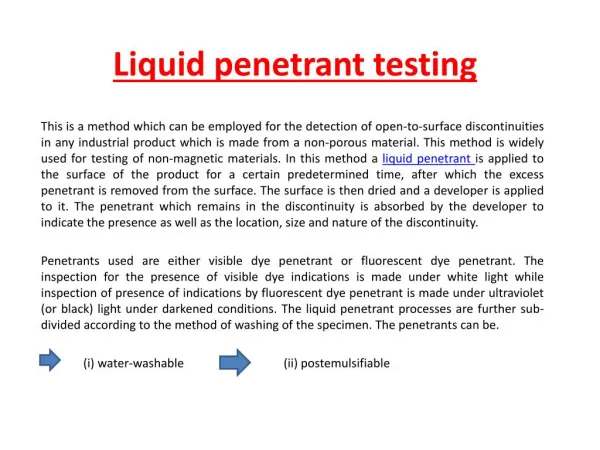
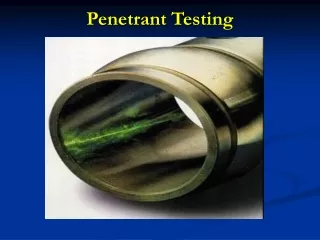
Liquid Penetrant Testing Liquid penetrant testing (LPT) is another means of enhancing the capability of visual examination. It is suitable for use on smooth surfaces of all materials, magnetic as well as non-magnetic. It is limited to surface defects. Its inability to indicate the depth or breadth of flaw should be kept in mind while selecting this method for particular application. Use of LPT for porous materials is ruled out since the absorption into the pores would mask the presence of defects. A clean surface is a pre-resist as penetrant cannot enter in to the cracks that are filled with dirt, oil, or other matter. Size, shape, weight and number of workpieces to be inspected often influence the selection of a penetrant system. The desired degree of sensitivity and the cost are the most important factors in selecting a system. LPT can also be used for leak testing. In this case, the component casting is filled with penetrant and developer is applied outside the surface.
LPT is selected for detecting the following types of discontinuities on the surface of a component. • Cracks of any orientation • Porosity • Pin holes • Voids • Forging laps • Forging bursts • Lamination in plates • Various types of weld defects • Corrosion cracks • Creep fissures • Fatigue cracks
Magnetic Particle Testing While LPT is effective only for fine surface discontinuities, the need remains to detect larger surface flaws or those present just below the surface. The need is met by magnetic particle testing (MPT). This technique is applicable only for ferromagnetic materials. MPT is a considered more sensitive than LPT. MPT requires a higher degree or operator expertise to ensure that the magnetic fields are aligned in the correct direction in order to detect the defect. Flaws oriented perpendicular to the induced magnetic field is only reliably detectable. Hence the challenge is to induce magnetic field lines in a given work piece so that they are most likely to be perpendicular to the flaw orientation. Therefore, prior knowledge on flaw orientation and or introduction of magnetic fields in several directions are is essential. It is commonly agreed that defects breaking the surface are most severe amongst the various discontinuities occurring in components. For dynamically loaded structures, their removal is essential. Their detection in ferrite materials is most easily accomplished by MPT. Since the depth determination of the surface breaking cracks is almost impossible, crack depth measurements may be additionally employed to asses them. Detection of subsurface defects by MPT is impossible if the components are thin, but generally it requires ideal testing conditions.
MPT is used for detecting following discontinuities in ferromagnetic materials. • Surface discontinuities: • Cracks and tears • Porosity • Shrinking cavities • Slag inclusions • Voids • Forging laps • Grinding cracks • Corrosion cracks • Fatigue cracks Discontinuities just below the surface (within around 6mm depth from the surface sensitivity goes down as a defect is deeper): • Larger size cracks in various orientations • Pores • Slag inclusions
Radiography Testing The other NDT methods are used for detection of defects which are open to the surface nearer to the surface. To detect more deeply seated discontinuities, NDT methods with test medium capable of deeper penetration and system that senses even minute changes in the characteristics, behaviour of the test medium is required. Radiographic inspection is one of the most widely used methods of NDT as this is applied to all metals and alloys, both ferrous and nonferrous, for detection of volumetric type of defects. The range of capabilities offered by the variety of sources and equipments has brought radiography to the forefront of NDT techniques. Testing of multilayer vessels and welds is generally a difficult task due to in accessible inner layers. RT is the only NDT method to evaluate multilayered vessels during manufacturing stages and inservice.
Development of micro focal X-ray units has made it possible to extend radiographic practice to meet the requirements of more stringent quality levels demanded for critical applications, besides a host of new applications. It is know that the sensitivity in radiography depends to a large extend on the focal spot size. In micro focal radiography, the focal spot size is less than 100microns and typically 15-50 micron as compared to a few mm or ½ a mm in conventional radiography. Using microfocal RT, intricate geometrical components such as tube to tube sheet. Welds can be tested with a sensitivity of even 1% of wall thickness 0-3mm. microfocal RT can be used for detection of micro cracks of around 25micron in size. Another application of microfocal RT is to check the integrity of micro-welds used electronic integrated circuits. One of the advantages of RT is that no prior preparation of the surface of the component is necessary. The main disadvantage of the RT is the possible hazards due to exposure to radiation if proper care is not taken.
RT is selected to detect and size the following types of discontinuities • Cracks (parallel to the radiation beam) • Volumetric defects such as slag inclusions, voids etc: • Porosity • Blockages or deposits inside the pipe lines are pressure vessels • Material thickness • To detect hidden foreign material inside a component
Ultrasonic Testing Ultrasonic testing involves use of high frequency sound waves coupled to the components to be inspected and studying the reflection pattern of these waves. UT is finding increased applications in various industries. Several wave modes such as longitudinal, shear and surface waves can be used depending on the orientation and location of the discontinuities. Different techniques such as pulse-echo, through transmission, and pitch-catch or employed. The advantages of UT are real time availability of results, higher penetrating power of these waves, higher sensitivity for planner defects, independence sensitivity over depths, low cost for inspection, higher portability to the equipment and compatibility for automation. But the subjectivity of the results on the operators training and skill is stumbling block for its wider acceptance. With the advent of microprocessors and automation, operator dependability is being eliminated to a larger extent and UT finding increased applications in industries such as power, railways, chemical, aerospace etc:
UT of cast metals and alloys is renderd difficult due to the influence of casting intricacy, micro structural variations and surface roughness. Defects occurring in the cast structure have irregular surfaces which scatter the aquostic waves and makes UT more difficult. Hence successful use of UT for inspection of castings depends greatly upon the skill and expertise of the operator. UT is the most suitable method of NDT for inservice inspection (ISI) of components in power plants, chemical process industries, etc:. Many times, RT cannot be applied for ISI due to the requirements of two side accessibility. UT is more sensitive flaw growth monitoring has compared with RT in view of all these advantages; the first choice of ISI is UT for volumetric defects in components except for heat exchangers and condensers where ECT is preferred.
UT Is Selected To Detect The Size The Following Type Of Discontinuities • Surface breaking and hidden cracks in any orientation • Inter granular cracks • Laps • Laminations • Volumetric defects such slag inclusions, voids, ect • Porosity • Wall thickness measurements • Creep • Hydrogen encriptment • Liquid level measurement • To detect blockages, deposits, etc. in the pipe lines and pressure vessels
THANK YOU FOR MORE INFORMATION Visit nestndt.com

