Download

1 / 10
100 likes | 292 Views
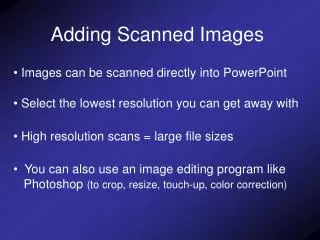
ADDING IMAGES TO POSTCARDS AND ENVELOPES. Adding an Image – Step 1. To add an image, select the desired mailing piece from the Label/Format drop down box located on the Mailings tab of the Print Select Screen. Click on the Adjust Layout button. Adding an Image – Step 2.

E N D
Adding an Image – Step 1 • To add an image, select the desired mailing piece from the Label/Format drop down box located on the Mailings tab of the Print Select Screen. • Click on the Adjust Layout button.
Adding an Image – Step 2 • From the file menu bar of the Piece Layout screen, select Display – Add an Image.
Adding an Image – Step 3 To select an image, double click on the grey image copy block.
Adding an Image – Step 4 • Select the image File Type (.bmp, .jpg, or .gif) and the File Name to open. • Click on Open. The image will now fill the image copy block.
Adding an Image – Step 5 - A • Click on the image to resize it. • Position the pointer over a square around the image. The pointer will turn into a left-right or diagonal arrow. Click and drag the mouse to adjust the size of the image.
Adding an Image – Step 5 - B • To adjust the position of the image, click on the image copy block. Hold down the left mouse button. Drag the image copy block to the desired position and release the left mouse button. • To add another image Click on Display – Add an Image and repeat the process. • When the layout adjustment is complete, click on the OK button.
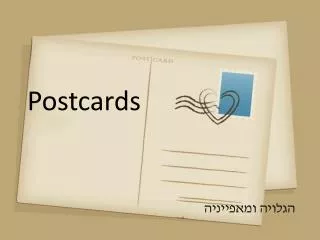
Your Mail Piece • Your mail piece should give a clear picture of what you can offer your customer. You have the ability to add up to three different images to a mailing piece. • Company logo • Your personal photo • Clip art or pictures of products or services that you offer Just a few examples
Your Mail Piece To maximize the effectiveness of your mailing make sure to include the following: • Benefits • The Offer • Percentage off • Dollar Amount Off • Free Gift • Open House • An Action – What do you want them to do? • Make sure your contact information is on the mail piece.
Need Help If you have any questions or are having difficulties with this application, please contact our Technical Support department at 1-800-697-4550