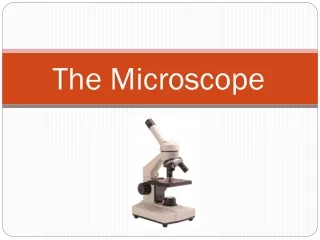
The Microscope
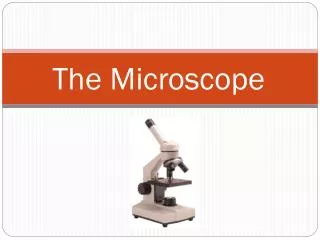
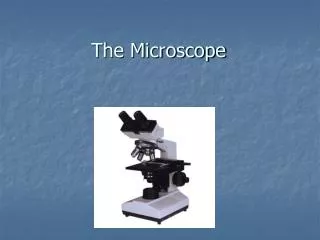
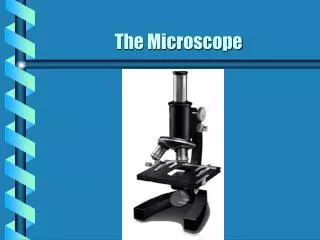
The Microscope. 2 Types of Microscopes. Light microscopes—also known as (aka) Compound light microscopes . These allow light to pass through the specimen and use two lenses to form an image. We use these in school.

The Microscope
E N D
Presentation Transcript
2 Types of Microscopes • Light microscopes—also known as (aka) Compound light microscopes. These allow light to pass through the specimen and use two lenses to form an image. We use these in school. • Electron Microscopes—focus beams of electrons on specimens. We can see specimens that are infinitesimal with these microscopes.
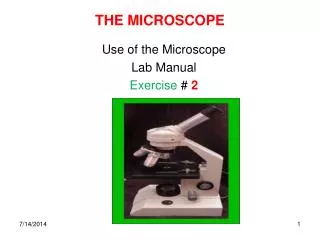
Compound Light Microscopes • Micro-organisms can be seen using compound light microscopes • It iscalled a light microscope
Light Microscope • You can observe dead organisms (prepared slides) or live organisms with this microscope.
Electron Microscope • 2 main types—a TEM or Transmission Electron microscope or and SEM- Scanning electron microscope. • SEMs produce 3 dimensional images of a specimen. • No live specimens! Dried
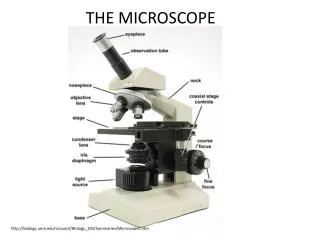
Lenses • It has 2 lenses— • Ocular lens- located on the eyepiece—magnification of 10X • Objective lens- located on the bottom of the body tube—magnification anywhere from 5X up to 100X
Total Magnification • To find the total magnification, you have to multiply the ocular lens (10X) by whatever magnification you use on the objective lens (40X) that would equal 400X magnification. • What about if the objective lens were 50X? • 70X? • 100X? • REMEMBER: the greater the magnification, the smaller the field of view. • Do you increase the field of view when you increase the magnification?
To Begin… • Always begin viewing the specimen with the lowest power objective aka scanning power (10X). • Focus by first moving the coarse adjustment-large knob used for rough focusing • Then use the fine adjustment-small knob used for final focusing on low power • Once the object is in focus, you can switch the objective lens to high power (40X or 100X). You may have to re-focus using the fine adjustment—small knob.
Wet Mount • This is a technique used to prepare a biological sample for observation under a microscope • Let’s say you wanted to see what Anton van Leeuwenhoek saw—you would use a Wet Mount!
Steps in a Wet Mount • 1. Place a drop of freshwater on a clean slide. (when using dry specimens) • 2. Use a dropper to place the specimen into the drop of water on the slide • 3. GENTLY cover the specimen with a cover slip.
What you see… • The image you see is not only ENLARGED, but it is also REVERSED and INVERTED (upside down) • What about FR? How would that look? • So if you want to see something right side up… • A micro-organism that appears to be moving to the right on the slide is actually moving to the left or if moving toward you is actually moving away from you.