Download
1 / 16
160 likes | 352 Views
Microsoft Photostory 3. Lisa Kuchler ETAD 803. Getting the Software. Go to http:// www.microsoft.com/en-ca/download/details.aspx?id=11132 Download Microsoft Photostory 3 for FREE!. Images. Two options Use images you already have saved

E N D
Microsoft Photostory 3 Lisa Kuchler ETAD 803
Getting the Software • Go to http://www.microsoft.com/en-ca/download/details.aspx?id=11132 • Download Microsoft Photostory 3 for FREE!
Images • Two options • Use images you already have saved • Download images from an approved imaging sharing website
Getting Started • Open Microsoft Photostory 3 • Click “next” to begin a new project
Importing Images • Click on “Import Picture” • Choose the file(s) you want to import • Click ok • Arrange images in the order you want
Editing Images • Choose image to work on • Several functions • Brighten colors • Remove red eye • Rotate and crop • remove black borders • Click “next” when editing is complete
Editing Image Effect • Click on button beside effect • Chose effect to change how image looks
Adding Text • Add text to your image • Type message or title in text box • Align text
Changing Text • Changing text font • Size • Style • Click “next” when complete
SAVE, SAVE, SAVE! • Click on “Save Project” • Type in a name for your project • Click “Save”
Customize Motion • Click on “Customize Motion” • Motion and Duration • Transition • Preview • Save
Transitions • Click on Transitions tab at top of screen • Choose transition style for each image • Choose transition duration • Click “Save Project”
Narration • Type narration in text box (optional) • Insert microphone into mic port on computer • Click “record” to record narration • Click “stop” to end narration • Preview • Redo • Click “Save Project”
Music • Choose image you want to add background music to • Select Music • Create Music
Create Music • Genre, style, bands and moods • Tempo and intensity • Play • Click “OK” • Volume • Click “Save Project”
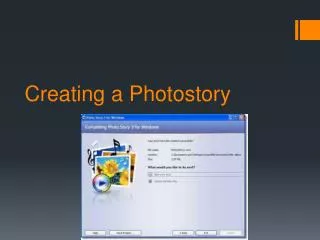
Save your Story • Choose what you want to do with your story • Save your story for playback on your computer • Click on “Browse” • Click “Next” • View your story