Download
1 / 8
80 likes | 85 Views
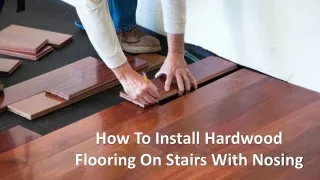
Focusing on hardwood flooring installation particularly for stairs are of utmost importance! They catch eye and enhance the property value. To know how to install hardwood ion stairs with nosing, check out the deck!<br><br>For more details visit: https://almahdihardwoodflooring.com/service/wood-flooring-installation/<br>

E N D
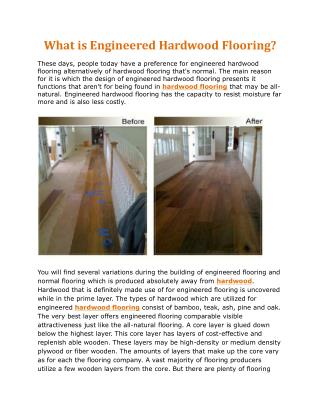
Fixing The Risers First, get the staples out and the tack strip up, and then tackle the risers. A lot of houses with stairs covered with carpets have some pretty poor performance under the carpet. Risers (and treads) hAVE some pretty big gaps on either side and also look pretty terrible if they are being planted without being fixed. Instead of sanding everything down, install new risers and cut them down. It will give you the desired outcome.
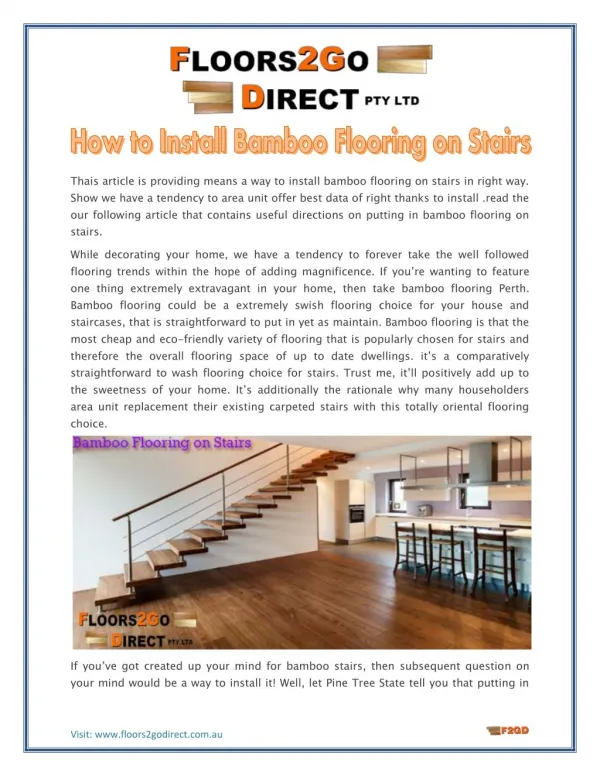
Placing The First Boards Take the first step, hook the new tread piece to the present floor upstairs, and stuck it down applying liquid nails. Most contractors suggested using either Liquid Nails or a different type of construction adhesive. Wood glues can also be used. Glue it down with construction adhesives and then cut and put the cove trim. Also, make sure you tap them to keep them in covered places.
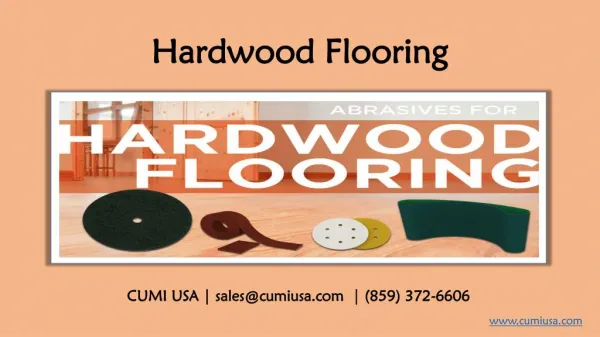
Dealing With The Stair Nosing While that dried, the next challenging step is to deal with the stair noising. Each stair step has a lip or edge on it (nosing), and the replacement hardwood flooring will not cover it. In such cases, best is to hire professional flooring installation in thousand oaks. Besides, you can use a cove trim underneath each step to wrap things up. Trimming each step needs a lot of patience and also requires an industrial-strength noise machine.
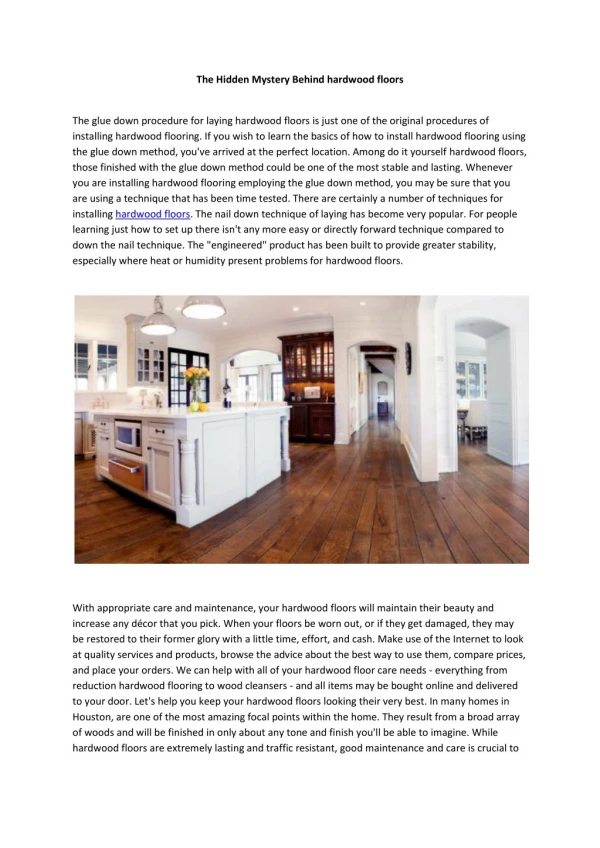
Painting The Risers Finally! after tread installation is done, paint the risers. You're going to love the premium look it gives but they will also initially slide like crazy. Therefore, if you have kids at home, cover them with a runner and provide kids something stable to walk on.
Installing The Runner Installing runners is pretty easy-peasy. Start the runner and secure it with a few staples to make sure it is centered. Next is to wrap the fabric around the tread and pull taught. Also, shoot some staples at the end of the fabric and continue until you run out of fabric. Repeat the runners again and again and ultimately cut clean across the bottom and staple into place.
Finishing The Runner A lot of tutorials present on the internet will suggest wrapping the bottom of the runner below itself so you have a pleasant, tidy edge. But if the runners are extremely thick they will look bad and bulky. The runners are soft and comfortable under the foot. Also, we have zero issues with fraying or scratchiness.
Thank You For more details visit: https://almahdihardwoodflooring.com/service/wood-flooring-installation/