Apparel Production Overview
610 likes | 2.81k Views
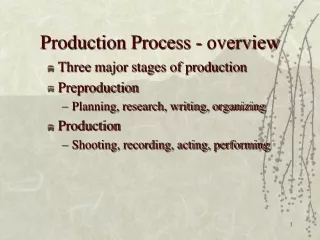
Apparel Production Overview. Dilawar Shaikh. Introduction. Introduction to Garment Manufacturing. Garment manufacturing is an assembly- oriented activity with a great range of raw materials, product types, production volumes, supply chains, retail markets and associated technologies.

Apparel Production Overview
E N D
Presentation Transcript
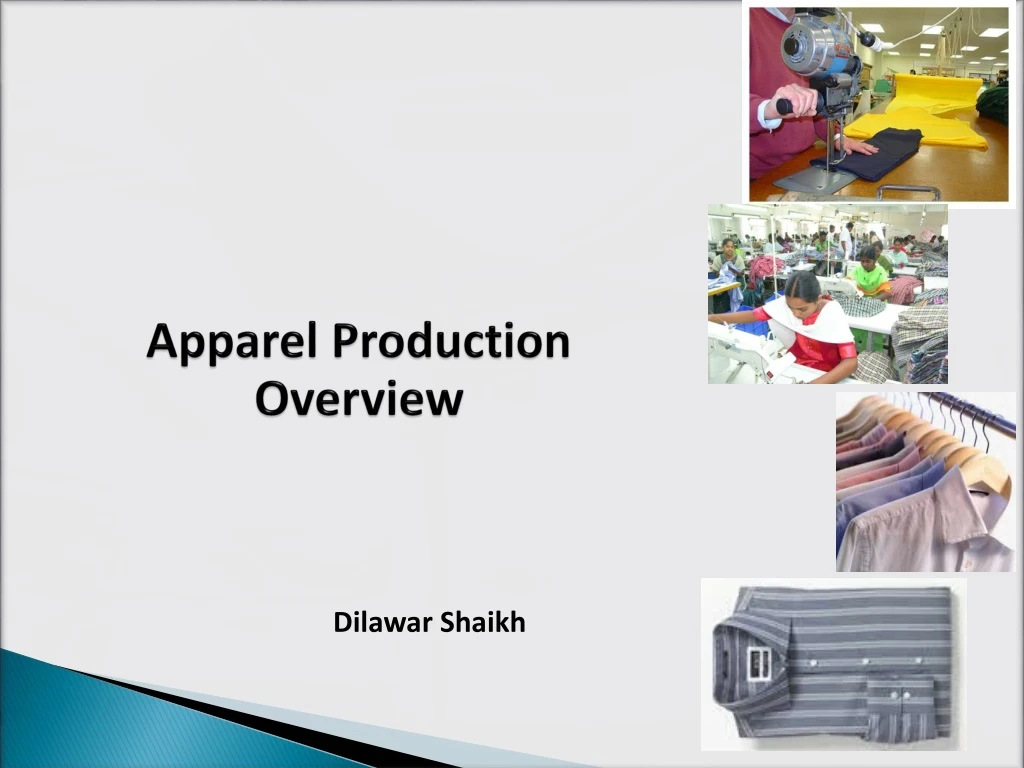
Apparel Production Overview DilawarShaikh
Introduction to Garment Manufacturing • Garment manufacturing is an assembly- oriented activity with a great range of raw materials, product types, production volumes, supply chains, retail markets and associated technologies. • Companies range from small family business to multinationals. • The clothing industry is labour intensive industry.
Responsibilities of a merchandiser Source: http://www.fibre2fashion.com/industry-article/36/3516/merchandising-in-an-apparel-industry1.asp
Responsibilities of sampling department • Getting clarifications about style details from merchandiser. • Checking pattern’s workability. • Preparation of different samples and getting the buyer’s approval. • Informing quality related problems, encountered during preparing samples, to QC. • Minimizing operations and consumption.
Types of sample prepared Source: http://www.textiletoday.com.bd/magazine/609
Types of sample prepared Source: http://www.textiletoday.com.bd/magazine/609
Functions of the fabric store department • Receive the fabric as per Buyers Requirements • Fabric inspection (four point system) • Conduct fabric test (e.g. Shrinkage, colour fastness etc.) • Issue to the production department as per the requirement
Fabric audit procedure • 10% random inspection for sampling or lining or net fabric. • Inspection for production order fabric as per buyer’s requirement. • Perform GSM cutting. • Perform shrinkage test. • Check the fabric for the bowing or skewing. • Check fabric roll for the defects. • Allocate points to the defects. • The fabrics are checked for: • Width • Shade (centre to selvedge) • Weaving defects • Shrinkage (steam & fusing)
Trims and accessories Store department
Functions of the trims and accessories department • To receive incoming material. • To check material for attribute & variables. • To arrange the incoming material in allocated racks. • To issue trims as per BOM for sampling and production & other material as per requirement. • To maintain a record of incoming & outgoing material.
Spreading and cutting department
Spreading and cutting flow process Spreads Planning Markers Production Manual Spreading Machine Manual Cutting Machine Ticketing Preparation for sewing Bundles
Cut order planning It translates customer orders into cutting orders • minimize total production costs • meet deadlines • seek most effective use of labor, equipment, fabric and space
Responsibilities of Cut Order Planning • Examining incoming orders and piece goods width and availability • Determining volume, size ratios, and sectioning procedures for marker making • Determining whether file markers are available or new ones are needed • Developing specifications for optimum marker making and fabric utilization • Determine most effective use of spreading and cutting equipment and personnel • Issuing orders for marker making, spreading and cutting
Cutting orders leads to Marker planning Lay planning
Marker planning • The results of cut order planning are cutting orders that direct marker planning and cut planning. • The purpose of marker planning is to determine the most efficient combination of sizes and shades for each order and to produce the best fabric yield and equipment utilization. • One cutting order may require several markers to achieve optimum efficiency. • A lay is a stack of fabric plies that have been prepared for cutting. • Lay planning is the basis of managing cutting room labor and table space. • Spreading and cutting schedules are affected by: • table length, • type of equipment, • spread length, • spreading time and • cutting time.
Marker • is a diagram of a precise arrangement of pattern pieces for a specific style and the sizes to be cut from a single spread. Marker making • is the process of determining the most efficient layout of pattern pieces for a specified style, fabric, and distribution of sizes (requires time, skill and concentration)
Marker making • Marker making is a critical step in the manufacturing process. • By retaining strict control over this critical step, they keep the fabric consumption as low as possible. • It also ensures that the issues that affect quality will be given proper attention. These include placing patterns on grain, keeping patterns paired, and attending to details such as drill holes and notches. • Depending on the relative efficiency of each marker produced, the company may save or waste thousands of dollars a year. Source: Kahn, Cohen and Soto, “Pre-Assembly Processes – The Cutting Room Marking, Spreading, Cutting and Bundling”, The Fashion Manufacturing Process A Product Development Approach, May 2005
Marker making • Markers types: • Blocks or Sections • Blocked or sectioned markers contain all of the pattern pieces for one style in one or two sizes. • Continuous • Continuous markers contain all the pattern pieces for all sizes included in a single cutting. Block or section marker Continuous marker
Marker making Markers types: • Open marker • Marker made with full pattern pieces. • Closed marker • Marker made with half garment parts pieces for laying along the folds of the tube (tubular knit). Closed marker
Marker making Manually produced Computerized marker making (CAD)
Marker making Manual marker • Created on marker paper or directly on fabric ply • Tracing by pencil or tailor’s chalk. • Time consuming. • Subject to errors. (pattern overlap, grain line, poor line definition, omission of pcs.) • Accuracy depends on individual’s skill.
Marker making Computerised marker • Accurate • Shortest response time. • Direct or digitized. • Manipulate images to determine best utilization. No overlapping/no omissions • Parameters (style #,size, etc.) for markers are entered into the computer. • Can be printed/recalled/modified. • Criteria can be set by technician. Can be used to determine fabric requirement.
Marker making Marker mode : Nap/ One/ Way • The Nap/ One/ Way marker (abbreviated N/O/W) is made with every pattern placed with the “down” direction of the pattern in the same direction. • This mode is necessary for fabrics that are asymmetric. • All patterns are placed on-grain, and in the “down” direction, which is usually toward the left edge (starting point where the legend is written). • The Nap/One/ Way marker is the highest quality but least efficient of the three nap directions for a marker. Source: Kahn, Cohen and Soto, “Pre-Assembly Processes – The Cutting Room Marking, Spreading, Cutting and Bundling”, The Fashion Manufacturing Process A Product Development Approach, May 2005
Marker making Marker mode : Nap/ Either/ Way • The Nap/ Either/ Way marker (abbreviated N/E/W) is made where there is no restriction of which way the pattern are oriented. • The patterns may be oriented either “down” or “up”, placed wherever they fit best, only making sure that the patterns are on-grain. • The Nap/ Either/ Way marker is usually the most efficient mode yielding the highest fabric utilization. Source: Kahn, Cohen and Soto, “Pre-Assembly Processes – The Cutting Room Marking, Spreading, Cutting and Bundling”, The Fashion Manufacturing Process A Product Development Approach, May 2005
Marker making Marker mode : Nap/ Up/& Down • The Nap/ Up/& Down marker (abbreviated N/U/D) is more efficient than the Nap/ One/ Way marker, but not as efficient as the Nap/ Either/ Way marker. • In order to get a better fit between the patterns, alternating sizes of patterns are oriented in opposite directions. • This method is yields moderately good fabric utilization, and good quality. Source: Kahn, Cohen and Soto, “Pre-Assembly Processes – The Cutting Room Marking, Spreading, Cutting and Bundling”, The Fashion Manufacturing Process A Product Development Approach, May 2005
Marker making Marker Efficiency Area of patterns in the marker plan X 100% Total area of the marker plan • It is determined for fabric utilization • Minimum waste Factors affecting marker efficiency • Fabric characteristics (fabric width, length of design repeat etc.) • Shape of Pattern pieces (large pieces – less flexibility) • Grain requirements
Spreading • Spreading is the processes of superimposing lengths of fabric on a spreading table cutting table or specially designed surface in preparation for the cutting process • Spread or lay is the total amount of fabric prepared for a single marker Requirement of spreading • Shade sorting of cloth pieces • Correct ply direction and adequate lay stability • Alignment of plies • Correct ply tension • Elimination of fabric faults • Avoidance of distortion in the spread Spreading equipment • Spreading surfaces ( table, pin table, vacuum table) • Spreading machines
Spreading Spreading equipment • Spreading surfaces ( table, pin table, vacuum table) • Spreading machines
Manual spreading • In manual spreading, fabric is drawn from its package which, if it is a roll, may be supported by a frame and carried along the table where the end is secured by weights or by clamps. • The operators work back from the end, aligning the edges and ensuring that there is no tension and that there are no wrinkles.
Interesting, right? This is just a sneak preview of the full presentation. We hope you like it! To see the rest of it, just click here to view it in full on PowerShow.com. Then, if you’d like, you can also log in to PowerShow.com to download the entire presentation for free.