Download
1 / 14
140 likes | 241 Views
Learn how to create a distribution list and opportunities in ORPIN step by step. Includes detailed instructions for adding suppliers, inviting vendors, evaluating proposals, and finalizing contracts.

E N D
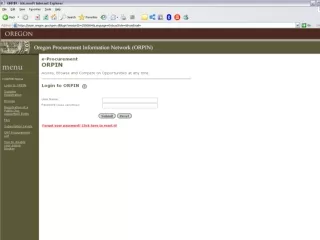
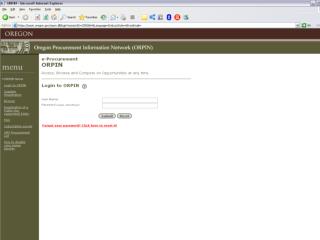
Workflows:Create a Distribution List in ORPIN • Click on My Documents in the menu bar. • Click on Distribution List Maintenance. • Click the “Add List” button. • List should include all 11 Contractors
Workflows:Create a Distribution List in ORPIN • Enter a title for the Distribution List, (i.e. “QA Supplier List”) • Click the “Submit/View” button. • Your list has now been established, but you still need to add the suppliers to the list. Click the “Add/Edit” button next to Members.
Workflows:Create a Distribution List in ORPIN • ORPIN requires you to search for each supplier individually. Repeat the steps below until you have located each of the suppliers you want to add to your list. • Click the “Find Member” button.
Workflows:Create a Distribution List in ORPIN • Search for the first supplier you want to add to the distribution list. • When the supplier appears in the search results, click on the underlined company name.
Workflows:Create a Distribution List in ORPIN • Click on the “Submit/Remain” button to add them to the list.
ROFO Workflows:Create an Opportunity in ORPIN • Create an Opportunity and use the “Invite using distribution list” feature.
ROFO Workflows:Create an Opportunity in ORPIN • Check the box next to the vendor at the top of the rotation, and then Invite the Selected Supplier.
ROFO Workflows:Create an Opportunity in ORPIN • Develop Opportunity Documents • Opportunity Notice and Submission Deadline • Statement of Work • Experience and Performance requirements and selection criteria • Issue the Opportunity, which will Invite only the one (ROFO) Contractor • No one else will be able to see this Opportunity in ORPIN • Attach Opportunity Documents • Upon submission, review offer to determine acceptance or rejection • If accepted, issue the WOC to the ROFO contractor and let EISPD or SPO know you have selected the ROFO Contractor. • If rejected, or if the ROFO Contractor declined the opportunity by explicit refusal or failure to respond by the submission deadline, determine whether to move the opportunity to the other 10 Contractors in a BVC Opportunity. • To move the opportunity to a BVC Process go into the ROFO Opportunity through “My Documents” and click on “Requote” in the Menu bar.
BVC Workflows:Create an Opportunity in ORPIN • Set a new Closing Date/Time, then go into Invite/Notify. Again, click on ‘Invite using distribution list’ and locate your QA Vendor List. Check the boxes next to the other ten vendors (do not include the original).
BVC Workflows:Create an Opportunity in ORPIN • Invite the selected suppliers and Issue the Opportunity. This time, only the ten vendors who have not seen the Opportunity previously will be able to view the Opportunity and participate in the solicitation process. • Evaluate Proposals based on your criteria. • Announce award to the winning proposer and conduct an award protest opportunity. • Resolve any protests • Once the process is complete and a winning bid is chosen, go to the existing contract for that supplier and create a Work Order in ORPIN. Be sure to reference the two (2) Opportunity numbers (or just the Master File number if you prefer) in the Work Order document.
BVC Workflows:Summary • ORPIN Input • Create Distribution list (instructions above) • Create Opportunity (include Opportunity Notice, SOW, evaluation criteria, due date, and to whom responses will be sent). (instructions above) • Score responses and document the basis for your selection in contract file • Send “Intent to Award” notice to winning contractor • Allow for protest period • (7 calendar days from “Intent to Award” notice). • Resolve any protest issues. • Send signed WOC to Contractor
![NoodleTools Create a [bibliography, source list…] *](https://cdn1.slideserve.com/1883037/noodletools-create-a-bibliography-source-list-dt.jpg)
![NoodleBib Create a [bibliography, source list…]](https://cdn2.slideserve.com/4281640/noodlebib-create-a-bibliography-source-list-dt.jpg)