Download
1 / 12
160 likes | 390 Views
Explore the science of ice cream making by observing changes in matter states, chemical reactions, and properties of ice and salt. Experience the excitement of turning milk and sugar into delicious frozen treats using simple chemistry techniques.

E N D
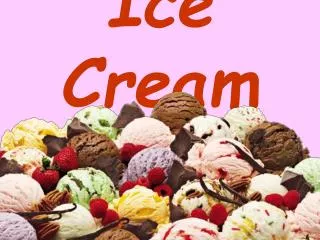
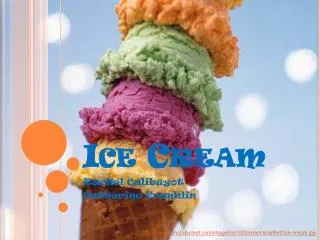
Chemistry of Ice Cream Shelly Hopper, IBM Learning Leader Laura Montero, New Hire Onboarding Success Partner
Our Plan • In this activity we will do some simple chemistry and make delicious ice cream! • We will: • Observe changes in states of matter • Look at chemical reactions • Explore the properties of ice and salt
The Science!! • We will be changing milk and sugar into frozen ice cream using ice and salt • Why do we add salt? • Let’s start by asking: What is the freezing point of water? • The freezing point of water is 0 degrees Celsius (32 degrees Fahrenheit) • To make milk and sugar freeze quickly we need to make it colder than 0 degrees • But how can we make ice colder? • We can add a solute to the water (salt (or sugar)) to make a salty-water solution • The freezing point of salty-water is lower than 0 degrees Celsius • So once our ice becomes salty-ice-water it will be colder than just plain ice and water
Our Hypothesis: What Do We Expect To See? • What states of matter do you expect to change? • What will happen to the various ingredients? • Half & half • Sugar • Vanilla • Ice • Salt • What else do you expect to see?
Ingredients & Supplies • ½ cup half & half milk • 1 tbsp sugar • 1 tsp vanilla extract or chocolate syrup • 2 cups crushed ice or ice cubes • 6 tbsp salt • 1 small Ziploc bag • 1 large Ziploc bag • Paper towels • Spoon
Group Demonstration: How To Mix Our Ice Cream Mixture • Combine ½ cup half & half milk, 1 tablespoon sugar, and 1 tsp vanilla extract or chocolate syruptogether in a small Ziploc bag • Seal the bag (remove as much air as possible from the bag) • Combine 2 cups of crushed or cubed ice and 6 tablespoons salt in a large Ziploc bag • Put the small baggie into the large baggie • Shake it! Hint: Keep moving the ice cream to transfer energy from your hands to the mixture and to stop large ice crystals from forming
Let’s Do It! • Each table group has the supplies necessary for each person to make a baggie of ice cream • We are going to go through each of the four steps together as a large group… please don’t jump ahead • Make note of any observations as your ice cream comes together • What does it look like over time? • When does it look good enough to eat? • What happens to the ice cubes? • Before you return to your tables, let’s mix up the variables!!! What happens if we: • Don’t add salt to the ice? • Don’t shake or squish the mixture as it freezes?
Experiment: Step 1 • Combine ½ cup half & half milk, 1 tablespoon sugar, and 1 tsp vanilla extract or chocolate syruptogether in a small Ziploc bag • Seal the baggie Hint: Remove as much air as possible from the small baggie
Experiment: Step 2 • Combine 2 cups of crushed or cubed ice and 6 tablespoons salt in a large Ziploc bag Hint: Remove as much air as possible from the large baggie
Experiment: Step 3 • Put the small baggie into the large baggie
Experiment: Step 4 • Shake it!! Hint: Keep moving the ice cream to transfer energy from your hands to the mixture and to stop large ice crystals from forming
Our Observations • What did your ice cream look like as it was changing? • 1 minute – at the beginning • 5 minutes – about half way through • 10 minutes – at the end • What happened to the ice cubes during our experiment? • When did your ice cream look good enough to eat? • What other changes did you observe? • What happened when we changed the variables? • Don’t add salt to the ice? • Don’t shake or squish the mixture as it freezes?