Download
1 / 33
330 likes | 348 Views
Step-by-step guide on approving P-Card transactions in the Enterprise Spend Platform (ESP) and using SunTrust ESP. Learn how to code, upload receipts, make approvals, and important reminders for P-Card Coordinators.

E N D
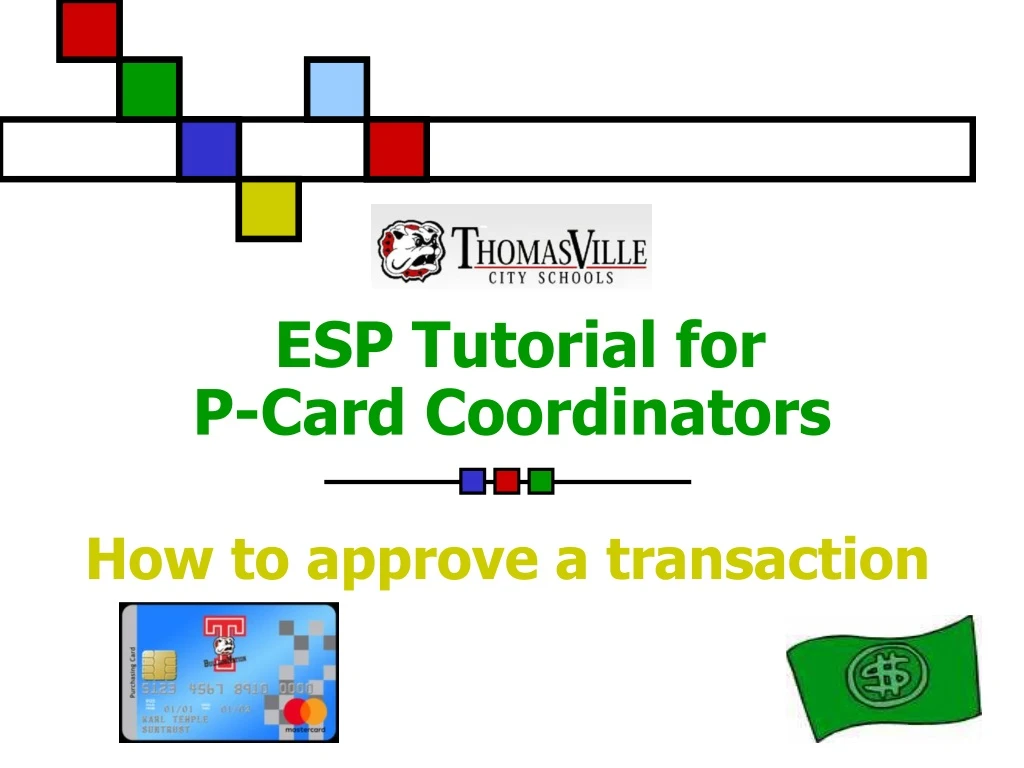
ESP Tutorial forP-Card Coordinators How to approve a transaction
This tutorial will cover the following: • Enterprise Spend Platform (ESP) • Signing into SunTrust ESP • Landing Page Information • Instructions for approving P-Card transactions by a P-Card Coordinator • Important Items to Remember
Enterprise Spend Platform (ESP) At this time, TCS will only be using Statement Manager & Transaction Manager modules.
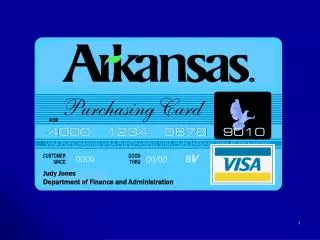
Signing into SunTrust ESP • You will receive 2 e-mails from SunTrust Bank containing your Username & Password • Access the internet • Go to the SunTrust ESP website: https://esp.suntrust.com
At this point, please save this website in your Favorites for faster access.
Hint: Your SunTrust Username is the same username used to login to the TCS Email. Enter your TCS E-mail Address, Username and Password and click Log In to access your P-Card account(s)
The SunTrust ESP system will disable your profile after 3 unsuccessful attempts to login. If this happens, please contact the P-Card Manager for assistance.
Landing Page Information • The P-Card(s) are mapped to your profile by the P-Card Manager • Schools will have at least 2 P-Cards and be tied to several budget codes • Most Departments & Individuals will have at least 1 P-Card which may be tied to several budget codes
ESP Landing Page The Main Menu section shows the ESP modules that are allowed under your profile. Announcements Section: NOTE: A message may appear here from the P-Card Manager or SunTrust providing direction or useful information. If a message is displayed here, please review it prior to proceeding further.
ESP Landing Page The My Accounts section provides you with a summary of the P-Card(s) mapped to your ESP profile and related card information like how much is currently remaining on your cards and how much has been spent in the current period. The Profile Menu gives you access to your features and functionality like changing your password or logging out of the program.
ESP Landing Page The Card Expenses section lets you know the number of transactions needing to be coded and approved. The Transactions section shows the progress of the transactions in the processing workflow. It’s like a dashboard for transactions.
ESP Landing Page This section is where your P-card statements will be printed. Paper statements will not be issued.
Instructions for approving transactions by the P-Card Coordinator
Step 2:Click the Green Question Mark for the transaction to be coded.
Step 3:Review Coding and make any necessary changes from the default codes by using the drop-down boxes and clicking on [Search]. Do not forget about the Sales Tax boxes!!!
Step 4: Click on Search then click the up arrow to choose the best options for the transaction. The code chosen will be inserted into the block.
Step 5:Click on the paper clip to upload a copy of the receipt and check whether or not you have received the merchandise.
Step 9:Enter any comments needed to describe the transaction. Step 10:Click “Save”.
Step 12:Click on the Period for transactions needing approval.
The Green Question Mark is now a Green Checkmark for the coding. Step 13:Click on the Red Exclamation Point.
Click “Home” on the Menu and repeat steps for additional transactions.
The transaction now shows in the “Approved” section with 2 Green Checkmarks. The process is not complete until you have both green checkmarks.
Items to Remember • All transaction information must be entered before approving the transactions • All properly approved transactions must have 2 green checkmarks • The “Approved Selected Items” or “Approve All” options may be used if no comments are needed by the P-Card Coordinator or Cardholder Manager • Transactions go to the Cardholder Manager once approved by the P-Card Coordinator • Be sure all transactions have been coded within 2 days of posting and approvals done by the Cycle Lock date.
Items to Remember • All documentation is kept at the school by the P-Card Coordinator for 3 years • Do not give any person your username and password to the ESP system • Contact the P-Card Manager or SunTrust Customer Service with any problems • P-Card Manager will make surprise visits to schools and departments
Congratulations!!!You have completed P-Card Coordinator’s ESP Tutorial