Download
1 / 5
50 likes | 151 Views
Qpopper Quick Installation Guide. 1. Make /usr/local/qpopper/ directory and download and save qpopper4.0.5.tar.gz file to that directory directory. 2. Go to the directory where qpopper is stored (/usr/local/qpopper/) and type following in the command line: gunzip qpopper4.0.5.tar.gz

E N D
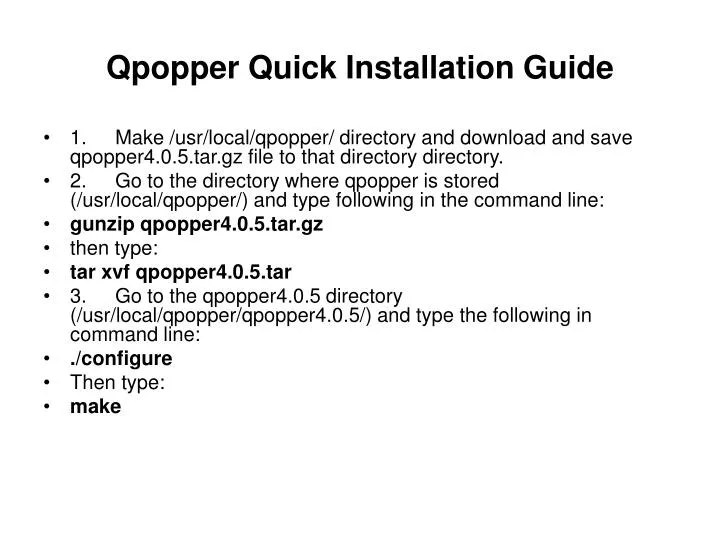
Qpopper Quick Installation Guide • 1. Make /usr/local/qpopper/ directory and download and save qpopper4.0.5.tar.gz file to that directory directory. • 2. Go to the directory where qpopper is stored (/usr/local/qpopper/) and type following in the command line: • gunzip qpopper4.0.5.tar.gz • then type: • tar xvf qpopper4.0.5.tar • 3. Go to the qpopper4.0.5 directory (/usr/local/qpopper/qpopper4.0.5/) and type the following in command line: • ./configure • Then type: • make
4. Use “mkdir” command to create a directory as follows: • mkdir /usr/local/man/ • mkdir /usr/local/man/man8 • 5. Type following in command line: • make install • 6. Open the file “/etc/xinetd.conf” and add the following lines to the file and save: • (A similar configuration is available in the following file: • /qpopper/qpopper4.0.5/samples/qpopper.xinetd • You can copy it to the destination and do the necessary changes)
“/etc/xinetd.conf • service pop3 • { • flags = REUSE NAMEINARGS • socket_type = stream • wait = no • user = root • server = /usr/local/sbin/popper • server_args = popper –f /etc/qpopper110.cfg –s • instances = 50 • disable = no • port = 110 • per_source = 10 • } • service pop3s • { • flags = REUSE NAMEINARGS • socket_type = stream • wait = no • user = root • server = /usr/local/sbin/popper • server_args = popper –f /etc/qpopper110.cfg –s • instances = 50 • disable = no • per_source = 10 • }
7. Go to qpopper source directory and then to the “samples” • directory inside that • (e.g. /usr/local/qpopper/qpopper4.0.5/samples) • 8. Open the qpopper.config file in /usr/local/qpopper/qpopper4.0.5/samples/ and save it as “qpopper110.cfg” in /etc/. • 9. Type following in the command prompt: • service xinetd restart • 10. Type the following in command prompt to test qpopper: • telnet localhost 110
Create Linux users as mail users • useradd suranga • passwd suranga