Download
1 / 21
220 likes | 297 Views
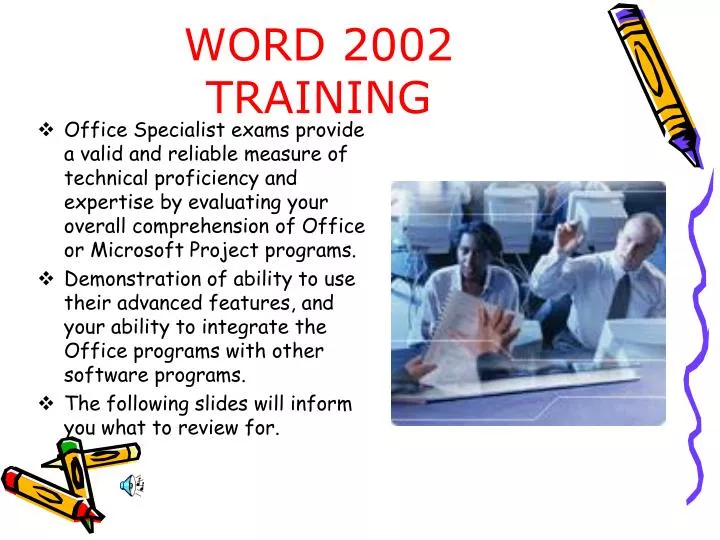
WORD 2002 TRAINING. Office Specialist exams provide a valid and reliable measure of technical proficiency and expertise by evaluating your overall comprehension of Office or Microsoft Project programs.

E N D
WORD 2002TRAINING • Office Specialist exams provide a valid and reliable measure of technical proficiency and expertise by evaluating your overall comprehension of Office or Microsoft Project programs. • Demonstration of ability to use their advanced features, and your ability to integrate the Office programs with other software programs. • The following slides will inform you what to review for.
MOUS Competencyfor WORD 2002 Working with graphics and text from embedded or linked files. You must know how to work with various graphics, clipart, and picture formatting. If you link the report to the worksheet, the data in the report can be updated whenever the source file is updated. If you embed the worksheet in the report, a copy of the worksheet is created in the destination file.
Inserting and Modifying Text • Insert, modify, and move text and symbols • Apply and modify text formats • Correct spelling and grammar usage • Apply font and text effects • Enter and format Date and Time • Apply character styles To insert date/time in your document. Click on Insert and select Date/Time and select the style that you want. 6/23/2004 7:40 AM Font and Character Styles are Funto use
Formatting Documents • Create and modify a header and footer • Apply and modify column settings • Modify document layout and Page Setup options • Create and modify tables • Preview and Print documents, envelopes, and labels Demo on Tables
Managing Documents • Manage files and folders for documents • Create documents using templates • Save documents using different names and file formats
Excel 2002Training • Excel requires the understanding of using menus, toolbars, creating and working with workbooks. • Learning how to use the various dialog boxes and understanding the right mouse button shortcuts are very helpful with this program. • Editing a workbook requires knowledge of editing, clearing and replacing cell contents with cut, paste, copy, move, drag, and drop commands.
Working with Cells • Once you set up your workbook or worksheet, you need to know how to insert and delete cells, rows, and columns. • You can also format fonts with the formatting toolbar, as well as add borders, and apply colors. • Learning about AutoFit and merging cells is important. • This an example of cells with a Header.
Keyboard Shortcuts Ctrl+Z = Undo Ctrl+A = Select all cells Ctrl+C Enter, Ctrl+V Ctrl+X = Copy, Paste, Multiple Paste, Cut Ctrl+F, Ctrl+H = Find, Find & Replace Alt+F11 = Open VBE Ctrl+Spacebar Shift+Spacebar = Select columns, Select rows Ctrl+Tab = Move to next open workbook Ctrl+N = Open new workbook
CreatingCharts with Wizards Notice the background formatting and bar Wizard chosen for this project.
Access 2002Training • DESIGNING TABLES IN ACCESS 2002 • Setting a Primary KeyRemoving Non-related DataRemoving Redundant DataRemoving Repeating DataSetting Required Values in Columns
Fundamental Concepts • Fundamental concepts you should know about databases in Microsoft Access are • TablesForms • Data Access Pages • Queries • Reports
Creating and UsingDatabases • Create Access databases • Open database objects in multiple views • Move among records • Format datasheets • Records in a table
Creating A New Form Select Design View In Design View you will need to identify your fieldnames and field type, as well as length You may also use Wizards which are easy to follow
Integrating with OtherApplications • On the main menu, click: File -> Get External Data -> Import... • Locate your Exercises folder and display it in the Look In combo box • Click the arrow of the Files Of Type combo box and select Text Files • On the list of files, click Customers (it should be selected already) and click Import • On the first page of the Import Text Wizard, accept that the text be Delimited and click Next • On the second page, set the delimiter as Comma and check the box stating: First Row Contains Field Names
Using Your Formatting Toolbar The Formatting toolbar, located beneath the Standard toolbar bar, or possibly to the side of it, has buttons for various formatting operations like changing text size or style, changing alignment, formatting bullets, and animation.
Slide Background Choose Background from the Format menu to change a slide's background color or gradient. Click on the color rectangle near the bottom of the dialog box, and select either More Colors or Fill Effects. As shown in the Colors and Fill Effects dialog boxes below, you can change the color, gradient, texture, or pattern, or you can use a picture file.
Creating Charts PowerPoint's Chart tool is located on the Standard toolbar. Click the Chart tool to create a graph in your presentation. PowerPoint activates a data worksheet with labels and numbers. Change these labels and numbers to reflect your data. If you do not want to graph a certain row or column, double-click it and PowerPoint will remove that data from the chart. When you are through entering data in the worksheet, close it.
Slide Setup Dialog Box • The Slide Setup dialog box has controls for slide size and orientation. Choose the appropriate slide size and orientation before you do significant formatting in your presentation. Changing slide orientation from portrait to landscape or vice versa may require editing and reformatting slides. • Before you print your slide presentation, make sure the slide size and orientation is correct. Also, decide whether you want to print in color or black and white.
THE END MOUS COMPETENCIES www.microsoft.com/traincert/mcp/officespecialist/objectives/word2002.asp www.microsoft.com/traincert/mcp/officespecialist/objectives/excel2002.asp www.microsoft.com/traincert/mcp/officespecialist/objectives/access2002.asp www.microsoft.com/traincert/mcp/officespecialist/objectives/powerpoint2002.asp THANK YOU