
Using Find, Replace, Go To
E N D
Presentation Transcript
UsingFind, Replace, Go To In Microsoft Word By Krysia Biville
Why Find Text? To make sure that the text in your documents is consistent and accurate. Word’s “Find” command will search for every instance of a particular word or phrase.
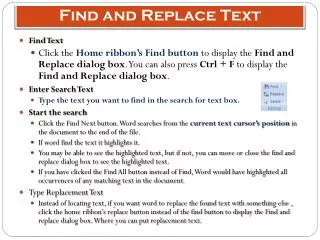
Click the Find command on the Edit Menu This displays the Find tab of the Find and Replace dialog box. Enter the text you want to find in the “Find what” text box and click the “Find next” button to locate the next occurrence of that text.
Click the Replace command on the Edit Menu • The Replace tab is similar to the Find tab but has more options: • Click the “Replace” button to replace the selected occurrence with the text in the “Replace with” box and move on to the next occurrence. • Click “Replace all” to replace all occurrences with the text in the “Replace with” box. • Click the “Find next” button to leave the selected occurrence as it is and locate the next one.
Find and Replace More Clicking the “More” button expands the box to make additional options available.* *Clicking the “Less” button closes this expanded box.
The More button is really more! • Lets look at the additional options that are available: • “Match case” check box will match capitalization. • “Find whole words only” check box will find only whole-word occurrences of the “Find what” text.
The More button continued… • “Use wildcards” check box can help you check usage of two similar words such as effect and affect.* • “Sounds like” check box can check text for words that sound the same but are spelled differently such as there and their. • “Find all word forms” check box finds occurrences of a particular word in any form, such as run, ran and running. *To find a list of available wildcards, use Help to search for wildcards.
Format and Special are More too! You can locate formatting, such as bold, or special characters, such as tabs, by selecting them from the Format or Special drop-down lists.
Go to helps you get going! • Use the Go to tab in the Find and Replace Dialog box to: • Go to a specific page, table or other item. • Browse the next or previous page, table or other item of the same type. • Return to a previous editing location.
Thank You I hope the information found in this slide show has been helpful. If you need additional help please refer to the Help section in Microsoft Word. Reference: Online Training Solutions, Inc., Curtis Frye. Microsoft Office System Step by Step –2003 Edition. Washington: Microsoft Press, 2004.