Download

1 / 33
330 likes | 409 Views
This lesson covers inspecting, donning, and removing full-face respirators, air sampling, and analysis for radioactive concentration, emphasizing pre-field use medical evaluation and fit tests.

E N D
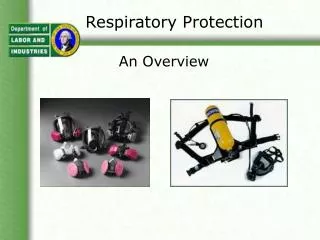
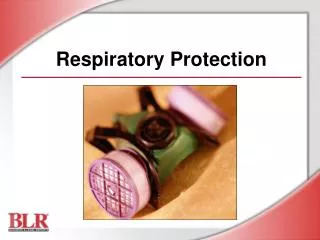
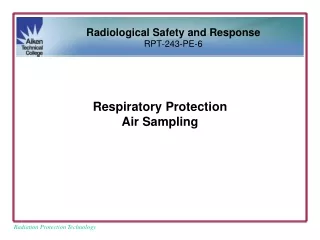
Radiological Safety and Response RPT-243-PE-6 Respiratory ProtectionAir Sampling
Learning OutcomesUpon completion of this lesson, the student will be able to: • Inspect a full-face negative pressure respirator. • Perform pre-use checks on a full-face negative pressure respirator. • Don a full-face negative pressure respirator. • Remove a full-face negative pressure respirator. • Obtain a air sample using available equipment • Perform required analysis and calculations to determine the airborne radioactivity concentration.
Prior to Use in the Field • Medical Evaluation • Fit Tested • Field Tested (negative and positive pressure check)
In the Mock-up Area • Since not all of the students have been screened medically – nor fit tested, you are not allowed to wear a respiratory protection device. • Therefore, you are not permitted to put the masks on your face with the filters installed. • Without the filters, it IS NOT a respiratory protection device.
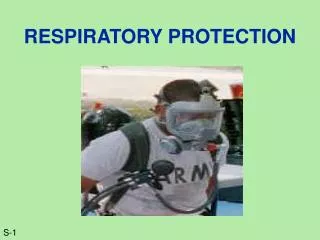
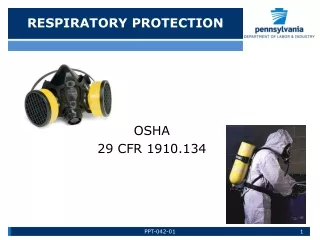
http://www.sharpesafety.com/catalog/images/7/1437.jpg Inspection • Lens • Face piece - sized based on fit test • Harness • Nose cup • Exhalation valve • Filters • Using a respirator wipe, clean the interior of the mask, sealing surface, and the exhalation valve thoroughly.
Inspection Access the exhalation valve Squeeze the sides Remove the cover
Inspection Check for foreign material under flapper valve and clean thoroughly then replace cover
Inspection Inspect and thoroughly clean the sealing surface and interior
Fitting • Loosen straps • Insert chin • Pull harness over head • Center harness on back of head • Tighten neck straps – one side at a time • Tighten top straps to adjust fit • Tighten temple straps (if present) – one at a time
http://www.cdc.gov/niosh/images/99-143l.jpg User Seal Check • Positive pressure test – • Cup one hand under the component housing cover (not possible on all models) • Cover the exhalation valve vents with the other hand (not possible on all models) • Blow into the mask • Face blank should move away from face • Blow into the mask with exhalation uncovered and ensure it operates
http://www.cdc.gov/niosh/images/99-143l.jpg User Seal Check • Negative pressure test • Use palms of hands to block filter air inlets (filter ports for mock-up) • Inhale gently, hold breath for 10 seconds • Face piece should collapse against face, and remain there
Final Steps Before Entry • Ensure hood is around face-piece and fastened under the chin. • Secure the hood to the coveralls as needed with Velcro closure (tape for DOE).
Doffing • Remove Outer Gloves • Remove Hood • Bend at the waist • Reach under mask at chin • Pull mask off of face at chin • Remove mask off the top of head – out and away • Disposition the mask as directed. • For the PE, bag the respirator across the SOP as coached by the Instructor.
Filter Type Sampling • Most common form of air sampling • Air drawn through filter paper at known flow rate for known length of time • Many varieties • Sometimes taken in tandem with a chemical filter cartridge
http://www.fjspecialty.com/lv-14m.htm Air Samplers • Portable • Fixed • Contaminated area • Buffer area • Stack (effluent) • Incorporate monitor – detector looking at filter paper • Personal – breathing zone
Personal Air Sampler (PAS) • Worn by worker • Breathing Zone sampler • Low flow – 2 L/m • Battery operated • Must be handled carefully to avoid contaminating filter
Regulated Air Sampler (RAS) • Installed or portable • Low volume filter paper sampler < 7cfm • Used to verify containment integrity • Determine work place ambient radioactivity • Sample occupied areas
High Volume Air Sampler(Staplex) • Short duration sampling • Area coverage • Job-site decisions • Accident coverage
High Volume Air Sampler(Staplex) Flow Meter on the rear Read to the bottom of the ball
Variable Flow Rate Air Sampler(Radeco) • Short duration sampling • Manual & Variable Mode • Area coverage • Job-site decisions • Accident coverage
Variable Flow Rate Air Sampler(Radeco) Glass Fiber Filter paper “fuzzy side out
Variable Flow Rate Air Sampler(Radeco) Flow Meter on Side Read to the bottom of the ball
Air Sample Activity Calculation • Complete Air Sample Data Sheets • Calculate total volume (flow rate x time) • Count air sample filter with β-γfrisker and α frisker (quick count) • Prepare filter paper for isotopic analysis and delivery to the count room • Attach Air Sample Data Sheets to the Student Guide
Scenario Brief • The 509 RCA posted as an airborne radioactivity area – respiratory protection required for entry. • A full set of PCs is required for entry into the 509 RCA. • Obtain two ten minute air samples • Exit the area remove respirator, PCs and bag material into the 508 room. • Count and calculate the activity for a quick count
Other Instructions • This practical exercise may be completed individually, or with a partner except each partner must draw one air sample. • The calculation portion of the exercise must be performed independently. • Follow the instructions in the exercise guide. • Use disposable latex gloves for your outer set of gloves. • Wipe out the respirator with a sanitizing wipe prior to donning the mask and again after removal and prior to storing.
Other Instructions • Do not separate this package. Maintain it intact. • Record all answers on the document – no extra pages. • Return the RPT-243-PE-6 Practical Exercise Guide document to the instructor as directed.