Download
1 / 24
240 likes | 261 Views
Discover essential skills and preparation for cross-country glider flights. Learn about thermals, field selection, and overcoming landing challenges. Maximize safety with detailed insights on field obstacles, colors, winds, and livestock considerations.

E N D
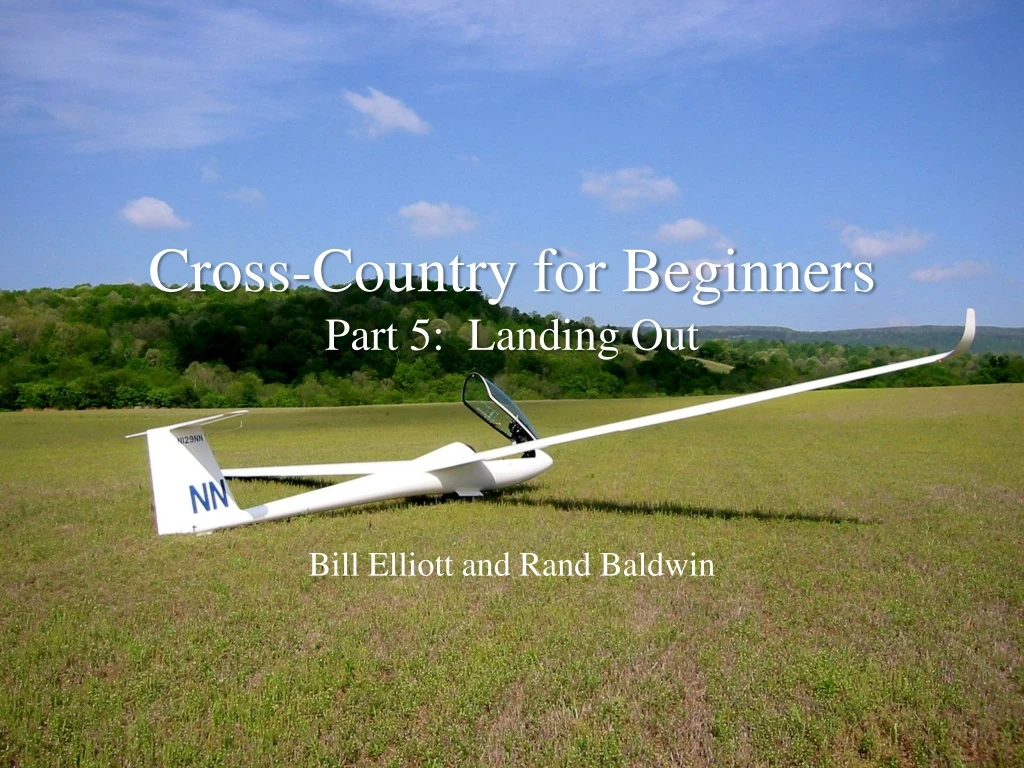
Cross-Country for BeginnersPart 5: Landing Out Bill Elliott and Rand Baldwin
Six Week Agenda • Weather and Preparation (needed skills, glider & instrumentation, biological) • Thermals and Triggers • Climbing—and the art of thermaling • Cruising and In-Flight Decision Making • Landing Out and Post-Flight Analysis • Flight Computers and Final Glides
Personal Equipment • Cell phone • SPOT • Water and food • Survival kit • Extra clothing • Road maps – in case you can’t access Google Maps • Pen and paper • Giveaways – brochures, DVDs, business cards • Book,iPod, etc. to entertain yourself while you await your ever-faithful crew
Thinking Ahead “Remember, you fly a glider with your head, not with your hands.” - Kai Gertsen, Introduction to Cross Country Soaring -
Thinking Ahead “Never let the glider take you somewhereyour brain didn’t get to five minutes earlier.” - Kai Gertsen, Introduction to Cross Country Soaring -
Decision Heights At 3,000’ AGL Start looking for general areas that appear landable. Head in that general direction. . By 2,000’ Select a specific field and look for obstacles and hazards. If possible, select an easy alternate in case, as you get lower, you find something wrong with your first choice. By 1,000’ Commit to land in your chosen field.
Field Selection Preference • Airport! • Cultivated field (plowed and harrowed) • Young crop • Freshly harvested crop • Newly mowed fields of even texture • Pastures
Non-Towered Airports • Monitor CTAF when approaching to land • Request airport advisory • Landing pattern • Use segmented circle if present • Left-hand pattern if no other info • Enter at ~1,000’ unless otherwise indicated • Announce on CTAF (usually Unicom) • Watch out for. . . • Other traffic • Runway lights • Steep runway shoulders
Field Selection: Size and Color • Size • Best – Large field with no obstructions on the approach end • Color • Best – Evenly colored brown field • Next – Light green • AVOID – Bright yellow and light green • Straight lines or break in color may indicate a fence or ditch • Uneven colors – Uneven, rolling terrain
Field SelectionObstructions and Field Length • Minimum length • No obstacles on approach: 1,000’ • Obstacles present: 1,500’ • Obstruction at approach end reduces effective field length by 10x the obstruction height 5:1 Approach Stopping Distance 500’ Obstruction 100’ 1,500’ Field Length
Field Selection: Crop and Slope • Crop • Good – Freshly cultivated crop • Good – Freshly harvested crop • Poor – Rough, mottled texture, rocks • Slope • Always land uphill regardless of wind! • A slope that can be perceived from the air is steeper than you think • Landing uphill – carry a little extra airspeed on the approach
Field Selection: Wind • Land into wind whenever possible • But remember: Slope takes precedence! • Know Thy Wind! • Smoke, dust, water, cattle, flight computer
“Know Thy Winds!”-- a quote from Gavin Wills -- • What is the wind at altitude? How do you know? • Flight computer • Drift of glider while thermaling • Movement of cloud shadows on the ground • What is the wind on the ground? How do you know? • Smoke from small fires • Wind signs on the water (ponds) • Trash moving in a field • Are the winds the same … probably not. Thermals will cause a distinct shift in the wind direction on the ground so pay attention.
Field Selection: Livestock • If at all possible, avoid fields containing livestock • Cattle will walk over the glider, lick it, etc. • Bulls!! (Ask Francois Pin)
Serious Hazards Wires Fences Slopes
Field Selection: Wires • Wires are often invisible • Pole shadows are sometimes visible • NEVER fly under wires • Roads and buildings are often accompanied by wires • Watch for wires leading to buildings inside fields
Field Selection: Bad… • Water • Swamps • Tall grass or crops • Most roads
Pop Quiz! • Which of the following describes the best off-field landing site? • No obstructions, 1,000’ long • No obstruction on approach, slightly downhill, 1,500’ long • No obstruction on approach, downwind, 1,200’ long • 100’ obstruction on approach, 1,800’ long
Pattern and Approach • Use 360 degree pattern for all off-field landings • Otherwise, same procedure as at home field Continue to Check Field Pre-Landing Checklist Wind Check: Obstructions Field Condition Wind
Common Errors • Not using angles to judge approach • Too close to field on downwind • Turning onto base leg too early • Too high on final • Excessive airspeed (esp. on final approach) • Poor coordination • Forgetting pre-landing checklist
Landing • Land in the ‘middle’ of the largest field • Pattern speed • Same as at home given wind and turbulence • Touch down at minimum speed • Two-point or slightly tail-first touchdown • Stop as soon as possible • In high crops • Keep wings level and no airbrakes • Never land with the gear retracted • Unless the POH recommends otherwise
After Landing • Inspect and secure glider • Get coordinates from flight computer • Call or home and report your position and status to your crew • Make sure lat and lon are in format crew needs • Use SPOT ‘Help’ function if appropriate • Find landowner if possible • Take pen, paper, road maps, valuables • Assess field access and plan for trailer routing and disassembly process • Wipe down glider • Remove tape and possibly winglets and stab • If most others are still flying, think about and write down errors you made and how you might have avoided a landout
Six Week Agenda • Weather and Preparation (needed skills, glider & instrumentation, biological) • Thermals and Triggers • Climbing—and the art of thermaling • Cruising and In-Flight Decision Making • Outlanding and Post-Flight Analysis • Flight Computers and Final Glides


