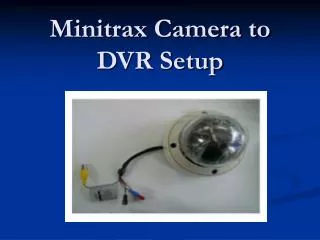
LaView Camera Setup
LaView camera setup is a user-friendly solution for securing your space. With simple installation, the system ensures seamless surveillance. Utilize the intuitive interface to configure settings, customize alerts, and access real-time footage. High-resolution imaging and advanced features enhance security, providing peace of mind. Trust LaView for a reliable, efficient, and straightforward camera setup to safeguard your surroundings.

LaView Camera Setup
E N D
Presentation Transcript
welcome! Setting up a LaView camera involves a series of steps, and the process may vary slightly depending on the specific model you have. Here's a general step-by-step guide that should help you with the setup of a LaView camera
Unboxing Open the package and carefully remove all the components. Typical contents include the camera, power adapter, mounting screws, and any additional accessories.
Camera Placement Decide on the optimal location for your camera. Ensure it has a clear line of sight to the area you want to monitor. If it's an outdoor camera, consider weatherproofing and the camera's field of view.
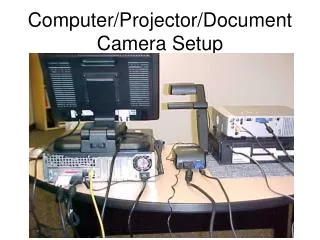
Power Connection Connect the camera to a power source using the provided power adapter. Some cameras may have Power over Ethernet (PoE) capability, allowing you to power the camera through the same Ethernet cable used for data.
Network Connection Connect the camera to your network. If it's a wired camera, connect the Ethernet cable to your router. For wireless cameras, follow the manufacturer's instructions for connecting to your Wi-Fi network.
Camera Configuration Access the camera's settings through a web browser or a dedicated mobile app. Typically, you'll need to enter the camera's IP address in your browser's address bar. Consult the user manual for the specific IP address or use a network scanning tool to find it.
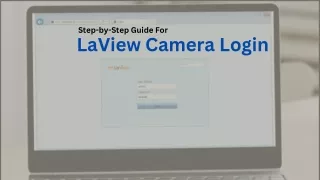
Login Log in to the camera's interface using the provided username and password. If it's your first time accessing the camera, you may need to set up a new account.
Set Up Wi-Fi (if applicable) If you're using a wireless camera, navigate to the Wi-Fi settings in the camera's interface and enter your Wi-Fi credentials.
Adjust Settings 90% Configure the camera settings according to your preferences. This may include video quality, motion detection sensitivity, recording settings, and more. Refer to the user manual for guidance on specific settings.
Mounting (if applicable) Mounting If you haven't already, mount the camera in its desired location using the provided screws and mounting hardware.
Testing After completing the setup, test the camera to ensure it's capturing footage as expected. Check the live feed, adjust angles if necessary, and verify that any motion detection or recording features are working correctly.
Remember, this is a general guide, and the exact steps may vary based on your LaView camera model. Always refer to the specific user manual provided with your camera for detailed instructions tailored to your device. laviewsmart