Download

1 / 8
90 likes | 465 Views
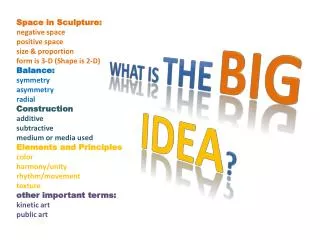
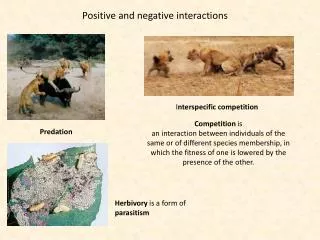
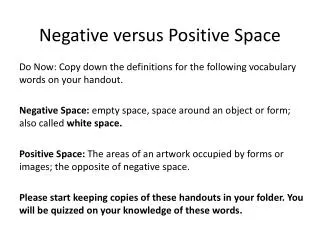
Positive & Negative space pendant. Cold Connection Project # 1 . Positive/Negative. Space: positive and negative . Positive spaces are those occupied by the main subjects of the work. Negative spaces are the areas around and behind the positive spaces. . Design.

E N D
Positive & Negative space pendant Cold Connection Project # 1
Positive/Negative • Space: positive and negative. • Positive spaces are those occupied by the main subjects of the work. • Negative spaces are the areas around and behind the positive spaces.
Design • Sketch a design for a pendant that has both positive and negative space. • It can be any shape: organic, geometric? • Choose what metal you want to use for the front piece. • Choose what metal you want to use for the back piece.
Design continued……. • By placing the different colored metal on the back, your negative space starts to stand out and becomes a different color. Add Texture to the back piece.
Cold connections • Add rivets to keep the two pieces together. • Rivets are small metal tubes or wire that hold metal together without soldering. (cold connection)
Requirements • Must use 90% of cut metal squares given. • Must incorporate: positive/negative space, rivets, clasp for neck piece, and 2 different metals. • Design and sketch is to be checked off by Mrs. P before gathering materials.
Sawing Process • When done correctly: relaxed and rhythmic • Muscles are loose and fluid. • Steps: • Hold the work piece flat and steady on a bench pin • Be sure the blade is tightly strung in the frame. • The teeth of the blade must point toward the handle. • Saw with the blade at a right angle to the work piece. • Keep the hand that holds the saw frame relaxed.
Blade Insertion • Clamp one end of the blade in place. • Lean the frame against the bench, add pressure to slightly collapse frame. • Slide the loose end of the blade into place and tighten. • When you release tension, the frame will spring back and put tension on the blade. • Flick the blade to hear a high pitched “ping”.