Download
1 / 38
390 likes | 428 Views
Learn to plan, create, edit, and perform calculations in reports using Microsoft Office Access 2010. Explore different report views, elements, and controls to organize and summarize data effectively. Understand the importance of report sections and controls, and utilize tools like Report Wizard for efficient reporting. Enhance your skills with in-depth knowledge of report layouts, data sources, and customizations.

E N D
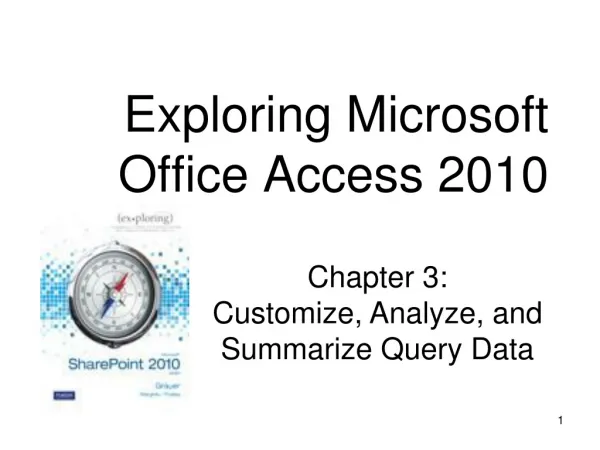
Exploring Microsoft Office Access 2010 Chapter 4: Create, Edit, and Perform Calculations in Reports
Objectives Plan a report Use different report views Create and edit a report Identify report elements, sections, and controls Add grouping levels in Layout View Add Fields to a report Use the Report Wizard 2
What is a Report • Reports provide many ways to organize, categorize, and summarize your data. • Reports range in complexity from a simple list—such as a project status report or a weekly sales report—to a detailed product catalog. • With reports you can also: • Prepare a customer invoice. • Produce a directory, such as an alphabetical list of employees with their contact information. • Present a data summary, such as sales grouped by regions.
Reports • Reports are often used to present a big-picture overview, highlighting main facts and trends. • Grouping data and sorting data to make it more visibly meaningful are key benefits of reports. Reports let people take in big pictures at a glance. • For a sales report we might group sales by regions, by salespersons, and by quarters, showing subtotals as well as a grand total.
Reports Printed documents that display information from the database Allow the layout of data in a useful and attractive manner Employee Phone Book table generated as a report 5
Planning a Report Reports take careful planning in advance Consider information to include Decide overall look Determine if any grouping levels will be needed What kind of calculations will be needed Determine how elements in a report will be distributed 6
Reports seven sections: - report header - page header - group header - details - group footer - page footer - report footer
Identify Data Sources May be based on one or more tables or queries Determine the underlying data source or sources for your report 8
Report Tools – Report Tool Generates a basic report based on one table/query Shows all fields in the data source Report Tool Report generated using the Report Tool 9
Report Tools – Report Wizard 10 Allows use of multiple tables and queries All fields in the table do not have to be used Capable of summarizing or detailing data
Report Views – Changing Views To change views, click the Views icon, select the View desired 11
Report Views – Print Preview Close Print Preview Print Preview 12 Displays the report as it will appear when printed
Report Views – Design View Shows only the structure of the report Allows you to customize report elements 13
Controls can be bound, unbound, or calculated: • Bound control A control whose source of data is a field in a table or query is called a bound control. You use bound controls to display values that come from fields in your database. The values can be text, dates, numbers, Yes/No values, pictures, or graphs. For example, a text box that displays an employee's last name might get this information from the Last Name field in the Employees table. • Unbound control A control that doesn't have a source of data (such as a field or expression) is called an unbound control. You use unbound controls to display information, pictures, lines or rectangles. For example, a label that displays the title of a form is an unbound control.
Calculated control A control whose source of data is an expression, rather than a field, is called a calculated control. You specify the value that you want to use as the source of data in the control by defining an expression. An expression can be a combination of operators (such as = and + ), control names, field names, functions that return a single value, and constant values. For example, the following expression calculates the price of an item with a 25 percent discount by multiplying the value in the Unit Price field by a constant value (0.75). =[Unit Price] * 0.75
Report Views – Layout View Allows alteration of the report while viewing the data Spacing adjusts automatically 16
Create a Filter in a Report Clear Filter Filter Criteria 17 Select the criteria desired from the shortcut menu Clear the filter by choosing Clear filter from “Field Name”
Format Report Elements - Property Sheet Accessed by right-clicking on the report or an individual element in a report Allows you to change all available properties of an element or report 18
Insert Graphical Elements Select Logo to insert a new graphical element 19 • Default graphical element on a basic report is a report binder logo • This element can be changed by: • Selecting the Formatting tab, choose the Logo icon • Selecting an image from the Insert Picture dialog box
Divisions of a Report – Detail Section Detail Section 20 Data repeats once for each record in the source
Divisions of a Report – Page and Report Headers Page Header Report Header 21 Report headers: printed only once Page headers: print at the top of every page
Divisions of a Report – Group Headers and Footers Group Header Group Footer 22 Group Headers appear at the start of a new grouping Group Footers appear at the end of a grouping
Divisions of a Report – Page and Report Footers Report Footer Page Footer 23 Page footers: at the end of each page Report footers: at the end of the report
Working with Controls Controls allow you to position, display, format and calculate report data Controls are manipulated in Design View Two types of controls Bound – tied to an underlying source Unbound – not tied to an underlying source 24
Bound vs. Unbound Controls Unbound Control Bound control 25 Unbound Controls: report titles or explanatory text added to the report Bound controls: calculations made from underlying table or query, records in the detail section
Calculated Controls Calculated control referencing the Hours Worked field 26 Calculated controls: use an expression instead of a record value Expression usually consists of values in fields, tables or queries
Group and Sort Tool Group and Sort Tool Summary Information 27 Allows summarization of data by displaying the Group/Sort/Total pane in the bottom of the report
Group, Sort, and Total Pane Group, Sort and Totals Pane Filter icon in the Sort and Filter group 28 Allows selection of primary/secondary/group and sort fields Adds levels beyond primary groupings
Expanding Options in the Group, Sort, and Total Pane More option Expanded criteria for group section 29 Select More to expand options
Add a Sort Click to add a sort Choose the field to sort by 30 After selecting, choose the desired field from the field list
Removing Groups, Sorts, and Totals 31 • To remove groups, sorts or totals • Display the groups, sort and total pane and strike delete • Click Yes if a warning box appears • Notification that all controls in group will be deleted
Using the Report Wizard Click to use the Report Wizard 32 The Report Wizard creates a report based on answers that you provide Allows application of predefined styles
Using the Report Wizard – Choosing Fields Choose a field and click to add individual fields to the report Click to add all fields to the report 33 Choose more tables and/or queries for your report
Using the Report Wizard – Grouping Levels Choose a field to group by 34 Specify primary and secondary grouping Change grouping order of precedence
Using the Report Wizard – Sorting and Summarizing Choose one or more fields to sort by Choose the summary value desired Clicking the Summary Options buttons brings up the Summary Options dialog box 35 Allows you to specify sorting and summary options
Using the Report Wizard - Layout Choose a layout 36 Pick a layout Choose landscape or portrait
Using the Report Wizard – Choosing a Style Choose a style 37 Choose from several predetermined styles in this Report Wizard dialog box
Using the Report Wizard – Naming your Report Enter a title fro your report 38 Enter a title for your report Choose whether to preview the report or proceed to modify the design