Download
1 / 10
100 likes | 242 Views
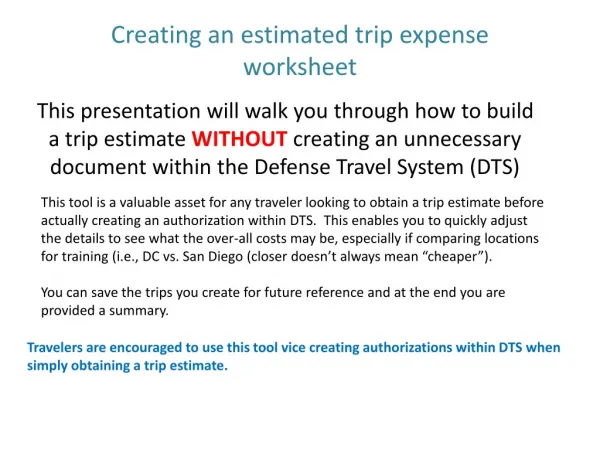
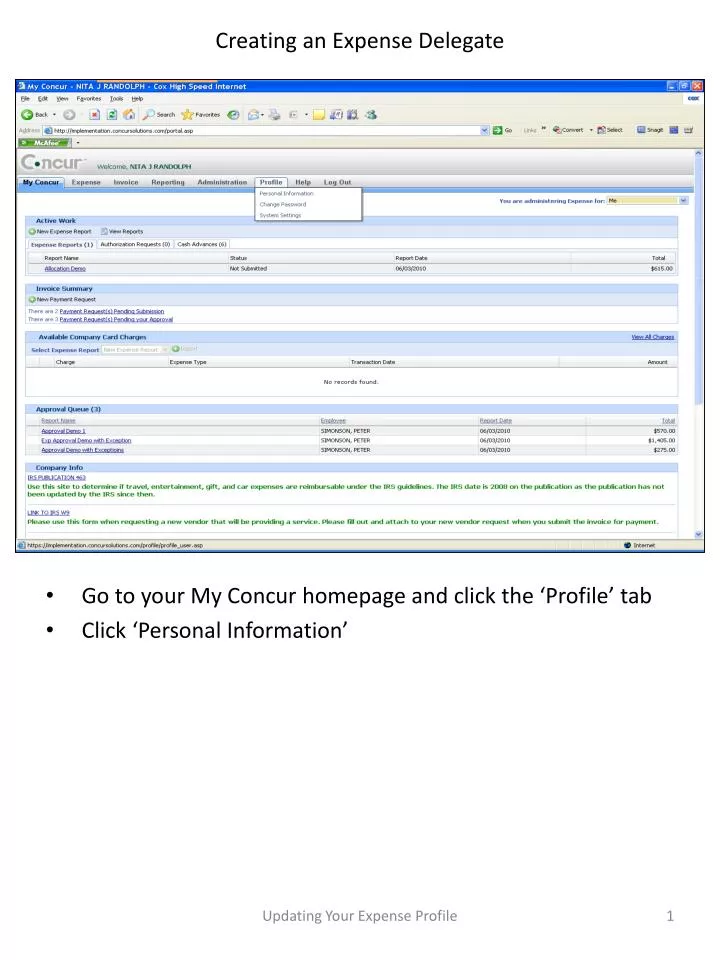
Creating an Expense Delegate. Go to your My Concur homepage and click the ‘Profile’ tab Click ‘Personal Information’. Creating an Expense Delegate. Clicking on ‘Personal Information’ brings you to this page Under the Expense Settings, choose ‘Expense Delegates’. Expense Delegates.

E N D
Creating an Expense Delegate • Go to your My Concur homepage and click the ‘Profile’ tab • Click ‘Personal Information’ Updating Your Expense Profile
Creating an Expense Delegate • Clicking on ‘Personal Information’ brings you to this page • Under the Expense Settings, choose ‘Expense Delegates’ Expense Delegates Updating Your Expense Profile
Creating an Expense Delegate • Click ‘Add Delegate’ to bring up a search box Add Delegate Updating Your Expense Profile
Creating an Expense Delegate • In the Search box, enter the first few letters of the last name of the employee whom you want to make a delegate • A drop-down box appears with a list of employees to choose from based on your input • Click on the person’s name in the drop-down list to add to the Delegate box Updating Your Expense Profile
Creating an Expense Delegate • The traveler will now select which functions the delegate can perform by clicking the appropriate box • The delegate can prepare, view receipts, and receive emails • UNIVERSITY POLICY DICTATES THAT UNDER NO CIRCUMSTANCE CAN A DELEGATE APPROVE • Never check the Can Approve or Can Approve Temporary boxes • University policy and IRS Compliance state that the traveler must review and approve his or her own expense report Updating Your Expense Profile
Creating an Expense Delegate • Once you have chosen the tasks the delegate can perform, click in the box next to his or her name • Click ‘Save’ and a box appears verifying that the changes have been saved • Now click on ‘Expense Preferences’ to edit your email notifications Click on the save button to keep your changes. Click in the box next to the name To continue updating your profile, click on the Expense Preferences to edit your email preferences Updating Your Expense Profile
Updating your Expense Preferences (Email Notifications) Save button • This screen is where you can change your email preferences to determine which notifications you want to receive about the status of your reports • Once you have made your choices, click ‘Save’ Check or uncheck the emails you want to receive. Always check the “Prompt Button for an approver when an expense is submitted” as this will bring up the box for grant approvals Updating Your Expense Profile
Updating your Invoice Preferences (Email Notifications) • Click ‘Invoice Preferences’ under the Invoice Settings heading to change your invoice or payment request email notifications Invoice Preferences Link Updating Your Expense Profile
Updating Your Invoice Preferences (Email Notifications) • Repeat the same steps you completed to change your expense preferences • Check or uncheck the emails you want to receive • Always make sure the ‘Prompt for an approver when submitting a payment request’ to bring up the approval box for approvals for the grants workflow • This is a very important step when using a grant. Updating Your Expense Profile
Updating Your Invoice Preferences (Email Notifications) • Click ‘Save’ once you have made your choices • A message appears that verifies your changes have been saved • You can now go to your My Concur homepage or log out Updating Your Expense Profile