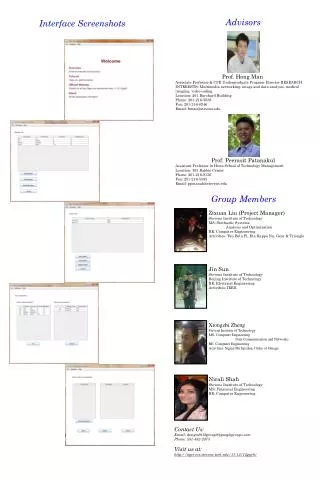

screenshots
E N D
Presentation Transcript
The first thing we did when editing our documentary on Premier Pro, was importing our videos. We did this by right clicking and selecting import which took us to our documents, we located the A-Drive and selected the clips we wanted After importing editing our clips to select what parts we want Using the mark in and mark out buttons to select
We then dragged and dropped the imported clip into the top left hand box. The first clip was archive footage of adverts to use as our title sequence. The mark in and mark out buttons were used to select the part of the clip we wanted, this made it easier to select parts of the footage
The first part of our documentary is the title sequence, we created this from short clips of food adverts. We also over lapped them all to create an overwhelming sense as you are being surrounded by adverts
Once we had imported an interview clip and selected the section we wanted, the clip then needed to be fitted to the screen, we right clicked and stretched it out
When we had the interviews in the order we wanted we then had to add vox pops to the clip so then people would know who the person is. This was done by right clicking the right hand box, this then let you edit what can been seen on screen
Adding cutaways into interviews was another part of editing the editing. We had certain cutaways that could reinforce what was mentioned in the interview. We used effects such as a fade to make it fit and overall the interview but with the voiceover of the interview still playing
When listening to the documentary some of the sound levels were unbalanced so we had to change it to fit the side right with the left side
We added various archive footage in our documentary, such as the title sequence to an M&S advert to a clip from a section from supersize me. By adding in archive footage it helps to support the documentary, we imported it the same way we did with our other clips
I added effects on the audio and video. We done this by clicking effects then audio or video transitions. We used an Exponential fade for audio and a cross dissolve for video these two made the clip then fit well and look natural