Step-by-Step Guide for Installing an Epson Printer on Windows
0 likes | 8 Views
Installing a printer on your Windows computer should be a straightforward process. Whether youu2019re setting up a new Epson printer or trying to replace an older model, the process is fairly simple. In this guide, we'll focus on installing an Epson printer, but we'll also briefly discuss installing epson printer for those who might need assistance with both brands. If you're looking for more detailed support, feel free to check out additional resources at PrintMe-Now.net.<br>

Step-by-Step Guide for Installing an Epson Printer on Windows
E N D
Presentation Transcript
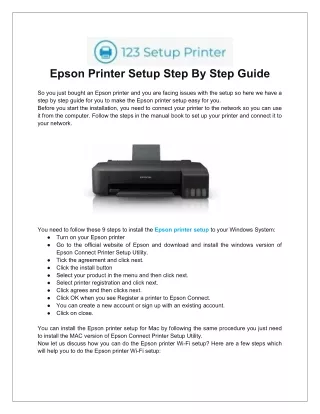
Step-by-Step Guide for Installing an Epson Printer on Windows Installing a printer on your Windows computer should be a straightforward process. Whether you’re setting up a new Epson printer or trying to replace an older model, the process is fairly simple. In this guide, we'll focus on installing an Epson printer, but we'll also briefly discuss installing epson printer for those who might need assistance with both brands. If you're looking for more detailed support, feel free to check out additional resources at PrintMe-Now.net. 1. Unbox and Prepare Your Epson Printer Before starting the installation process, ensure your Epson printer is correctly set up. Unbox the printer, remove any protective packaging, and connect it to a power source. Next, install the ink cartridges and load paper into the tray. For wireless Epson printers, ensure that the printer is within range of your Wi-Fi network.
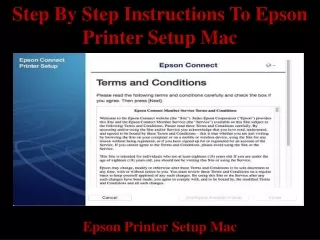
2. Connect Your Epson Printer to Your Windows Computer Option 1: Installing Epson Printer via USB 1. Connect the printer to your computer using a USB cable. 2. Windows will typically detect the printer and attempt to install the necessary drivers automatically. 3. If Windows doesn't automatically find and install the drivers, you can download the latest drivers from the Epson support website. Option 2: Installing Epson Printer via Wi-Fi 1. On your Epson printer's control panel, navigate to the Wi-Fi settings. 2. Select your Wi-Fi network and enter the password. 3. Once connected, the printer will be ready for installation on your computer. 4. Open the Start menu on your Windows computer and click Settings > Devices > Printers & Scanners. 5. Click Add a printer or scanner, and Windows will search for available printers. 6. Select your Epson printer from the list and click Add Device. If you’re using an HP printer, the process is similar. Just ensure you have the correct drivers for your HP printer model, and follow the steps provided by Windows for adding the printer. 3. Download Epson Printer Drivers from the Epson Website If Windows doesn’t automatically find the correct drivers or software, you can download them from the official Epson support page. Here’s how: 1. Visit Epson's official support page or use the link to PrintMe-Now.net. 2. Search for your printer model and select the latest driver version compatible with your version of Windows. 3. Download and install the driver by following the on-screen instructions. For hp printer setup, visit the official HP support page, search for your model, and download the necessary drivers.
4. Configure Printer Settings Once your Epson printer is installed, it’s time to configure it: 1. Go to Start > Settings > Devices > Printers & Scanners. 2. Click on your Epson printer and select Manage. 3. Here, you can adjust settings such as default printer, print quality, and more. You can also perform a test print to ensure the printer is functioning correctly. 5. Print a Test Page
After installation and configuration, it’s a good idea to test your printer: 1. In Printers & Scanners, click on your Epson printer and select Manage. 2. Choose Print a test page to ensure everything is working as expected. If you encounter any issues, check for updates to your printer driver or ensure that the connection is stable. If your Epson printer is connected over Wi-Fi, confirm that your network is properly configured. 6. Troubleshooting Common Installation Issues If you face any problems during installation, here are some quick troubleshooting steps: ● Driver issues: Make sure you’ve installed the correct driver for your specific model. Check for updates if needed. Connection issues: Ensure your printer is properly connected to your Wi-Fi or USB port. Restart both the printer and your computer if necessary. Printer not appearing in the list: Restart your computer, and check your network settings if using a wireless printer. ● ● For HP printer setup, common issues include misconfigured Wi-Fi connections, missing drivers, or outdated software. Checking for driver updates from HP’s support page can resolve most problems. 7. Enjoy Printing with Your Epson Printer On epson printer setup installed, you can start printing documents, photos, or anything you need. Your Epson printer is now fully set up and ready for use. Whether you use it for work or personal tasks, your printer will help streamline your printing needs. For more advanced troubleshooting or specific installation tips, visit resources like PrintMe-Now.net for additional guides and support. They offer comprehensive solutions for installing Epson and other brand printers, including HP printer setup. By following this simple guide, you can have your Epson printer up and running in no time. If you're also considering HP printer setup, many of the same steps apply. Happy printing!