Download
1 / 24
240 likes | 371 Views
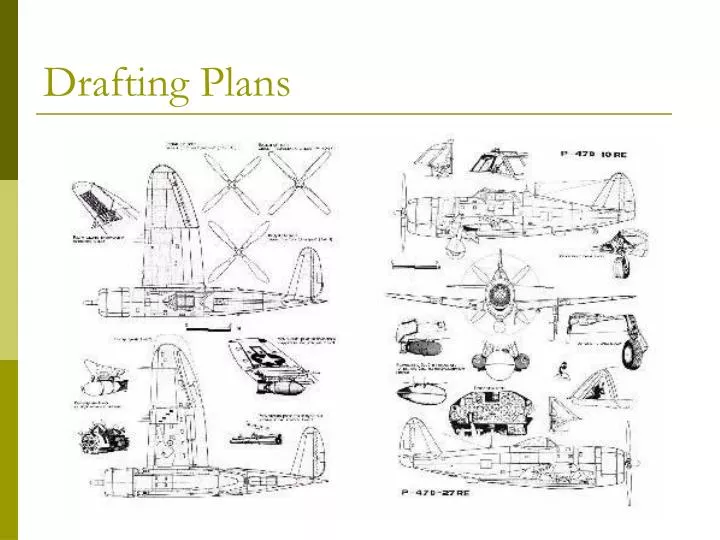
Drafting Plans. Alphabet of Lines. A drafter uses lines of various weights (thicknesses) to make a drawing. Each line has a special meaning. Contrast between the various line weights or thicknesses help to make a drawing easier to read. It is essential that you learn this ALPHABET OF LINES.

E N D
Alphabet of Lines • A drafter uses lines of various weights (thicknesses) to make a drawing. • Each line has a special meaning. • Contrast between the various line weights or thicknesses help to make a drawing easier to read. • It is essential that you learn this ALPHABET OF LINES
Alphabet of Lines • Construction and Guide Lines • Construction lines are used to lay out drawings • Guide lines are used when lettering to help you keep the lettering uniform in height. • These lines are drawn lightly using a pencil with the lead sharpened to a long conical point.
Alphabet of Lines • Border Line • The border line is the heaviest (thickest) line in sketching. • First, draw light construction lines as a guide. • Then, go over them using a pencil with a heavy rounded point to provide the border lines.
Alphabet of Lines • Hidden Line • Hidden lines are used to indicate or show the hidden features of a part. • The hidden line is made up of a series of dashes (1/8 in.) with (1/16 in.) between the dashes
Alphabet of Lines • Dimension Line • Dimension lines generally terminate (end) with arrowheads at the ends. • They are usually placed between two extension lines. • A break is made, usually in the center, to place the dimension. • The dimension line is placed from ¼ in. to ½ in. away from the drawing. • It is a fine line and is drawn using a pencil sharpened to a long conical point 2
Alphabet of Lines EXTENSION LINE • Extension lines • Extension lines are the same weight as dimension lines. • These lines indicate points from which the dimensions are given. • The extension line begins 1/16 in. away from the view and extends 1/8 in. past the last dimension line. 2
PRACTICE • Let’s PRACTICE • Try to draw this multi-view drawing. • Label all of the lines that we have learned so far!
Alphabet of Lines • Centerline • Centerlines are made up of alternate long (3/4 in. to 1 ½ in.) and short (1/8 in.) dashes with 1/16 in. spaces between. • These are drawn about the same weight as dimension and extension lines, and are used to locate centers of symmetrical objects.
Alphabet of Lines • Cutting-Plane Line • A cutting-plane line indicates where an object has been cut to show interior features.
Alphabet of Lines • Section Line • Section lines are used when drawing inside features of an object to indicate the surfaces exposed by the cutting-plane line. • Section lines are also used to indicate general classification of materials. These lines, light in weight, are drawn with a pencil sharpened to a long conical point.
Alphabet of Lines • Phantom Lines • Phantom lines are used to show alternating positions of a moving part, repeated details, or the path of motion of an object.
½ in. All around Sheet Layout for Sketching • Sketch a ½ in. border around the edges of the paper. Use a construction line. The sheet should be 8 ½ in. by 11 in. It may be plain or graph paper. Sketch in guide lines.
½ in. All around Sheet Layout for Sketching, Continued… SCHOOL DATE NAME Project
T-square • Used for horizontal lines & as a guide for other instruments
Triangles • Tool for drawing vertical & inclined lines • 45° Triangle • 30°-60° Triangle
Protractor • Used for drawing inclined lines & angles
Compass • Tool for drawing circles & arcs
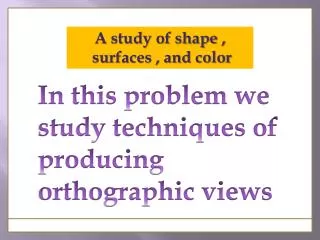
Orthographic or Multiview Drawings • Imagine that you have an object suspended by transparent threads inside a glass box, as in figure 3. Figure 3 - The block suspended in a glass box
Orthographic or Multiview Drawings, Continued… • Then draw the object on each of three faces as seen from that direction. Unfold the box (figure 4) and you have the three views. We call this an "orthographic" or "multiview" drawing. Figure 4 - The creation of an orthographic multiview drawing
Orthographic or Multiview Drawings, Continued… • Figure 5 shows how the three views appear on a piece of paper after unfolding the box. Figure 5 - A multiview drawing and its explanation
Orthographic or Multiview Drawings, Continued… • Which views should one choose for a multiview drawing? • The views that reveal every detail about the object. Three views are not always necessary; we need only as many views as are required to describe the object fully.