Download
1 / 3
30 likes | 39 Views
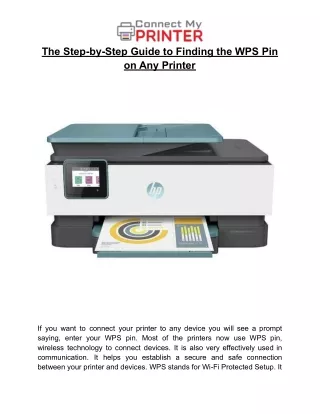
If you want to connect your printer to any device you will see a prompt saying, enter your WPS pin. Most of the printers now use WPS pin, wireless technology to connect devices. It is also very effectively used in communication. It helps you establish a secure and safe connection between your printer and devices. WPS stands for Wi-Fi Protected Setup. It is a unique set of 8 digits numbers that is generated by your printer. It is used for wireless connections. https://nybpost.com/the-step-by-step-guide-to-finding-the-wps-pin-on-any-printer/

E N D
The Step-by-Step Guide to Finding the WPS Pin on Any Printer If you want to connect your printer to any device you will see a prompt saying, enter your WPS pin. Most of the printers now use WPS pin, wireless technology to connect devices. It is also very effectively used in communication. It helps you establish a secure and safe connection between your printer and devices. WPS stands for Wi-Fi Protected Setup. It
is a unique set of 8 digits numbers that is generated by your printer. It is used for wireless connections. You can only use this if your router is also wireless. It acts like a password and a wall of security which will deny access to unwanted users. Now, you must be wondering where to find WPS pin on HP printer. Most of the details of your printer or any other device is located on the printer itself. You can also find these details or how to access them in the manual you receive while purchasing the device. Most of the people opt for self installation therefore the brand ensures that they have trouble free experience. The WPS pin for HP Deskjet 2600 is located on the screen of the printer itself. You will see a small screen on your printer where the WPS pin would be generated. This is the case with most of the printers, there is a slight change in the settings but the basic method of generating the pin remains the same. Let’s have a look at the steps on how to find the WPS pin on your printer. Steps to find WPS pin on a printer: · First, open the menu classification tab. · Go to the log in page and enter your credentials. · Sign in and click on wireless LAN settings. · Now, click on remote LAN configuration. · Here, you can chose the WPS pin. · Then, the system would create a WPS pin. · Thereafter, you can enter the pin to enable WPS connection. Most of the printers have a WPS button which is now ready to be used. You can connect it with the Wi-Fi or other devices to establish a wireless connection. Here’s how your can establish a connection through WPS button on HP printer. · Switch on the printer and then restart it.
· Go to the control panel and press the WPS button. · option on the screen. The blue light on the printer will begin to blink and you will see the WPS · Push the WPS button. · Now, press the WPS button on your router for few seconds. The devices will recognize each other when you press the WPS button at the same time. The light will start to blink and when the connection is established, the lights would be stable indicating that the connection is stable. In the case of printers whenever you are making any settings change or connecting devices always carry out a test print to check for errors. This way your documents are protected and any error can be removed then and there by troubleshooting.