Wiring
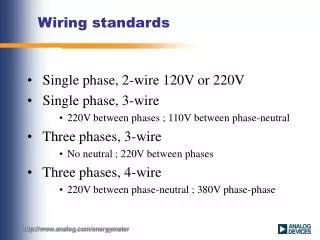
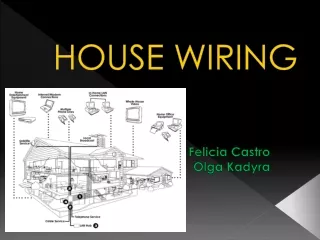
Wiring. MVRT 2010 – 2011 Season. Basic Wiring Principles. Color convention for insulation (according to rules) Power = red, white, brown Ground = black, brown Use right size (gauge/diameter) cables Big wire = smaller gauge = more current Gauge is inversely proportional to size

Wiring
E N D
Presentation Transcript
Wiring MVRT 2010 – 2011 Season
Basic Wiring Principles • Color convention for insulation (according to rules) • Power = red, white, brown • Ground = black, brown • Use right size (gauge/diameter) cables • Big wire = smaller gauge = more current • Gauge is inversely proportional to size • Basic types • Solid – single wire • Stranded – multiple smaller wires twisted together • Jacketed – multiple insulated wires with an outer cover
tools • Wire Stripper – many kinds • Yellow handled wire strippers • “Automatic” wire strippers with the wire cutter • Red-handled wire strippers with specific gauge # (usually only for smaller sizes only) • Wire • Black/Red orPWM cable • Gauge 8, 10, 12, etc. – depends on purpose
Wire strippers Yellow handled wire strippers
Wire Strippers “Automatic” wire strippers with wire cutter
Wire Strippers red-handled ones with gauge listings
Instructionsyellow handle • usually used for larger gauges (ex. 16-24) • Think about how much you need/want • Squeeze the wire stripper around the wire where you want to start to strip off the insulation Note: Yellow handled wire stripper not pictured but correct motion
Instructionsyellow handle • Keep rotating wire and squeezing until you can begin to see the wire • Grip the insulation of the part that you want to strip off and pull off carefully Note: Yellow handled wire stripper not pictured but correct motion
InstructionsAutomaticwire strippers • usually for the larger smaller (ex. 12, 16) • Slip the wire into the slot • Squeeze the handle so that the wire stripper blade pulls off the insulation • Note: if the wire is too small, not only will the insulation come off, but some of the wire will break off as well
InstructionsRed handle • for the larger gauges (ex. 20, 24) • Find the gauge number on the wire stripper • Put the wire into the hole • Squeeze and pull away with a horizontal motion • Note: will most likely work better for smaller wires than the “automatic” one
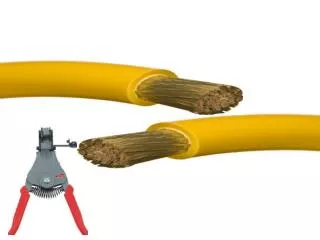
instructions • Be sure to twist the wires • When you finish stripping the wire, it should look like this
What is crimping • Crimping – creating an electrical connection without using solder • Ex. Connecting speed controller to power distribution board to pass on an electrical current Crimping tools
Materials Needed • Crimper • Type of crimper depends on the crimp being used which depends on purpose • For motors we use small powerpole connectors • Crimps • Wire – depends on connection
Crimpers blue-handled ones with insulation colors listed
crimpers Anderson Power pole crimper
Crimps Male Female • to connect two wires, crimp a female crimp on the end of one wire and the male crimp on the end of the other wire
Instructions • Strip the wire according to the type of crimp (generally about 1 cm) • Push the wire into the circular tube of the crimp from the bottom
Instructions • Stick the crimp and wire between the two sides of the crimper • Be sure that the crimper is on the front part of the crimp
Instructions • Push the handles of the crimper together until the crimp is flattened out • Pull the wire and crimp in opposite directions to check whether or not it is fully crimped
insructions • This is what the wire should look like when after it has been crimped
Solder & iron • Soldering is joining metals by melting a metal with a low melting point (solder) and join metals (wire/terminal) • Creates an electrical and mechanical connection • Soldering Iron melts the solder Solder Soldering Iron
soldering • Plug in the soldering iron and heat up • Touch the soldering iron to the wire or terminal and touch the solder in a different place • Wait for solder to melt Note: solder and soldering iron should not touch because the heat transfer should melt the solder • Clean soldering iron occasionally if too much solder get on it • Use solder sucker if too much solder is applied to the connection surface
Crimping vs. Soldering Crimping • Faster/easier • Better for use with larger wire takes too long too heat wire up to melt solder • Quick fix Soldering • More reliable when done properly • More rigid • Stronger than a crimp • Preferable • Better connection • Lower resistance • Easier to determine whether connection is good or bad