Download
1 / 27
270 likes | 505 Views
Automation with RobotC. Starting to write and troubleshoot computer code. Open a New File. Review of Robot C. When you open a new file in Robot C, you must go to the “MOTORS and SENSORS SETUP” page before you write your code. Review of Robot C.

E N D
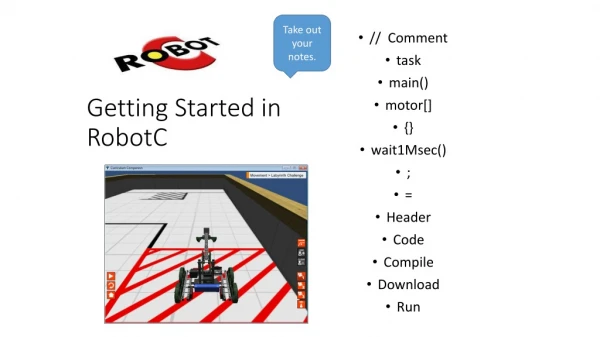
Automation with RobotC Starting to write and troubleshoot computer code
Review of Robot C • When you open a new file in Robot C, you must go to the “MOTORS and SENSORS SETUP” page before you write your code
Review of Robot C • Once your new file is open, remember that your program code always needs to be written between the two curly brackets on the screen
Natural Language commands • We will only use 4 of the Natural Language commands when we program, but each of these commands has a number of choices
Movement • Commands that allow you to control individual motors
Special • Commands that control the more unique VEX Hardware – LED’s and Flashlights
Until • Commands that allow you to create behaviors where the robot acts “until” a certain event. For example, • Button Press • Potentiometer Value
Wait • Commands that wait for an elapsed amount of time. The next command will run after the timer is done.
ROBOTC Practice Program You may notice warnings or errors. • Make sure you spell motor and sensor names exactly as defined in Motors and Sensors setup. • A ; is needed at the end of each line of code. • Don’t forget every open parenthesis needs a closing parenthesis. • What is wrong with line 31?
What’s Wrong with this code? • Missing the semicolon.
Why won’t the motor stop? • Should say “leftMotor”, not “rightMotor”.
Why won’t the LED turn on? • There is nothing between the “Turn on” and “Turn Off” commands, so the LED doesn’t stay on at all.
Digital Switches • Digital Switches are either ON or OFF. The command that will always work for these switches is “untilBump” BUMP SWITCH LIMIT SWITCH
Your warm up Program Write a program so that a motor turns on when the limit switch is pressed. After 2 ½ seconds have that motor turn off and the other motor turn on in the opposite direction Press the bump switch to turn off the second motor.
Analog Switches • The Potentiometer and Line Tracker work on a scale of 0 – 4095 POTENTIOMETER LINE TRACKER
Potentiometer • The Potentiometer works on a scale of 0 – 4095 • It is very sensitive, and it is NOT meant to turn all the way around, so please don’t force it!
Potentiometer • Position = a number between 0 and 4095 • sensorPort = in2 or potentiometer
Analog Switches • Write a code for the potentiometer that turns on a motor for 3 seconds when you turn it past 3500 POTENTIOMETER
Potentiometer Program Answer task main() { untilPotentiometerGreaterThan(3500, in2); startMotor(rightMotor, 127); waitInMilliseconds(3000); stopMotor(rightMotor); }
ROBOTC Debugger When I write a code with a potentiometer, I need to see what the sensor is reading right now. We do this by looking at a “Debugger” window.
ROBOTC Debugger After you click on “Compile Program”, open the Sensor Debug window by going to Robot > Debug Windows > Sensors
Line tracker • Position = a number between 0 and 4095 • sensorPort = in1 or lineTracker
Line tracker • The line tracker senses light and dark. • Right a program that turns on a motor, and has it stop when you cover the line tracker with your finger.
Line tracker Program Answer task main() { startMotor(rightMotor, 127); untillight(100, in1); stopMotor(rightMotor); }
Open System • An open system will let you unplug your cortex from the computer and run your program repeated times.