Download
1 / 31
320 likes | 512 Views
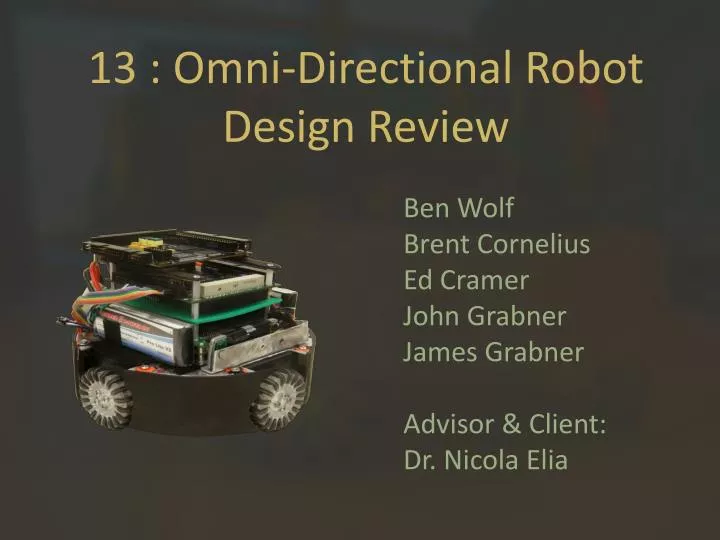
13 : Omni-Directional Robot Design Review. Ben Wolf Brent Cornelius Ed Cramer John Grabner James Grabner Advisor & Client: Dr. Nicola Elia. Introduction. What is an Omni-Directional Robot

E N D
13 : Omni-Directional RobotDesign Review Ben Wolf Brent Cornelius Ed Cramer John Grabner James Grabner Advisor & Client: Dr. Nicola Elia
Introduction • What is an Omni-Directional Robot • A robot that is able to move any direction in the X/Y plane without changing it’s orientation. As well as being able to move in a single direction while freely rotating 360⁰ • In 2010, a team designed a new robot platform but did not complete it, our goal is complete the assembly of the robot and implement any missing features
Problem statement: • Current design needs the following: • Analog I/O board • A working IMU • Battery protection and monitoring • Other features to be worked on • Operating system • Assembly documentation • Chassis reorganization
Functional Requirements • I/O board: • Needs to have at least 4 inputs • 12 bit resolution at 1kHz • IMU: • Assess purchased Pololu CHR-6d • Find alternatives if necessary • IMU must be mounted on robot and functioning • Operating System: • Must boot in 30 seconds or less • Must be tolerant of unexpected power loss • Must be compatible with existing hardware
Functional Requirements • Chassis: • Must have outer shell for use with visualization system • Undercarriage wiring must be organized • Use PCBs where possible to simplify manufacture and assembly of robot • Battery protection: • Must have automatic disconnect to prevent battery module damage • Battery voltages must be available to OS/AI
Non-Functional Requirements • Maintain function of “legacy” system • Provide documentation for robot assembly • Characterize robot performance
Operating System • Korebot series robots used Familiar Linux • The previous team used Ubuntu 10.10 to get started quickly • A more efficient replacement was needed • Reduce boot time • Stored on compact flash memory • Read-only file system to prevent corruption and unintentional modifications
Operating System • Researched a variety of embedded and portable systems • MicroCore Linux, Linux From Scratch • Emdebian Linux • We needed a quick start as well • Custom kernel and Debian 6 installed on the robot • Gather information about the hardware • Start testing other components like the I/O board
Analog I/O Board • PCI boards were too expensive • Inadequate resources to develop our own • Chose WinSystems PCM-MIO-G • Linux supported out of the box • Less expensive than other models • Software available for testing before purchase • Issues with Stack Configuration
Battery Protection and Monitoring(BPAM) • BPAM requirements • Must shut off pack when one or more cells reached 3.2-3 volts • Must be able to report cell voltages over a serial line • Must be able to work with 2 or 3 cell batteries • We decided to not use commercially available BPAM • Had overvoltage protection, but no under-voltage protection • Only protected a fixed number of cells • Most did not meet all the requirements • Decided to design and implement our own microcontroller based battery protection system that would shut off power to a robot when cells reached 3.2 volts, be able to be used with 2 or 3 cell battery packs, and would be able to communicate cell voltages over a serial line.
BPAM Design • PIC16F688 microcontroller • Has 8 channel 10 bit ADC, we need three to read cell voltage • Output pins can be used to turn on/off power MOSFET and sense amplifier • Has USART for serial communication • TL084 JFET Quad Op Amp • Input Impedance > 1Tohm • Can drive resistor dividers on sense lines • MC78LC00 Regulator • Provides the microcontroller with 3V for power • Low quiescent current
Chassis Organization • System before our additions • Two Layer System • Needs Switches, Indicator Lights, and Top Shell • Lower chassis wiring needs to be redone
Chassis Organization • When adding I/O board Stack configuration will need to be altered • Computer is PC-104/+ Form factor • Mesa board is PCI-104 • I/O is PC-104 • Solution: • Adapter Board
Adapter board • Pass through PCI Bus • Offset ISA Bus
Adapter Board • Secondary function– Chassis Reorganization The empty board space was not wasted: • Motor drivers • Voltage regulators • Motor connectors • Motor controller interface • New motor current sense circuits • Switches
Operating System • There are several versions of the OS today: • Development OS (eris-00.04) • Veisha OS (eris-00.03) • Debian Live (generic) • Fastest boot time is 38 seconds • 18 seconds consumed by POST • CF slot much faster than USB with GRUB • More robust file systems are necessary • Compressed and/or ramdisk is ideal • Move to journaling file system
I/O Board: Accuracy and Sample Rate • A simple how-to program was written for future users • Maximum observed sample rate was 71,428 Hz
BPAM • gEDA used to create schematics and PCB layout • Considerations for making PCB by ourselves • Microcontroller Programming • MPLAB IDE v8.76 with Hi Tech C Compiler • PICkit 2 • Main Functions of the Program
BPAM Testing • Microcontroller Functionality • Linearity and Accuracy • Static Load Test • Complex Load Test • Testing with a Robot
Chassis Reorganization • Power Switches • Bumper Guards • Adapter Board
Adapter board • gEDA was once again used to create schematics and PCB layout • Schematic to PCB tool • Board was ordered through Advanced Circuits • Assembly is nearly complete, connectors arriving later today
Conclusion • BPAM • Primary Goal Accomplished (batteries are protected) • Do not foresee any major obstacles to complete remaining requirements • Operating System • Boots quickly and is in a usable state
Conclusion • I/O Board • Integrated on robot and performs adequately • Chassis Successfully reorganized • Requires a permanent lid assembly
Lessons Learned • Just because it seems simple doesn’t mean that it will be done quickly (BPAM) • The best robot is useless without proper documentation • Don’t let a project intimidate you, start working and ask for help if you get stuck