Smart Boards the Basics
120 likes | 330 Views
Smart Boards the Basics. By: Lauren Payne. What is a Smart Board.

Smart Boards the Basics
E N D
Presentation Transcript
SmartBoardsthe Basics By: Lauren Payne
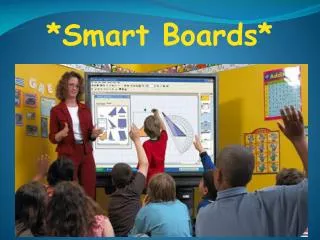
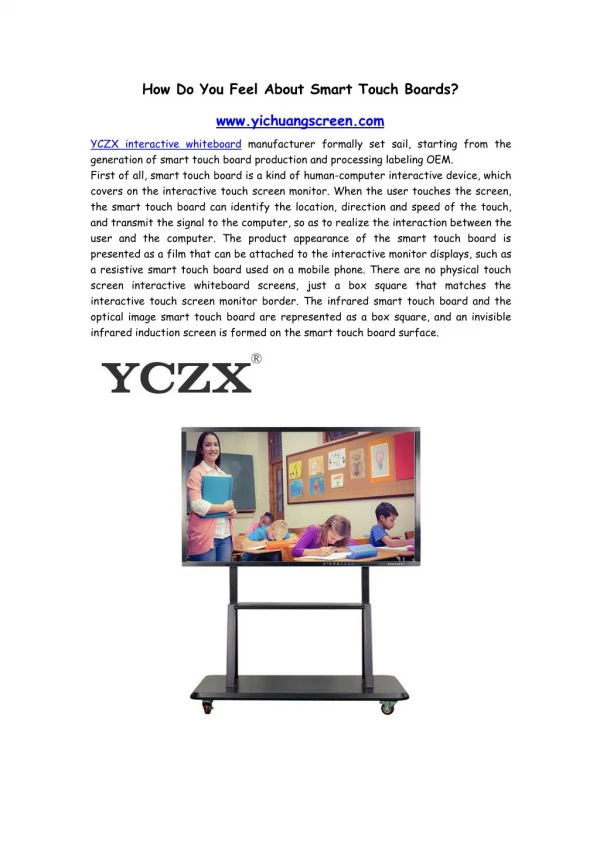
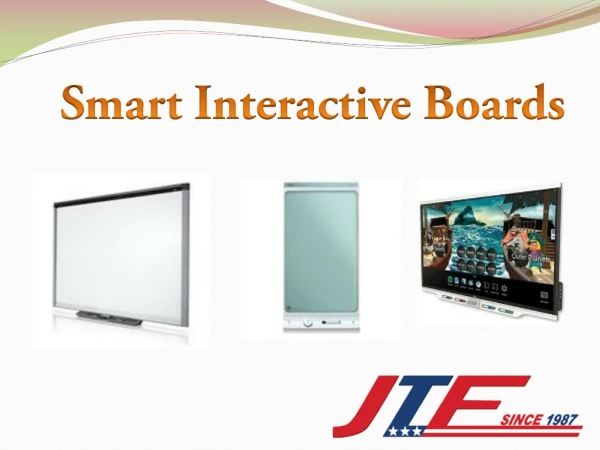
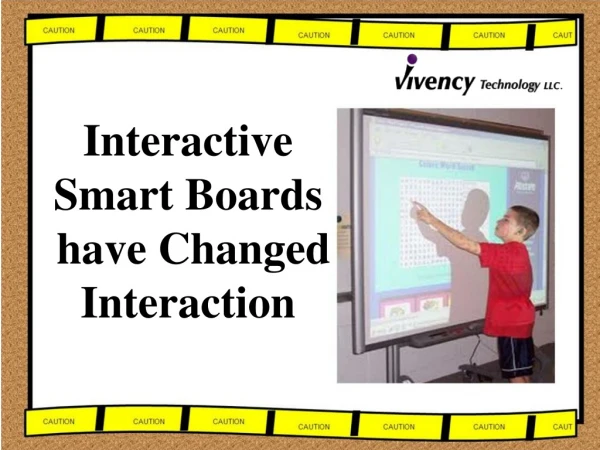
What is a Smart Board • It is an interactive whiteboard that is connected to a computer and a data projector. Once the computer image is projected on the board, the SMART BOARD can be used as a computer. By just using your finger you can control the computer.
Smart Board for BeginnersFirst steps: • Ensure the interactive whiteboard and projector are connected to the computer. • Turn on the projector, then the computer. The interactive whiteboard draws power from the computer and will be activated automatically. The Ready Light, indicating the status of your interactive whiteboard, will be red while the SMART Board and the computer are establishing communication. • Log on, if required, using the computer keyboard. When the Ready Light on the pen tray turns green, the computer and the interactive whiteboard have established communication. The SMART Board is now touch sensitive, and you can open any application available on the connected computer.
Calibrating SMART Board Interactive Whiteboard • Press and hold the Keyboard and the Right Mouse button simultaneously • until the Orientation screen appears . This buttons are located on the tray of the Smart Board.
Calibrating the Smart Board • Begin the orientation process at the upper left corner of the Orientation screen. Press your finger or pen firmly on the center of each cross in the order indicated by the white, diamond-shaped graphic.
Where is the Mouse??? • Your Finger Is Your Mouse • When pressing your fingers it is the same as a left-click with a mouse. To open an application such as an Internet browser, double-press the application icon with your finger. • Writing and Erasing Notes • To write over your desktop image or application, pick up a pen from the pen tray and write on the interactive whiteboard. To write in a different color, pick up a different-colored pen. The color recognition comes from the optical sensors in the pen-tray slots and not from the pens themselves.
Erasing • Pick up the eraser in the SMART Pen Tray.The pointer immediately changes to an eraser icon. • Drag the physical eraser over the notes you want to erase. • Return the eraser to the pen tray. The interactive whiteboard only recognizes the last tool removed from the pen tray. For example, if you already have a pen in your hand when you pick up the eraser, the interactive whiteboard will assume you want to erase, regardless of whether you touch the board with a pen or an eraser. To avoid confusion, return each tool to its proper slot when you have finished using it.
Using the Notebook Feature Notebook software acts as an electronic notebook that can be used to edit, save and distribute information written on a SMART Board interactive whiteboard. Open Notebook software by pressing Start > Programs > SMART Board Software > SMART Notebook.
Using the IT Virtual Calculator http://www.ticalc.org/archives/files/fileinfo/84/8442.html • We need to download the program from the TI site. • The next step is to upload the Virtual TI into the Smart Board Notebook. Smart Board Note Book Space TI Virtual Calculator
It works just like a regular calculator. • You press the buttons on the screen, and it works just right. • Here we can see an example on the board a guided p practice, the student use the VTI and learn how to use its buttons right on the screen, like a touch tone phone.
Could be use as an assessment tool. • When students are using the TI at front, you can evaluate if the student knows how to operate the calculator.